When I plan a kitchen makeover, I’ve learned one truth the hard way: kitchen island placement matters just as much as the island itself.
You can invest in beautiful cabinetry, a stunning countertop, and stylish seating—but if the island is placed incorrectly, the entire kitchen feels cramped, awkward, or inefficient. That’s why I always start with placement before design.

A well-positioned island improves workflow, enhances traffic flow, and creates a natural gathering point. Whether you’re working with a compact layout or an open-concept kitchen, the right island location can completely transform how your kitchen looks and functions.
Below, I’m sharing my favorite kitchen island placement ideas, along with practical guidance you can actually use in a real home.
Table of Contents
- 1. Centered Kitchen Island Placement for Balanced Layouts
- 2. Kitchen Island Placement Based on the Work Triangle
- 3. Kitchen Island Placement with Seating Facing Living Areas
- 4. Kitchen Island Placement with Sink for Efficient Prep Zones
- 5. Kitchen Island Placement with Cooktop as a Statement Feature
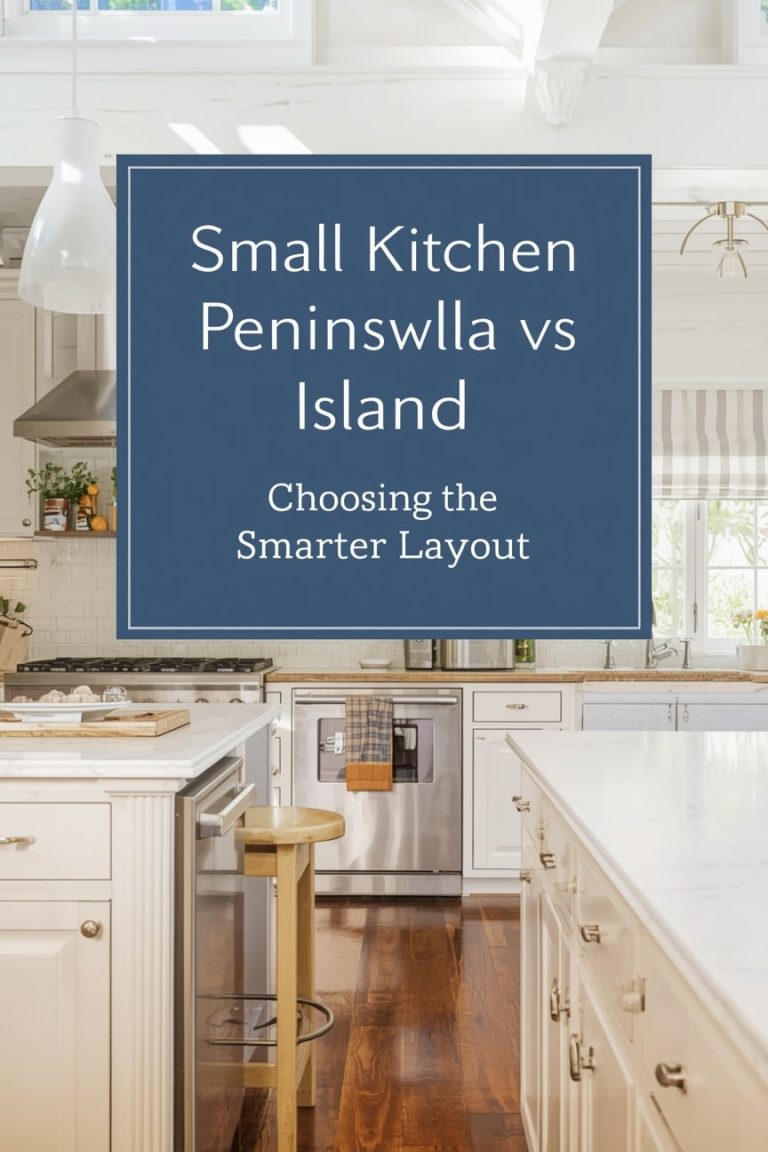
- 6. Kitchen Island Placement for Small Kitchens
- 7. Kitchen Island Placement for Narrow or Galley Kitchens
- 8. Kitchen Island Placement Without Blocking Walkways
- 9. Kitchen Island Placement for Open-Concept Kitchens
- Final Thoughts on Kitchen Island Placement
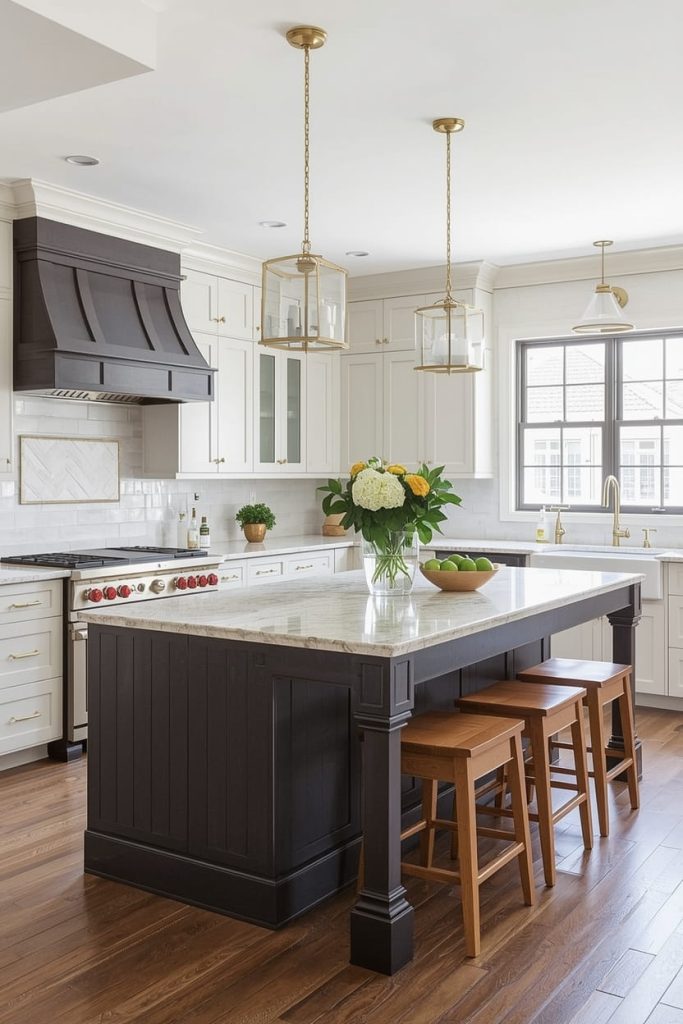
1. Centered Kitchen Island Placement for Balanced Layouts
Centered kitchen island placement is the most classic and widely used option—and for good reason. When I design a kitchen with enough square footage, placing the island in the center creates instant balance and symmetry. It allows equal access from all sides and supports a smooth workflow between prep, cooking, and cleanup zones.
This kitchen island placement idea works especially well in open-concept kitchens where the island acts as a visual anchor. With proper spacing—typically 36 to 42 inches of clearance around the island—movement feels effortless. I always recommend this placement when homeowners want the island to be the focal point without blocking walkways or interrupting cabinet access.
From a design perspective, a centered island also allows flexibility. You can incorporate seating, storage, or even appliances without compromising circulation. When done correctly, centered island positioning enhances both aesthetics and daily usability.
2. Kitchen Island Placement Based on the Work Triangle
One of my favorite functional strategies is kitchen island placement based on the work triangle. The classic triangle connects the sink, stove, and refrigerator, and the island should support—not disrupt—this flow. I’ve seen too many kitchens where the island cuts directly through the work triangle, creating frustration during everyday cooking.
When I plan island positioning, I ensure it sits just outside the triangle while remaining easily accessible. This placement improves efficiency and reduces unnecessary steps, especially in busy households. It’s an ideal approach for homeowners who cook frequently and value performance over purely decorative design.
This idea also pairs beautifully with minimalist island designs that emphasize prep space. With thoughtful placement, the island becomes a functional extension of the main kitchen zones rather than an obstacle.
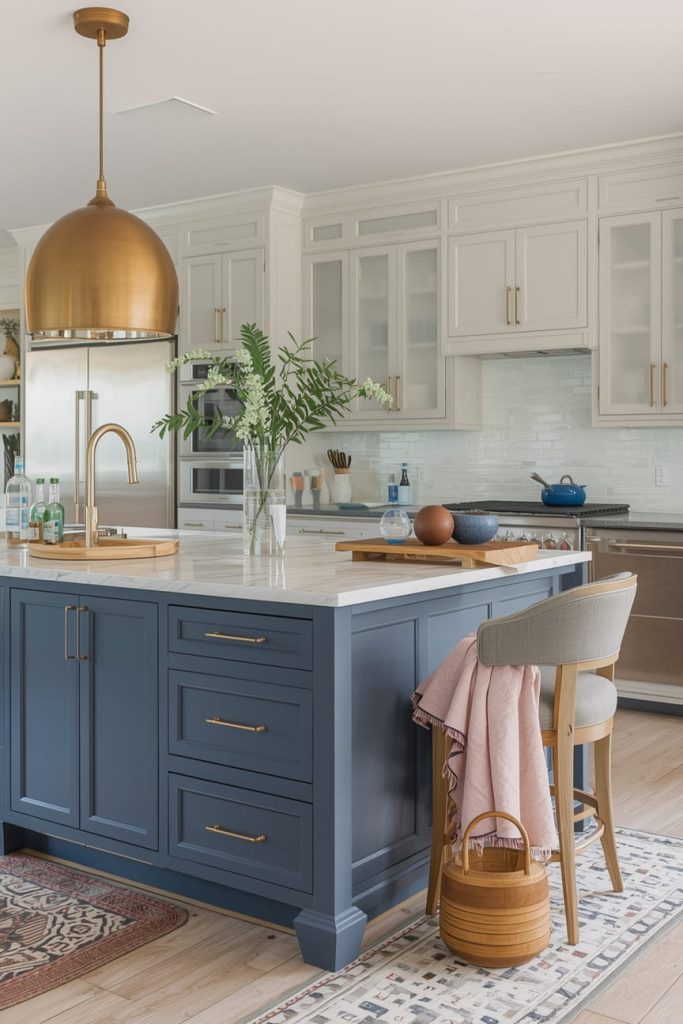
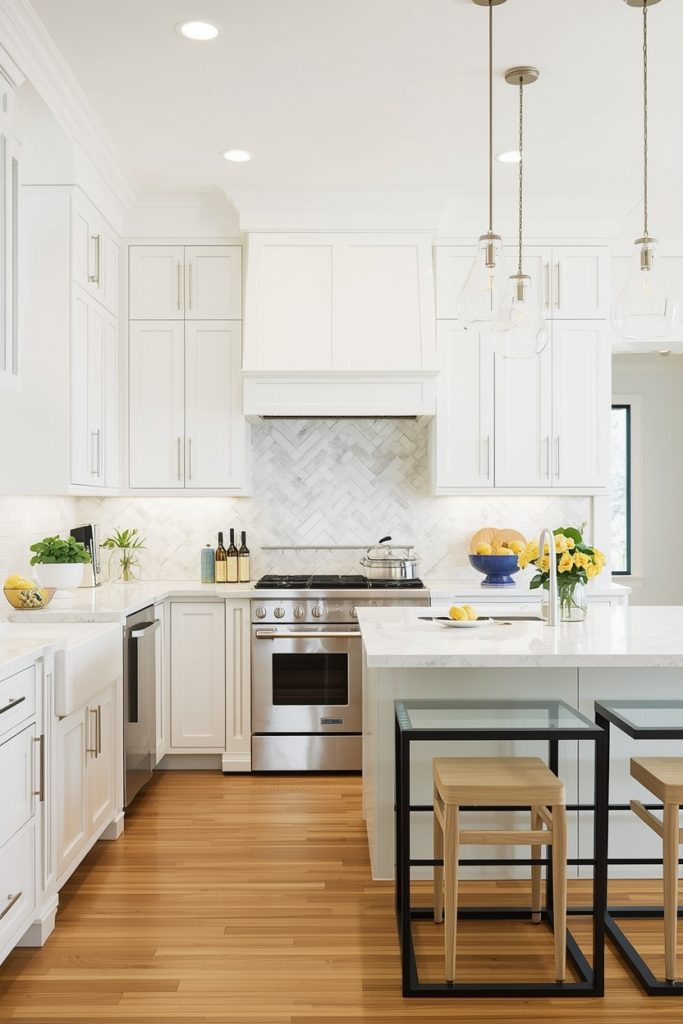
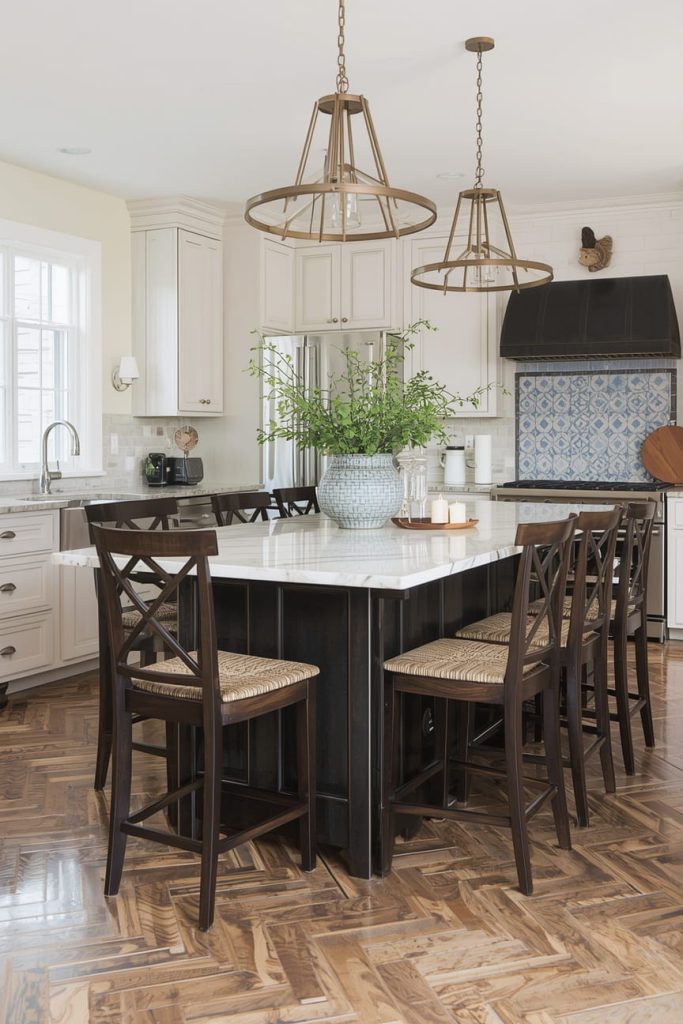
3. Kitchen Island Placement with Seating Facing Living Areas
Kitchen island placement with seating is one of the most requested features I encounter—and placement makes all the difference. I always orient seating toward the living or dining area, not toward cabinets or appliances. This creates a welcoming, social environment where guests can interact without standing in the cook’s way.
This placement idea works particularly well in open-plan layouts. By positioning the island between the kitchen and living space, it acts as a subtle divider while maintaining visual openness. I recommend allowing at least 24 inches of seating width per person and ensuring walkways remain clear behind stools.
When done right, this island placement supports casual dining, homework sessions, and entertaining—all without compromising kitchen traffic flow.
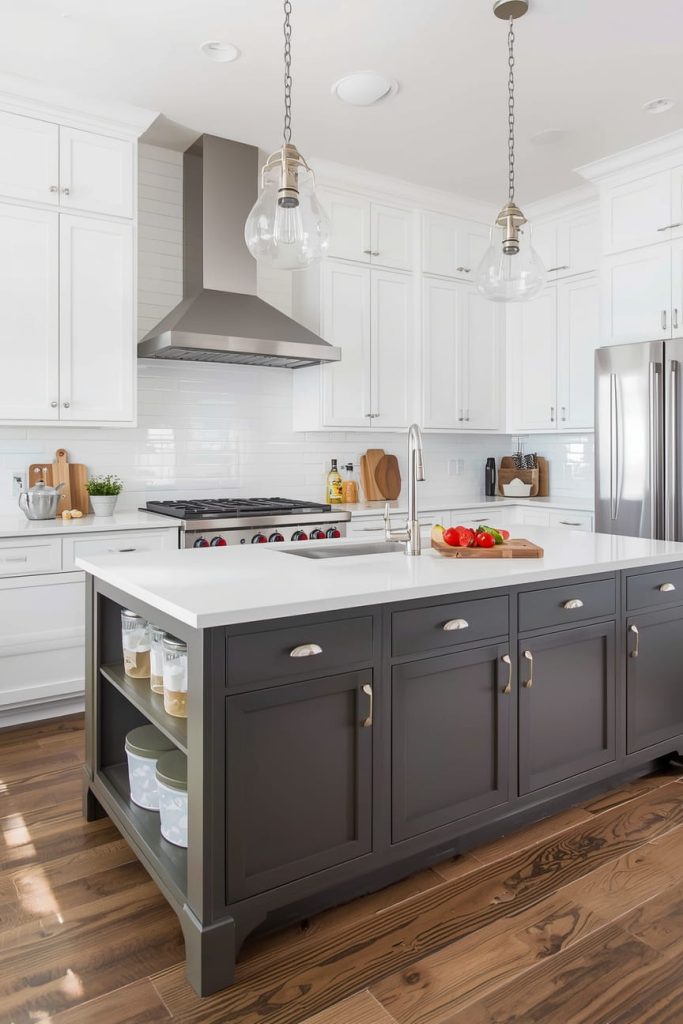
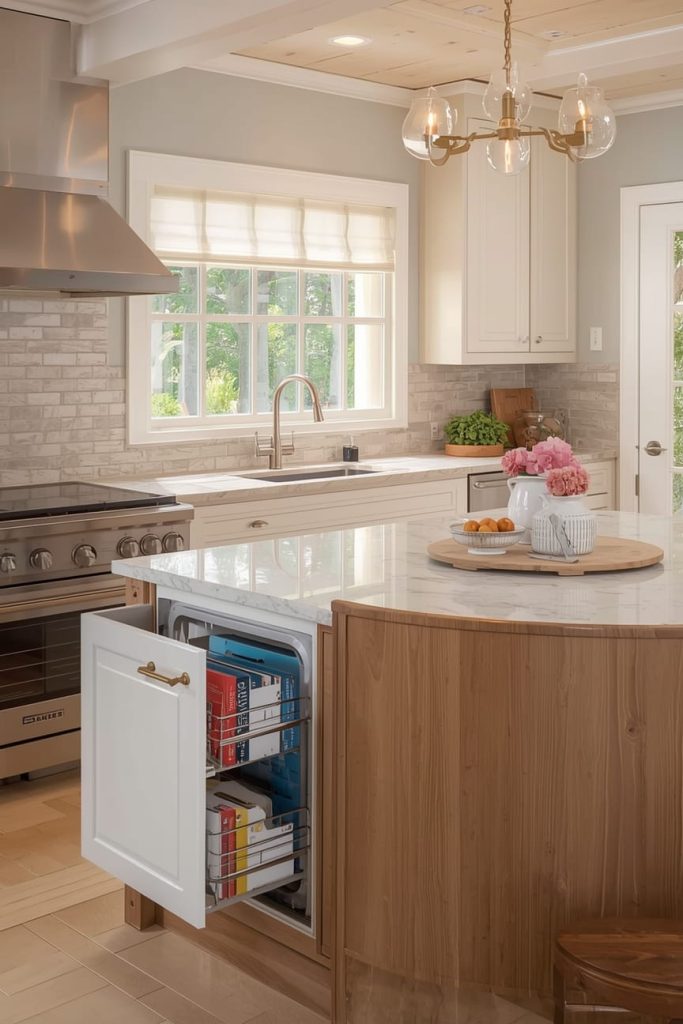
4. Kitchen Island Placement with Sink for Efficient Prep Zones

Placing the sink in the island is a smart solution when counter space along the walls is limited. I often recommend kitchen island placement with sink when homeowners want a dedicated prep zone that keeps them connected to the rest of the space.
However, this placement requires careful planning. Plumbing access, dishwasher clearance, and trash pull-out positioning all need to be considered. I always leave adequate clearance—especially behind the dishwasher—to prevent congestion.
From my experience, this setup works best when the island faces outward, allowing the person at the sink to engage with guests or family members. It transforms a utilitarian task into a more social experience while keeping prep efficient.
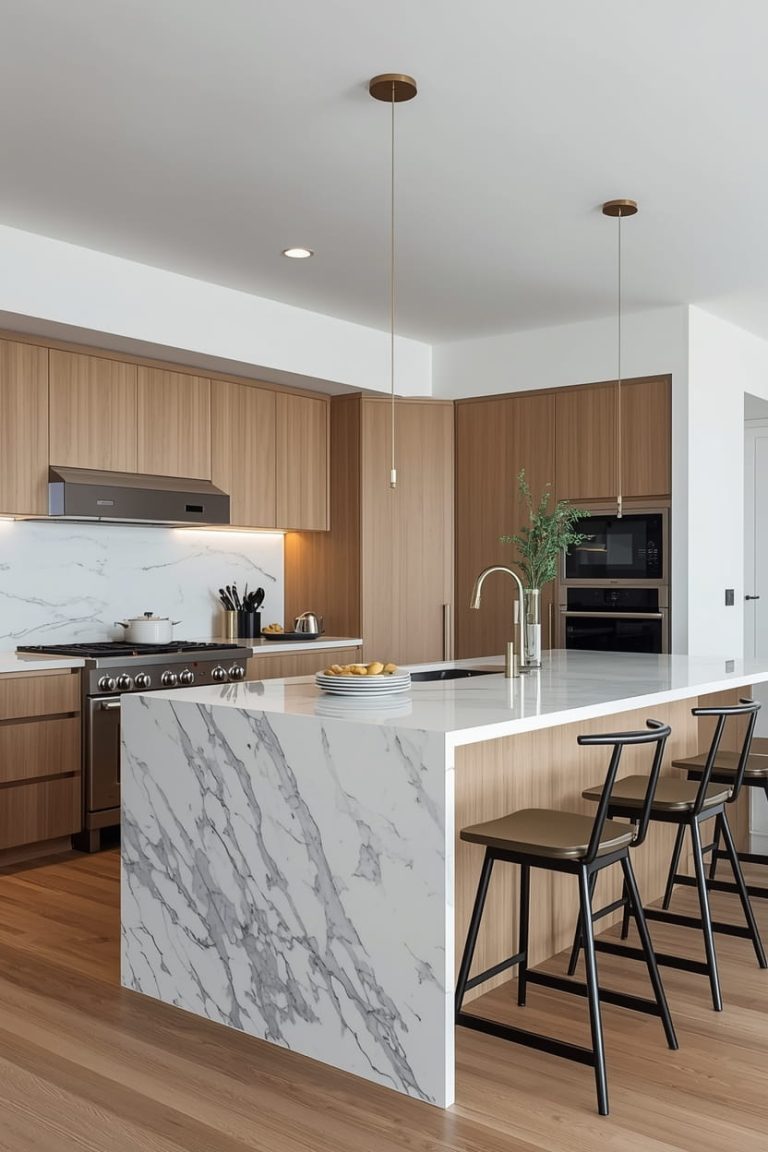
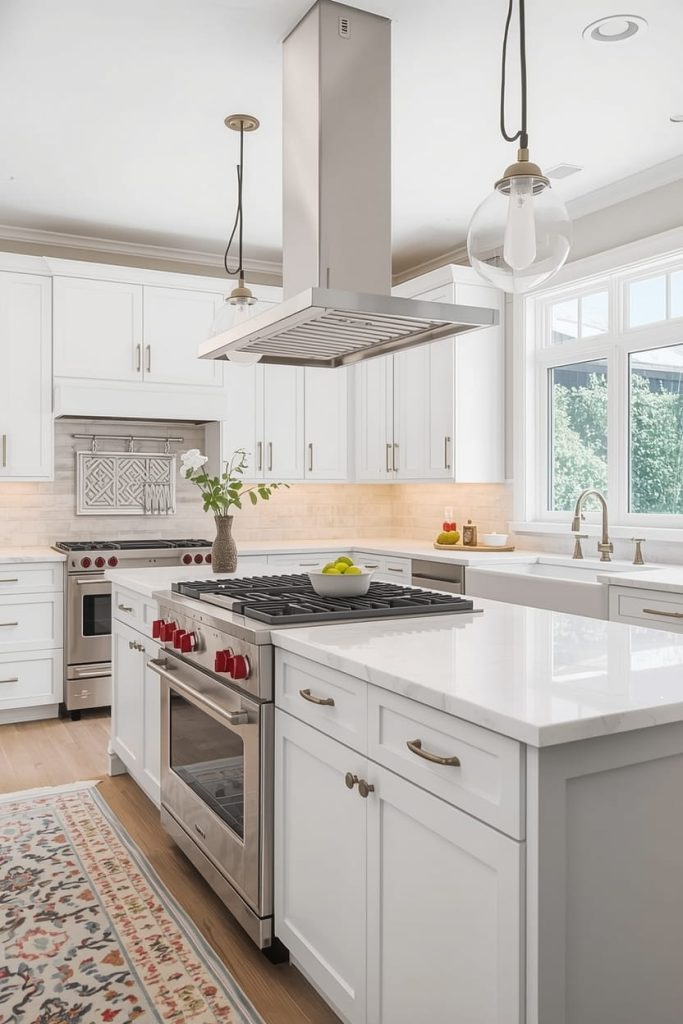
5. Kitchen Island Placement with Cooktop as a Statement Feature
Kitchen island placement with a cooktop instantly turns the island into a showpiece. I often suggest this idea for homeowners who love cooking and entertaining at the same time. When properly placed, the island becomes a performance zone rather than a hidden workspace.
Ventilation is critical here. Whether it’s a ceiling-mounted hood or a downdraft system, airflow should be planned before finalizing placement. I also ensure there’s enough landing space on both sides of the cooktop for safety and convenience.
This placement works best in larger kitchens where traffic flow can be routed behind the cooking area. When space allows, it creates a professional, chef-style kitchen feel that’s both functional and impressive.
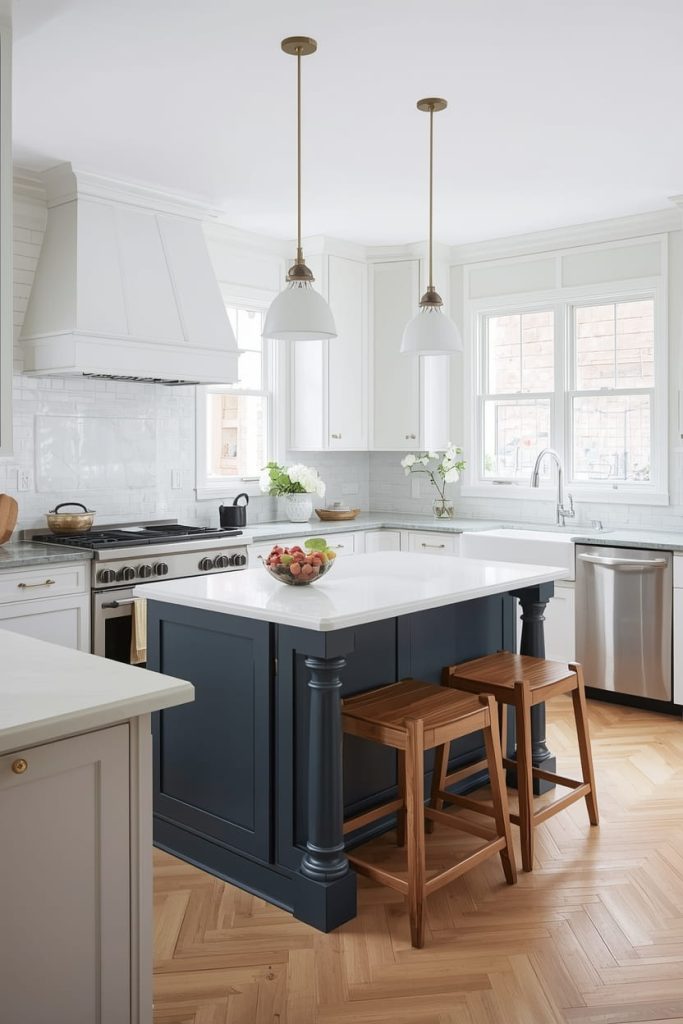
6. Kitchen Island Placement for Small Kitchens
Many people assume islands don’t work in compact spaces, but I disagree. Kitchen island placement in small kitchens can be incredibly effective when scaled correctly. The key is choosing a slim island and positioning it to preserve walkways.
I typically recommend a clearance of at least 36 inches on all working sides. In very tight layouts, a narrow or movable island can replace a traditional one. Placing it parallel to the longest wall often maximizes efficiency without overwhelming the room.
This placement idea is perfect for homeowners who want extra prep space or storage without sacrificing comfort. With thoughtful positioning, even small kitchens can benefit from an island.
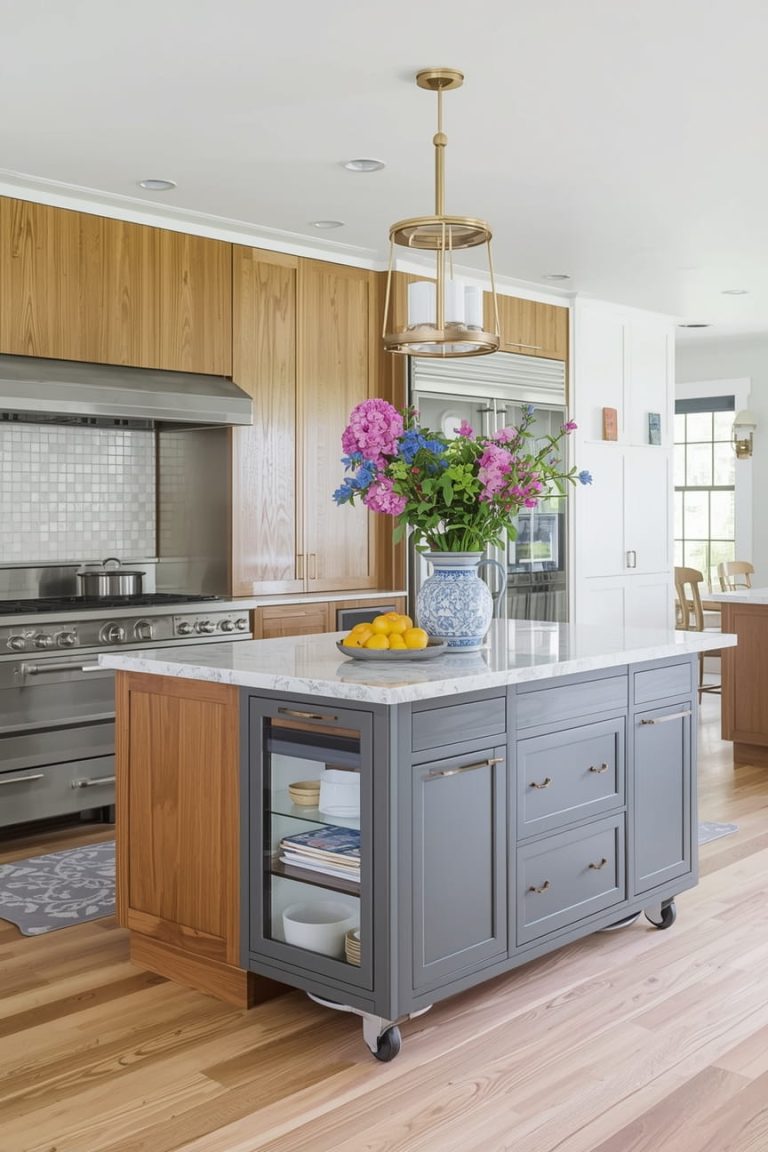
7. Kitchen Island Placement for Narrow or Galley Kitchens
Narrow kitchens present unique challenges, but island placement is still possible. I’ve had success placing islands in wider galley kitchens where the total width allows for proper clearances on both sides.
In these layouts, the island should run parallel to the main cabinets, maintaining consistent spacing. This placement improves workflow while adding valuable counter space. I always measure carefully to avoid creating pinch points that disrupt traffic flow.
For added flexibility, I sometimes recommend a freestanding or mobile island. This allows homeowners to adapt the space based on daily needs while maintaining a streamlined layout.
8. Kitchen Island Placement Without Blocking Walkways
One of the biggest mistakes I see is island placement that blocks natural walkways. Kitchen island placement without blocking walkways should always be a priority, especially in high-traffic homes.
I analyze how people enter, exit, and move through the kitchen before finalizing island positioning. Clear paths to doors, pantries, and appliances must remain unobstructed. Maintaining consistent clearance around the island ensures smooth movement and reduces frustration.
This placement idea focuses on usability over trends. When the island respects traffic flow, the kitchen feels intuitive and comfortable—something homeowners appreciate every day.
9. Kitchen Island Placement for Open-Concept Kitchens
Open-concept kitchens require thoughtful island placement to define space without closing it off. I often use the island as a natural boundary between cooking and living areas, positioning it to guide movement and sightlines.
This placement idea allows the island to function as a visual transition while still supporting kitchen workflow. I keep one side open for prep and appliances, while the outward-facing side is reserved for seating or decorative storage.
When placed correctly, the island enhances openness, improves zoning, and anchors the entire layout. It’s one of my favorite solutions for modern homes that prioritize flow and connection.
Final Thoughts on Kitchen Island Placement
After years of working with kitchen layouts, I can confidently say that kitchen island placement is never one-size-fits-all. The best placement depends on your space, lifestyle, and how you actually use your kitchen.
By considering clearance, workflow, seating, and traffic flow, you can position your island in a way that enhances both beauty and function.
Whether you’re planning a full renovation or a simple makeover, these kitchen island placement ideas provide a practical foundation. When the island is placed thoughtfully, it doesn’t just sit in the kitchen—it elevates the entire space.

I’m Sloane Everly, the heart and soul behind TheTidyPorch.com, where I pour my love for home decor, interior styling, and curated living into everything I do.
I’m all about turning houses into homes that feel like you—full of warmth, character, and a little bit of magic.
My style? Think cozy charm with a splash of bold, always designed to make your space feel like a hug you never want to leave.