
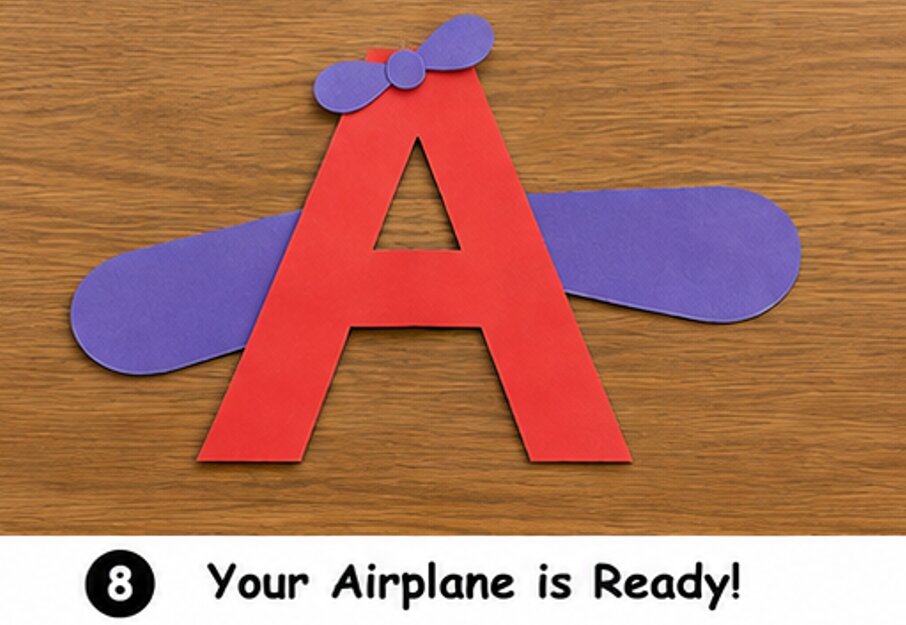
Learning the alphabet becomes much more exciting when children can make something with their own hands. Today, I’m going to show you how I made this A is for Airplane Craft using colorful construction paper.
Since A stands for Airplane, this activity helps preschoolers connect the uppercase letter A with a familiar word while practicing cutting, gluing, and fine motor skills.
The best part is that I drew the uppercase letter A by hand, cut it out, and turned it into a colorful airplane.
This simple craft is perfect for preschool, kindergarten, homeschool lessons, or a Letter of the Week activity.
Supplies You’ll Need
Before I started, I gathered these materials:
- Uppercase Letter A (drawn by hand)
- Red construction paper
- Purple construction paper
- Marker
- Scissors
- Glue
- Airplane template (optional for tracing)
How to Make an A Is for Airplane Craft
Step 1: Draw and Cut Out the Uppercase Letter A
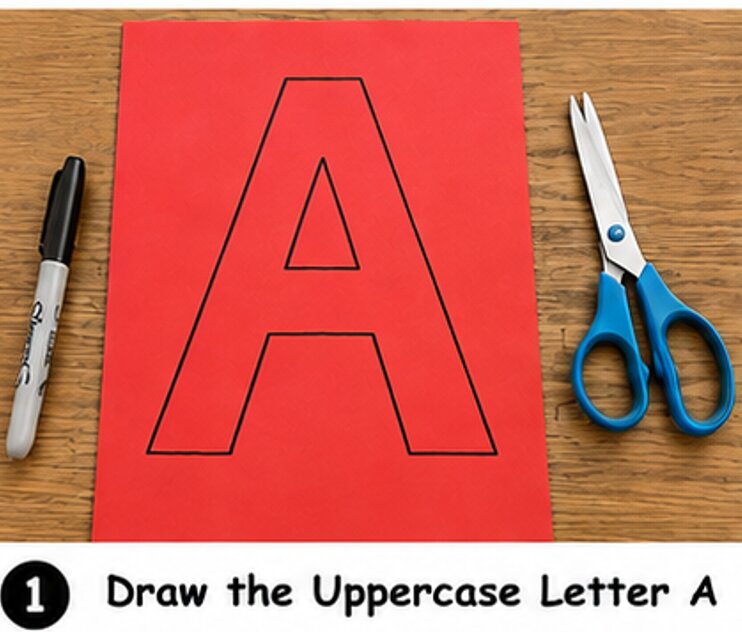
I started by drawing a large uppercase A on a piece of red construction paper using a black marker. I made the letter big enough so there would be plenty of room to decorate it later.
Next, I carefully cut around the outside of the letter with scissors. Then I cut out the small triangle from the middle of the letter. This open space makes the letter look cleaner and helps it resemble the body of the airplane.
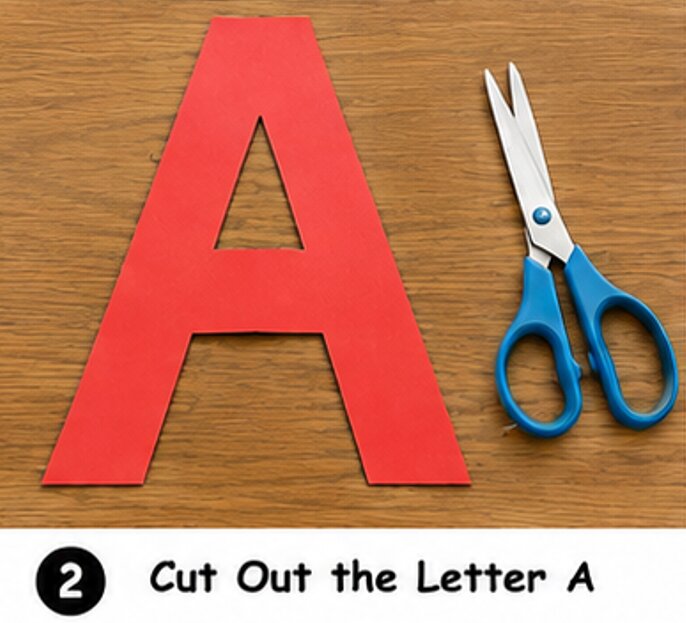
Take your time during this step. If your child is still learning to use scissors, you can cut out the letter yourself or draw thicker lines to make cutting easier.
Tip: Draw the letter as large as possible. Bigger letters are easier for little hands to decorate.
Read Also: 9 Easy Letter A Crafts
Step 2: Make the Airplane Wings
Now it was time to transform the letter into an airplane.
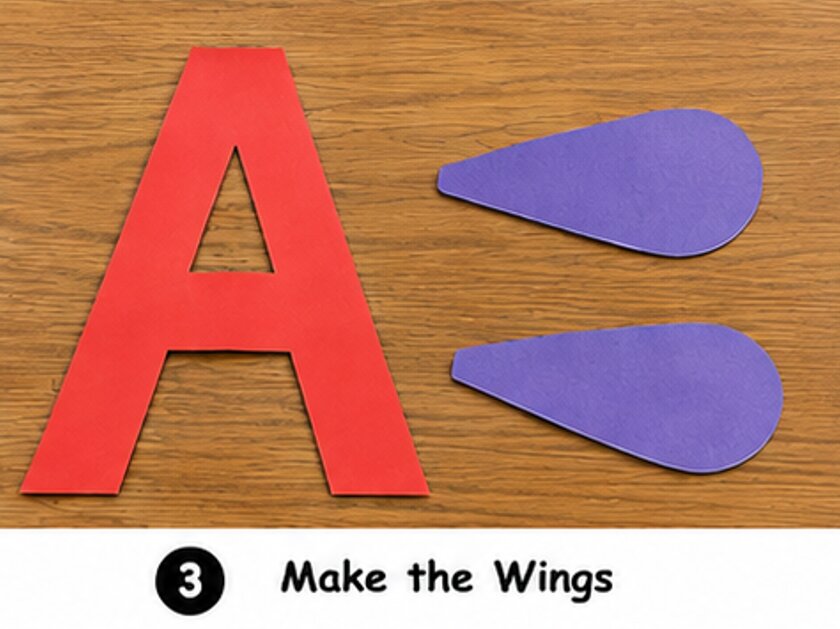
I used purple construction paper to draw two long teardrop-shaped wings. One wing was placed near the top right side of the letter, while the other was attached near the bottom left side.
After cutting out both wings, I added glue to the flat ends and pressed them onto the back of the letter A. Placing the wings behind the letter makes the airplane look like it is ready to fly.
Before moving on, I gently pressed each wing for a few seconds so the glue could hold them in place.
Step 3: Create the Propeller
To finish the airplane, I made a simple propeller.
I cut a small oval for the center and added two rounded blades on each side. Then I glued the propeller to the pointed top of the uppercase A.
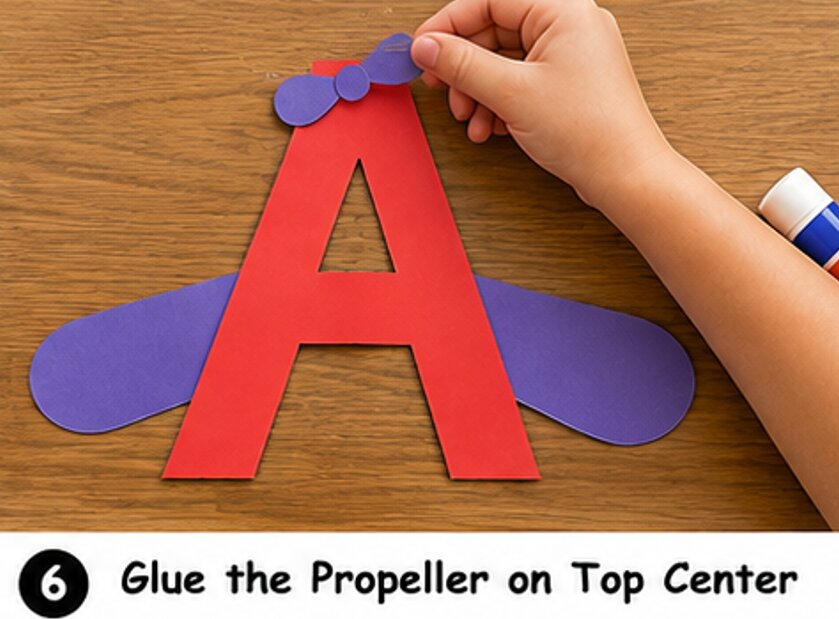
This tiny detail instantly made the letter look like a real airplane instead of just a letter.
If you like, you can also use a black marker to draw small lines on the propeller for extra detail.
Step 4: Let the Glue Dry
Once every piece was attached, I carefully pressed each part one last time.
Then I set the craft aside for several minutes so the glue could dry completely.
After it dried, the colorful A is for Airplane Craft was finished and ready to display.
Give It a Try
I love this A is for Airplane Craft because it is simple, colorful, and easy for young learners to make.
With just a few pieces of construction paper, children can turn an uppercase A into a fun airplane while learning the alphabet and practicing important fine motor skills.
Gather your supplies, follow each step, and enjoy creating your own flying letter A. I’d love to see how your airplane turns out! Happy crafting!

Sohel Rana is the writer, editor, publisher, and founder of The Tidy Porch. He is the man who is responsible for the craft (my wife created) being converted into a written piece. He also helps her wife (Sumona) by capturing videos of each craft. In short, he brings each craft created by her wife in front of you by transforming it into an article and a video.
