
B for Balloon Craft is a fun and easy alphabet activity that helps preschoolers learn the letter B through hands-on play.
I love this simple paper craft because it uses basic supplies you probably already have at home, such as construction paper, glue, and a marker.
As children cut, glue, and decorate, they also practice letter recognition, fine motor skills, and creativity.
Whether you’re teaching at home, in preschool, or in kindergarten, this colorful Letter B craft is an enjoyable way to make learning the alphabet exciting.
Materials Needed
Before I begin, I gather these simple craft supplies:
- Colored construction paper (choose several bright colors)
- Black marker
- School glue or glue stick
- Child-safe scissors
- Pencil
- A small round object to trace circles (optional)
How To Make The B For Balloon Craft
Step 1: Make the Uppercase Letter B
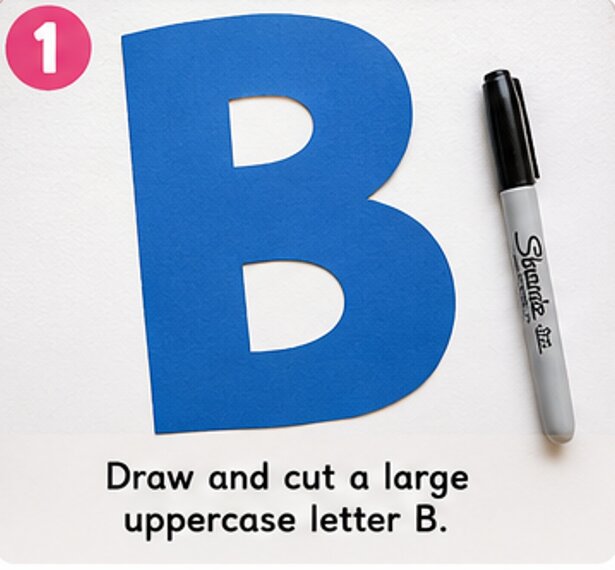
I start by placing a sheet of construction paper on a flat surface. Using a pencil, I draw a large uppercase B that takes up most of the paper.
I keep the letter wide enough so there is plenty of room to attach the balloon pieces later. Once I am happy with the shape, I carefully trace over the pencil lines with a black marker to make the letter stand out.
Then I cut out the large letter B with scissors. If I’m working with younger children, I prepare the letter before the activity begins.
Step 2: Create the Balloon Shapes
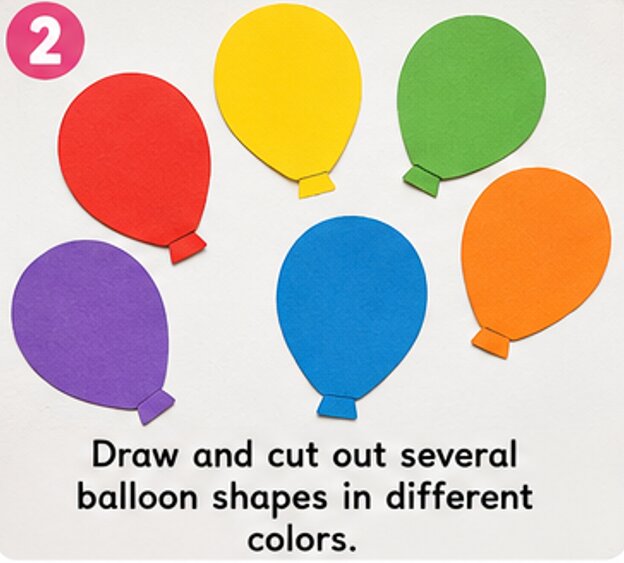
Next, I choose several different colors of construction paper. Bright shades like red, blue, yellow, green, pink, orange, and purple make the finished craft look cheerful.
Using a pencil, I draw several balloon shapes. I make each balloon slightly different in color but about the same size so they fit nicely on the letter B. If drawing balloons feels difficult, I simply trace an oval and add a small triangle at the bottom to create the classic balloon shape.
After drawing all the balloons, I carefully cut them out. I usually make five to eight balloons depending on how large my letter B is.
Step 3: Add Balloon Strings
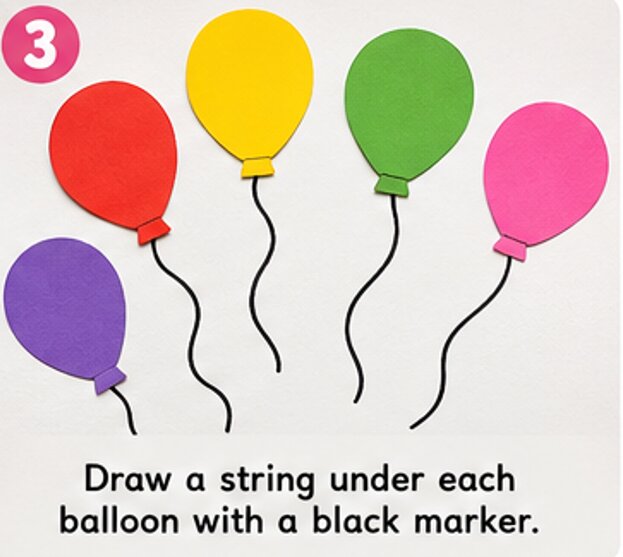
Now it’s time to turn the paper cutouts into real-looking balloons.
Using the black marker, I draw a long, slightly curved string starting from the bottom of each balloon. If I prefer, I can cut very thin strips of black construction paper and glue them underneath each balloon instead of drawing the strings.
The curved lines give the balloons a floating appearance and make the craft look more lively.
Step 4: Arrange the Balloons
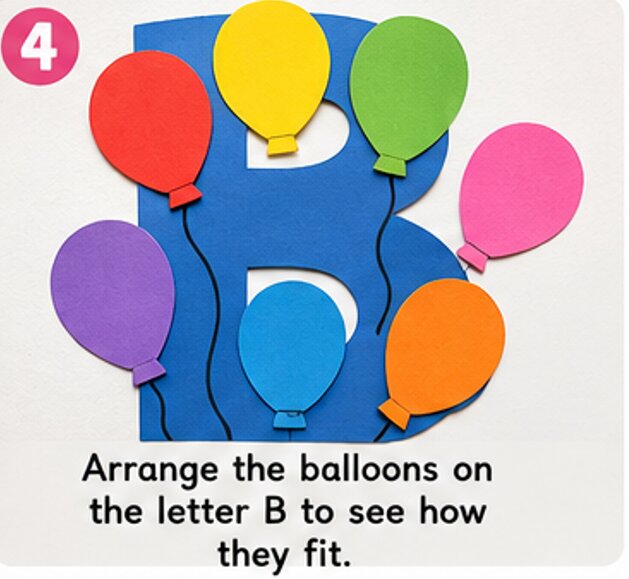
Before using glue, I place all the balloons on top of the uppercase B to see how they fit.
I move them around until I find an arrangement that looks balanced. Some balloons overlap slightly while others fill the empty spaces. I spread the colors across the letter so no two matching colors sit next to each other whenever possible.
Taking a few extra moments to arrange everything first helps the finished craft look neat and colorful.
Step 5: Glue the Balloons onto the Letter
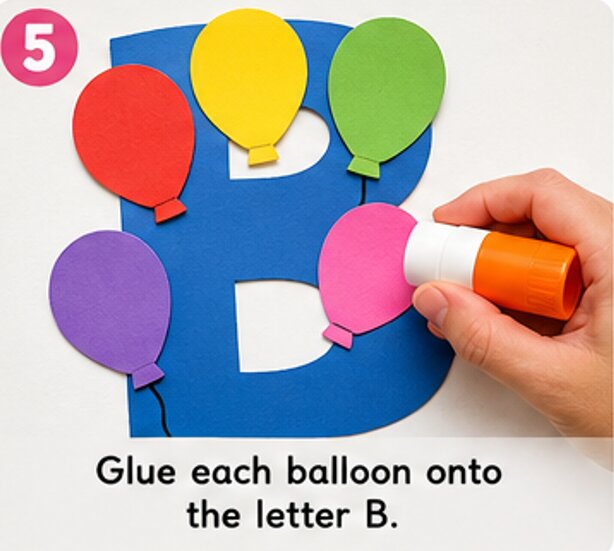
Once I am happy with the layout, I begin attaching each balloon.
I place a thin layer of glue on the back of one balloon at a time and press it gently onto the letter B. I continue until every balloon is securely attached.
I avoid using too much glue because a small amount holds the paper well and dries faster. After all the balloons are glued down, I press each one lightly for a few seconds to help it stick.
Step 6: Draw the Balloon Strings on the Letter
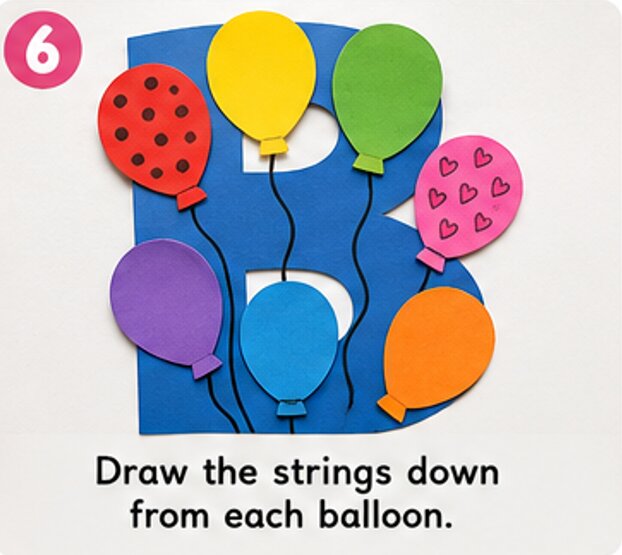
After the balloons are attached, I use my black marker to extend each string downward if needed.
I let some strings curve in different directions so the balloons appear to be floating naturally. The different line lengths also make the design more interesting.
This small detail adds movement and gives the entire craft a playful look.
Step 7: Decorate the Balloons
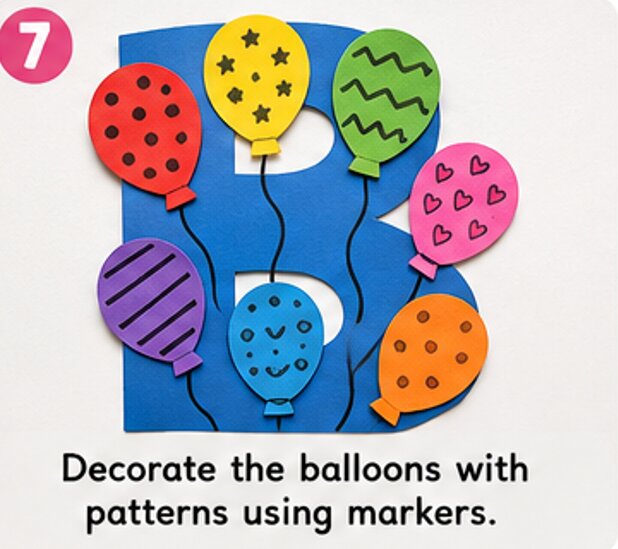
Now comes my favorite part.
I use markers to decorate each balloon with simple patterns. Some balloons have polka dots, while others have stars, hearts, zigzags, stripes, or tiny swirls.
I don’t have to make every balloon look the same. Giving each one its own design makes the craft more creative and encourages children to use their imagination.
Step 8: Add the Word “Balloon”
To reinforce alphabet learning, I write the word “Balloon” across the bottom of the page using large, clear letters.
I begin with a bold uppercase B followed by lowercase letters. Sometimes I trace the word with colorful markers so it stands out even more.
Reading the word while pointing to the letter B helps children connect the letter with a familiar object that starts with the same sound.
Step 9: Give the Letter B a Friendly Face (Optional)
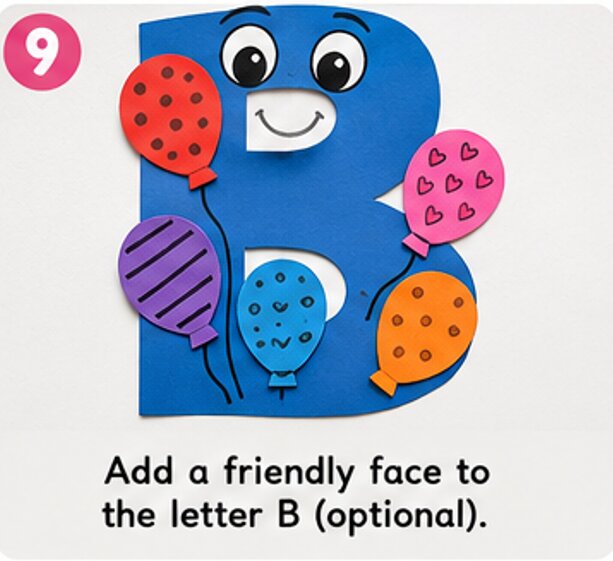
For an extra fun touch, I sometimes turn the uppercase B into a friendly character.
Using my marker, I draw two small eyes near the top of the letter, add a smiling mouth, and draw tiny eyebrows. The happy face makes the alphabet letter feel more inviting, especially for preschoolers.
Children often enjoy talking about their smiling letter while learning its sound.
Step 10: Let Everything Dry
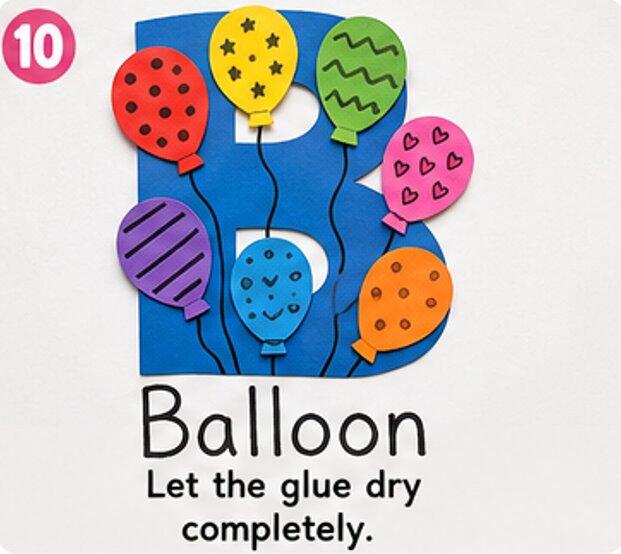
After all the pieces are attached, I place the craft on a flat table and allow the glue to dry completely.
This usually takes a few minutes, depending on the type of glue I use. While waiting, I encourage children to say words that begin with the letter B, such as ball, bear, bird, bee, boat, banana, book, and butterfly.
This simple conversation turns the craft into an enjoyable alphabet learning activity.
Step 11: Display Your Finished Craft
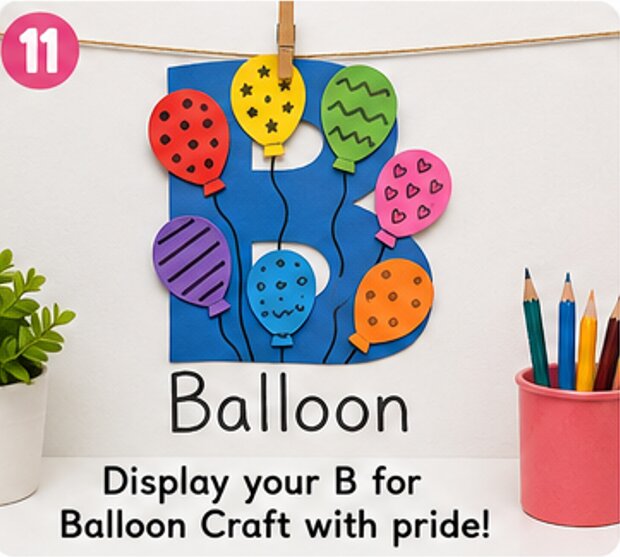
Once the glue has dried, the B for Balloon Craft is ready to display.
I like hanging it on a classroom bulletin board, placing it on a homeschool learning wall, or adding it to an alphabet binder. It also looks wonderful as part of a Letter of the Week display where children can see their work every day.
Displaying finished crafts gives children a sense of accomplishment and reminds them of the letter they have learned.
Give It A Try
B for Balloon Craft is a simple paper activity that combines creativity with early alphabet learning.
With just construction paper, glue, a marker, and scissors, you can create a colorful project that helps children recognize the letter B while practicing cutting, gluing, and decorating skills.
The easy steps make it suitable for preschool, kindergarten, classrooms, homeschooling, or a fun afternoon at home. Gather your supplies, choose your favorite paper colors, and enjoy making a bright balloon-themed Letter B craft together.
Every finished project is a cheerful reminder that learning the alphabet can be both creative and exciting.

Sohel Rana is the writer, editor, publisher, and founder of The Tidy Porch. He is the man who is responsible for the craft (my wife created) being converted into a written piece. He also helps her wife (Sumona) by capturing videos of each craft. In short, he brings each craft created by her wife in front of you by transforming it into an article and a video.
