
It was raining, my daughter was bored out of her mind, and I had exactly one roll of tape and a stack of construction paper. That’s it. No Pinterest-perfect supply kit, no glitter, nothing fancy.
Twenty minutes later, she’d made a paper flower and was already asking to make five more. That’s the moment I realized these crafts don’t need to be complicated to work. You don’t need a craft room. You just need a plan that actually holds a kid’s attention.
Here are seven paper flower crafts that do exactly that, sorted by age so you know which one fits your kid today.

Top 5 Products That Make Kids’ Crafting Easier
A few smart supplies save you cleanup time and keep little hands safer while they work.
- Kid-Safe Blunt-Tip Scissors (Multi-Pack) — Cuts paper cleanly but won’t hurt small fingers, so younger kids can practice cutting on their own.
- Washable School Glue Sticks (Bulk Pack) — Skips the mess of liquid glue and dries fast, which keeps young kids from getting frustrated mid-project.
- Tissue Paper Assortment (100+ Sheets, Multiple Colors) — Gives you enough color variety for several projects without running back to the store mid-craft.
- Pre-Cut Craft Foam Flower Shapes — Saves cutting time entirely for toddlers or large groups, since the shapes are already made.
- Washable Kids’ Paint Set with Brushes — Lets younger kids add color to their flowers without worrying about permanent stains on clothes or tables.
No-Cut Tissue Paper Flowers (Toddler-Friendly, Ages 2-4)
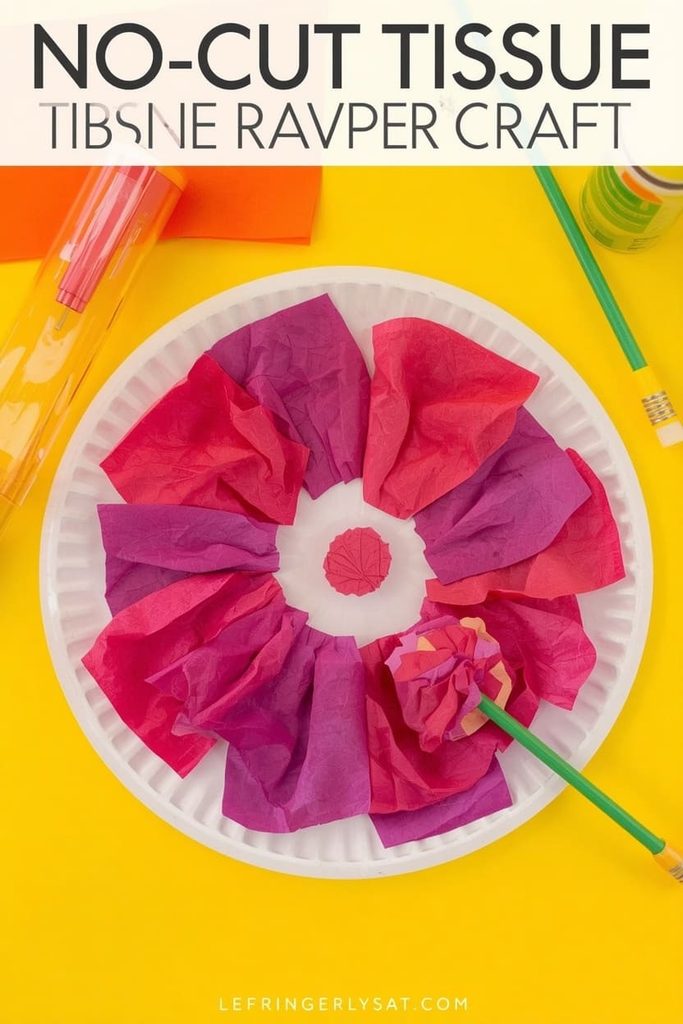
This is the easiest paper flower craft on this list, and it needs zero scissors.
Toddlers this age don’t have the hand control for cutting yet, so this project skips that step completely. It’s just scrunching and gluing, which builds fine motor skills without any frustration.
What you’ll need:
- Pre-cut tissue paper squares (about 2×2 inches)
- A paper plate or cardstock circle as the base
- Washable glue stick
- A pencil eraser (for scrunching)
How to make it:
- Draw or print a simple flower outline on your cardstock base.
- Show your toddler how to scrunch a tissue square around the pencil eraser to form a little ball.
- Dab a bit of glue on the outline and press the scrunched tissue onto it.
- Repeat until the whole flower shape is filled in.
- Let it dry flat for about 20 minutes.
Tip: Pre-cut all your tissue squares before you start. Toddlers lose interest fast if they’re sitting around waiting for you to cut more paper mid-craft.
Coffee Filter Flowers with Watercolors (Ages 3-6)
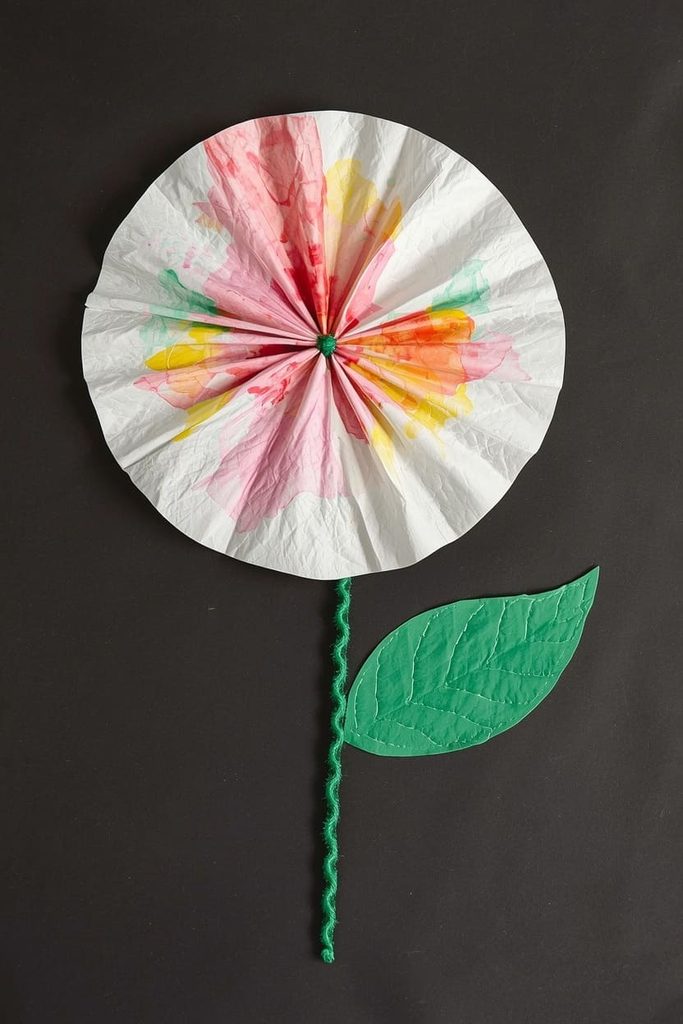
Coffee filter flowers let young kids paint first and shape the flower after, which splits the activity into two shorter, more manageable steps.
This one works well because painting is the fun part for little kids, and the “craft” part happens almost by itself once the filter dries.
What you’ll need:
- White coffee filters
- Liquid watercolor or diluted washable paint
- A paintbrush or dropper
- Pipe cleaners
How to make it:
- Lay a coffee filter flat on a covered table.
- Let your child paint or drop color onto it, encouraging them to blend colors if they want.
- Let it dry completely (about an hour, or use a hair dryer on low for a few minutes).
- Once dry, gather the filter at the center and twist gently.
- Wrap a pipe cleaner around the twisted center to make a stem.
Tip: Put a paper towel underneath the filter while it dries. It soaks up extra liquid and keeps the colors from turning muddy in the middle.
Paper Plate Sunflower Craft for the Classroom (Ages 5-8)
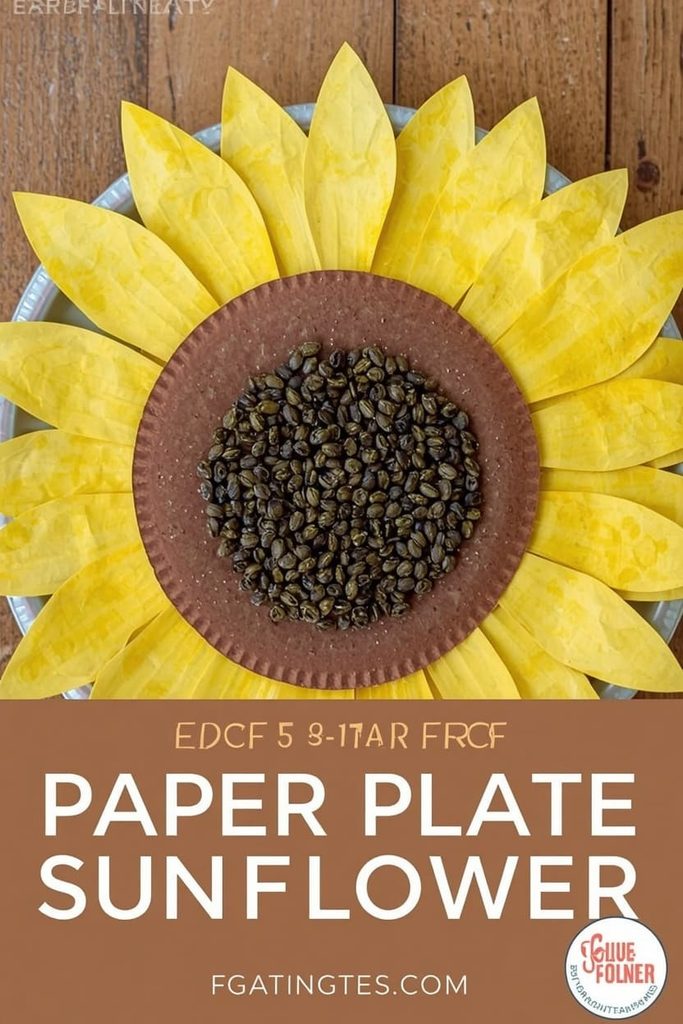
This paper plate sunflower is an easy group project because every child works from the same simple base, which keeps a classroom or group moving at the same pace.
It also ties in nicely with a spring or plant-life science lesson, since you can talk about petals and seeds while the kids work.
What you’ll need:
- Paper plates
- Yellow and brown construction paper
- Kid-safe scissors
- Glue stick
- Black marker (optional, for seed details)
How to make it:
- Cut yellow construction paper into petal shapes (or use a template for younger kids).
- Glue the petals around the outer edge of the paper plate, pointing outward.
- Cut a circle of brown paper for the center and glue it in place, covering the base of the petals.
- Optional: dot the brown center with a black marker to look like seeds.
- Let dry flat before displaying.
Tip: For younger kids in the group, pre-cut the petal shapes ahead of time so everyone can focus on gluing and arranging instead of cutting.
Paper Flower Bouquet Card for Mother’s Day (Ages 5-10)
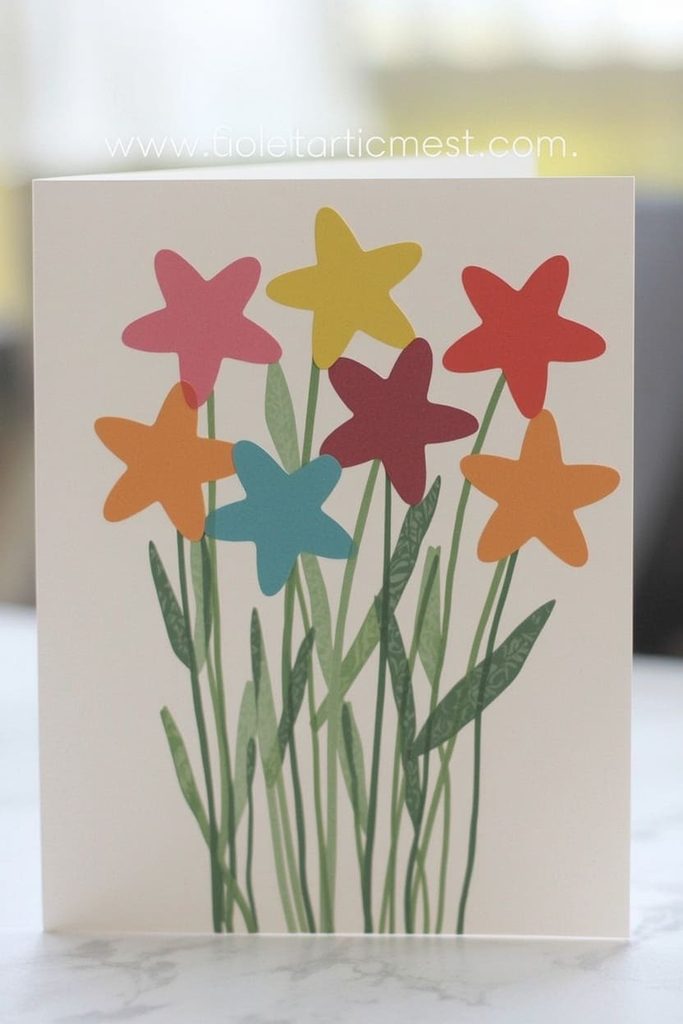
This paper flower card gives kids a handmade gift they can make and give the same day, without needing a separate wrapped present.
Kids this age can usually cut simple shapes on their own, which makes this a good project for building independence while still finishing something they’re proud of.
What you’ll need:
- Colored cardstock or construction paper
- A blank folded card or plain paper
- Kid-safe scissors
- Glue stick
- Green marker or paper for stems
How to make it:
- Cut 3-5 simple flower shapes from colored paper (a five-petal shape works well and is easy to cut).
- Draw or cut thin strips of green paper for stems.
- Glue the stems onto the front of the card first.
- Glue the flower shapes at the top of each stem.
- Let your child write or dictate a short message inside.
Tip: Let your child pick the colors themselves. It sounds small, but it’s usually the difference between a card they’re excited to give and one they made because you asked.
Pipe Cleaner and Paper Flower Bouquet for a Party Activity (Ages 6-10)
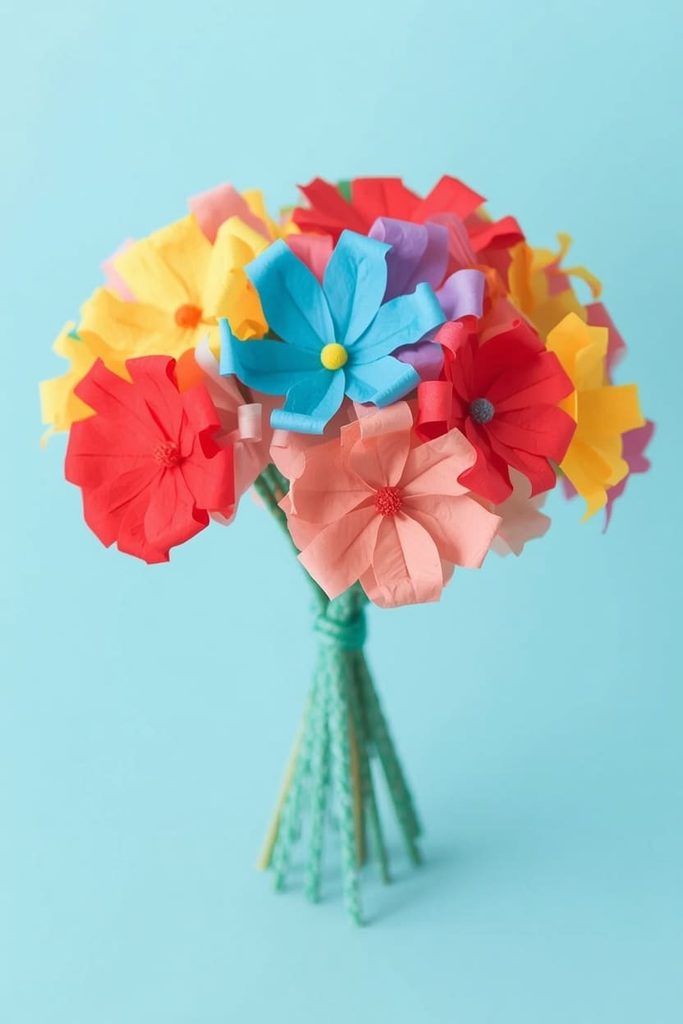
This bouquet works well as a party activity because each child makes their own to take home, giving you a built-in party favor with no extra cost.
Setting up a small station with pre-cut supplies keeps this manageable even with a group of kids working at once.
What you’ll need:
- Cardstock in assorted colors
- Pipe cleaners
- Kid-safe scissors
- A hole punch
How to make it:
- Cut 4-6 petal shapes from cardstock for each flower.
- Punch a small hole through the center of the stacked petals.
- Thread a pipe cleaner through the hole and bend the top into a small loop so the petals don’t slide off.
- Fan the petals out evenly.
- Repeat to make 2-3 flowers per child, then bundle them together with a spare pipe cleaner to form a bouquet.
Tip: Set out pre-cut petal shapes in a few sizes so kids can mix and match instead of waiting for scissors to free up.
Paper Flower Garden in a Cup (Group Project, Ages 4-8)
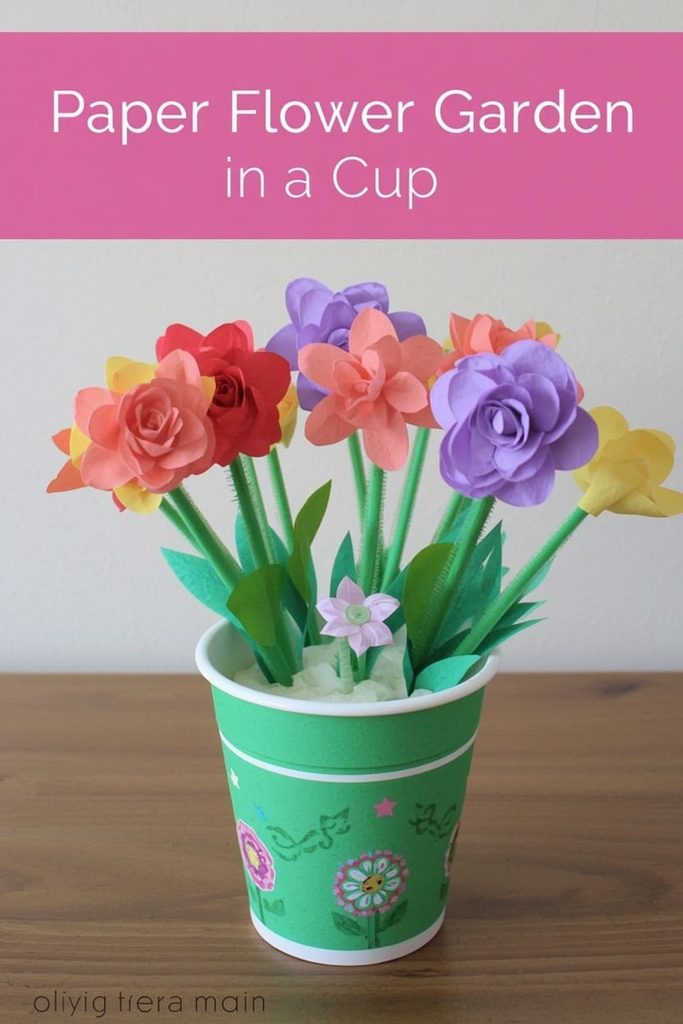
This project gives each child their own small “garden” to plant and display, which makes it a good group activity that still ends with something individual.
It also works as a simple science tie-in, since you can talk about what flowers need to grow while the kids build their paper version.
What you’ll need:
- Small plastic or paper cups
- Green pipe cleaners or paper strips (for stems)
- Colored paper for petals
- Modeling clay or crumpled paper (to anchor stems in the cup)
- Kid-safe scissors
How to make it:
- Cut simple flower shapes from colored paper for each child.
- Attach each flower to a pipe cleaner or paper strip stem using glue or tape.
- Place a small ball of clay or crumpled paper in the bottom of each cup.
- Push the flower stems into the clay so they stand upright.
- Let each child arrange 3-5 flowers in their cup to finish their “garden.”
Tip: Decorate the outside of the cups first, before adding the flowers. It’s a good filler activity while you wait for everyone to finish cutting.
Quick 10-Minute Paper Flower for a Busy Afternoon (Ages 5+)
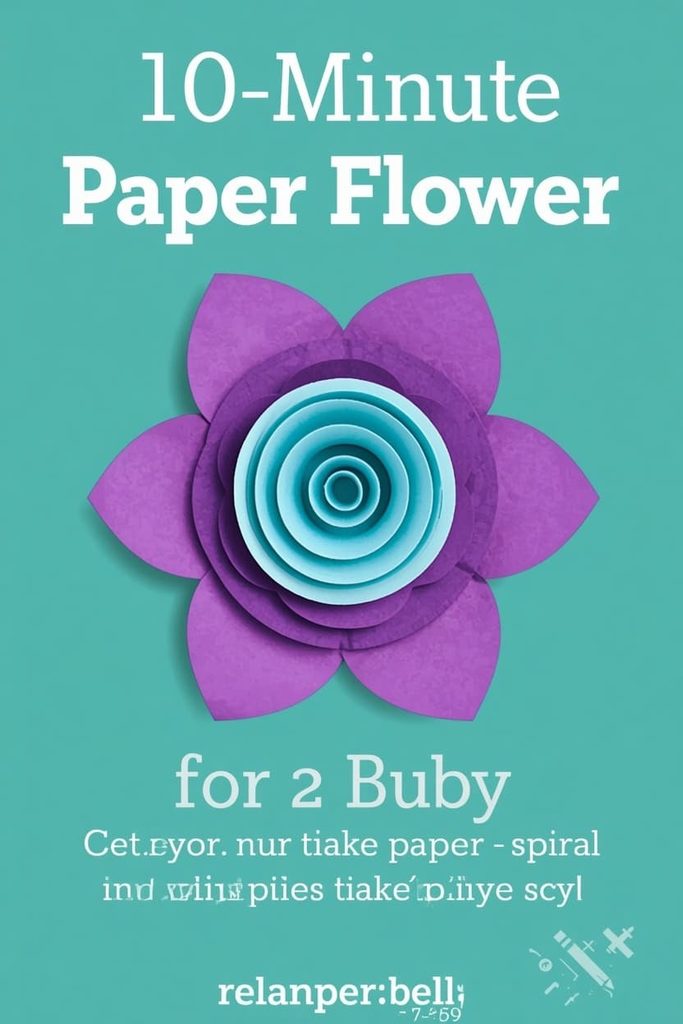
This is the fastest project on the list, built for days when you need something done in ten minutes flat.
It uses a spiral-cutting technique that turns one piece of paper into a full flower shape with almost no assembly required.
What you’ll need:
- One sheet of colored paper per flower
- Kid-safe scissors
- A pencil
How to make it:
- Draw a spiral on the paper, starting from the outer edge and working toward the center, about 1 inch wide.
- Cut along the spiral line.
- Starting at the outer end, roll the spiral toward the center.
- Let the outer rolls loosen slightly as you go.
- Glue the bottom center point to hold the shape.
Tip: Draw the spiral for younger kids ahead of time so they can focus on cutting and rolling, which is the part they usually enjoy most.
Frequently Asked Questions
What age can kids start making paper flowers? Kids as young as 2-3 can participate in no-cut versions, like the tissue paper flowers, where scrunching and gluing replace cutting. True independent cutting and assembly usually works better starting around age 5.
How do I keep the mess to a minimum? Stick to glue sticks instead of liquid glue, and pre-cut shapes for younger kids so scraps stay contained. Covering the table with an old placemat or newspaper also makes cleanup faster.
What if my child can’t use scissors safely yet? Choose a no-cut project like the tissue paper flowers or garden-in-a-cup craft, and handle any cutting yourself ahead of time. You can always let them “help” by tearing paper instead, which is safe at almost any age.
How do I adapt these crafts for a mixed-age group? Pre-cut shapes for younger kids while letting older kids cut their own. Everyone can still work on the same project at the same time, just with different amounts of prep done in advance.
How should we store or display the finished flowers? Lay them flat in a shallow box if you’re not displaying them right away. For display, tape them to a wall, stand them in a cup, or clip them to a string for a simple garland.
Do these crafts require expensive supplies? No. Most of these use paper, glue, and scissors you likely already have at home. Coffee filters, paper plates, and construction paper are inexpensive and often already in a craft drawer or classroom supply closet.
That rainy afternoon with my daughter turned into a habit. Now, when she’s bored, paper and glue come out before the tablet does. Pick whichever one of these fits your day right now — the toddler-safe one if you’re short on patience, the quick one if you’re short on time. Your kid doesn’t need it perfect. They just need to make something with their own hands and feel good about it when they’re done.

Sohel Rana is the writer, editor, publisher, and founder of The Tidy Porch. He is the man who is responsible for the craft (my wife created) being converted into a written piece. He also helps her wife (Sumona) by capturing videos of each craft. In short, he brings each craft created by her wife in front of you by transforming it into an article and a video.
