
I sat at the kitchen table with my letter craft binder open, staring at the letter “I”, and drew a total blank. Penguin, pumpkin, panda — those had come easy.
Insect? Igloo? I had nothing. My daughter finally said, “Mom, just draw a bug,” and that was the whole breakthrough.
If you’ve hit the same wall, you’re not alone. “I” is one of the hardest letters to find craft ideas for. There just aren’t as many easy, recognizable I words as there are for most other letters.
So I did the digging for you. Below are 7 complete, paper-only letter “I” crafts you can start and finish today.
Top 5 Amazon Products For Letter I Crafts
- Crayola Construction Paper (Assorted Colors, 240-Count) covers every shade you’ll need for igloos, iguanas, and ice cream cones without a store run mid-project.
- Elmer’s Disappearing Purple School Glue Sticks (30-Pack) are the exact glue-stick type this article calls for, and the purple-to-clear formula helps little hands see their coverage.
- Fiskars Blunt-Tip Kids Scissors (2-Pack) cut paper cleanly while staying safe for preschool-aged fingers still learning control.
- Googly Wiggle Eyes Assorted Sizes (700-Piece Pack) turn any flat paper shape into a character in seconds, which keeps a preschooler’s attention from wandering.
- Crayola Broad Line Markers (Classic Colors, 10-Pack) add detail lines, faces, and texture once the glue on each craft has dried.
Craft Idea 1: Paper Plate Igloo
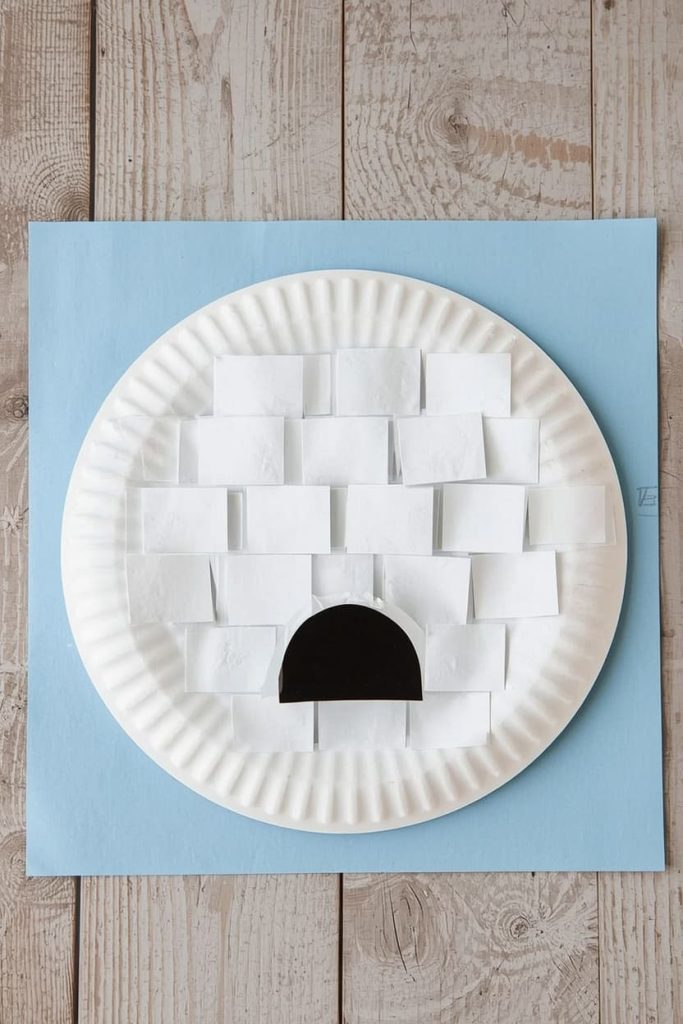
A paper plate igloo is one of the easiest ways to open your letter I unit, because the plate’s curved edge already looks like an igloo dome. It only needs a handful of cuts, so kids as young as three can help from start to finish.
Materials Needed
- 1 white paper plate
- White construction paper
- Light blue construction paper (background, optional)
- Black marker
- Glue stick
How To Make
- Cut the paper plate in half. You’ll only use one half per igloo.
- Cut 8–10 small rectangles from white construction paper, each about 2 inches wide and 1 inch tall, to look like ice blocks.
- Glue the rectangles onto the curved plate half in rows, starting at the bottom and working up, slightly overlapping each row like bricks.
- Cut a small black half-circle, about 2 inches wide, for the igloo’s doorway. Glue it near the bottom center of the plate.
- If using a background, glue the finished igloo onto the light blue paper.
- Use the black marker to add a few snowflakes around the igloo.
Tips
Trim the ice-block rectangles all at once by stacking several sheets of paper before cutting. It saves time and keeps every block close to the same size.
Craft Idea 2: Paper Insect With Folded Wings
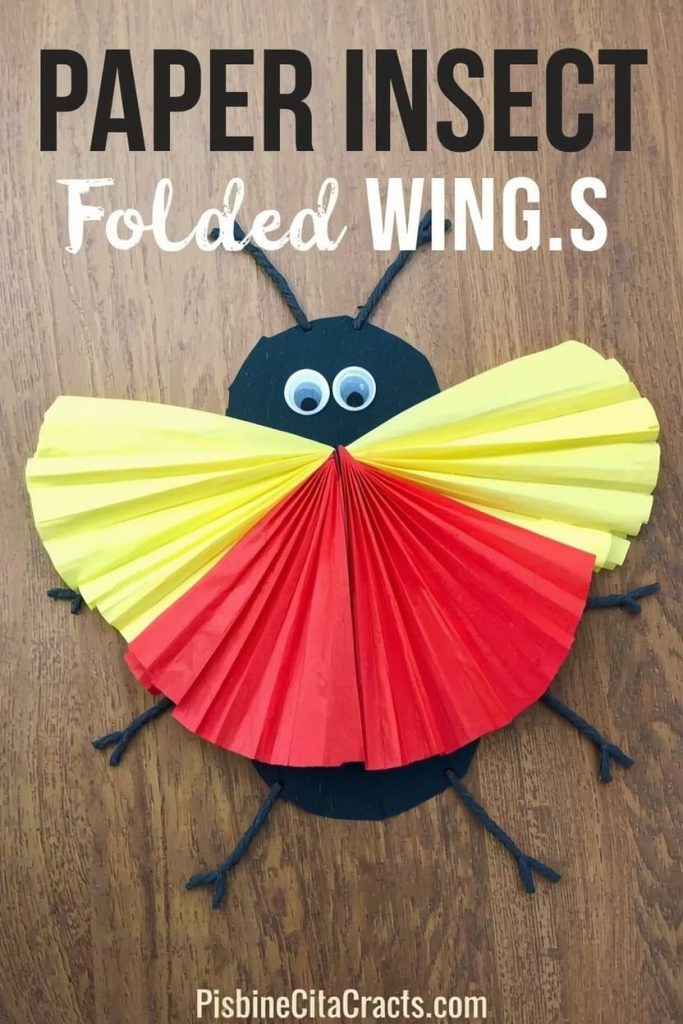
A paper insect is a strong pick for letter I because “insect” is a word kids already know, and the folded wings give this craft a fun, semi-3D look while staying completely paper-based.
Materials Needed
- Black or brown construction paper
- 2 colors of construction paper for wings (yellow and red work well)
- Googly eyes
- Glue stick
- Black marker
How To Make
- Cut an oval, about 4 inches long, from black or brown paper for the insect’s body.
- Cut two rectangles, about 3 by 1.5 inches, one yellow and one red, for the wings.
- Fan-fold each wing rectangle accordion-style, then pinch the center to hold the fold.
- Glue the pinched center of each wing to the back of the body, letting the folds fan open.
- Glue two googly eyes near the top of the body.
- Use the black marker to draw six thin legs along the sides of the body and two small antennae at the top.
Tips
Pinch and hold the wing’s center for a few seconds after gluing so it doesn’t spring open before the glue sets.
Craft Idea 3: Ice Cream Cone Collage
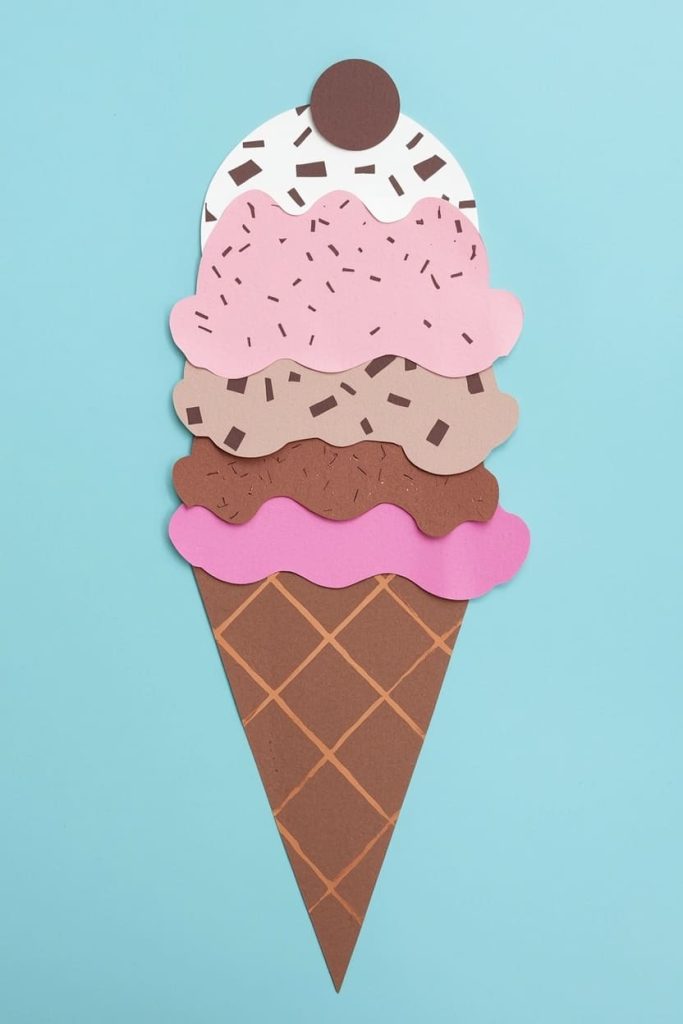
An ice cream cone craft is one of the fastest projects on this list, and kids tend to love it because they get to “choose their flavor” with color.
Materials Needed
- Brown construction paper
- 2–3 colors of construction paper for scoops (pink, brown, and white work well)
- Glue stick
- Black marker
How To Make
- Cut a triangle, about 4 inches tall, from brown paper for the cone. Draw crisscross lines with the marker to look like a waffle cone.
- Cut 2–3 circles, each about 3 inches wide, in different colors for the ice cream scoops.
- Glue the first scoop directly on top of the cone’s wide edge.
- Stack and glue the remaining scoops on top, slightly overlapping each one.
- Add a small brown circle or triangle at the very top for a cherry or a cookie piece.
Tips
Slightly overlapping each scoop, instead of stacking them edge to edge, makes the ice cream look like it’s actually melting together.
Craft Idea 4: Paper Iguana
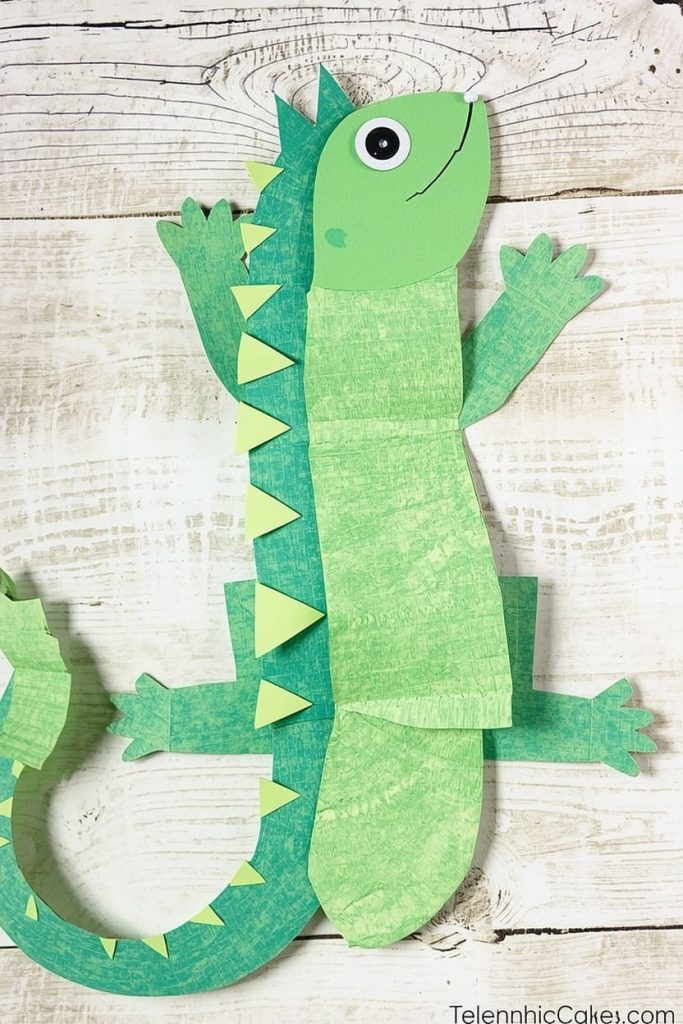
A paper iguana is a great choice if your child likes animals with texture, since the spiky back gives this craft a different look and feel from the others on this list.
Materials Needed
- Green construction paper
- Lighter green or yellow construction paper
- Googly eyes
- Glue stick
- Black marker
How To Make
- Cut a long oval, about 6 inches, from green paper for the iguana’s body and tail combined, tapering one end to a point for the tail.
- Cut a smaller oval, about 2 inches, for the head. Glue it to the wider end of the body.
- Cut 5–6 small triangles from the lighter green or yellow paper for spikes.
- Glue the triangles in a row along the top of the body and tail, points facing up.
- Glue a googly eye onto the head.
- Cut four small triangle feet and glue them along the bottom of the body.
Tips
Cut all the spike triangles at once by folding the paper accordion-style first, then snipping through all the layers in one cut.
Craft Idea 5: Ice Pop Paper Craft
An ice pop craft is simple, colorful, and a good fit if you’re doing your letter I unit in the summer. It also doubles as a quick color-matching activity.
Materials Needed
- Brown or tan construction paper (for the stick)
- 2 colors of construction paper for the pop (red and orange, or purple and pink)
- Glue stick
How To Make
- Cut a rectangle, about 1 inch wide and 3 inches tall, from brown or tan paper for the popsicle stick.
- Cut a rounded shape, about 4 inches tall, from your first pop color, with a flat bottom edge and a slightly rounded top.
- Cut a second, smaller rounded shape from your second color and glue it on top of the first, offset slightly so both colors show.
- Glue the finished pop shape on top of the stick, overlapping the bottom edge by about half an inch.
Tips
Rounding the top corners of the pop shape, instead of leaving them square, makes the shape read more clearly as an ice pop.
Craft Idea 6: Paper Island Scene
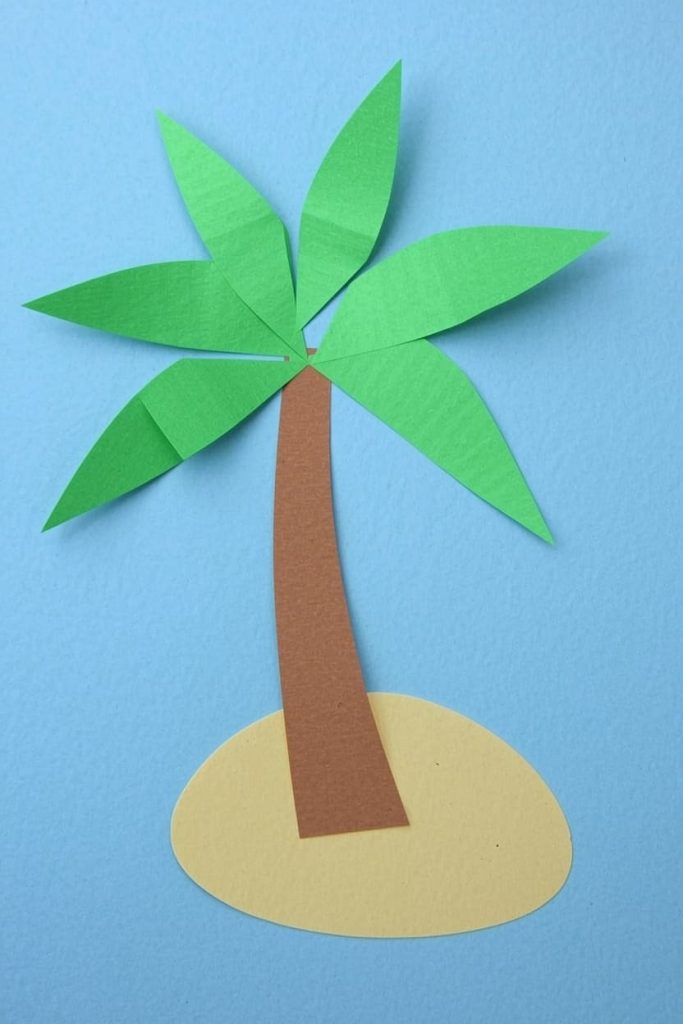
A paper island scene works well as a group project, since it has more pieces than most crafts on this list and gives kids room to build their own layout.
Materials Needed
- Light blue construction paper (background, for water)
- Tan or yellow construction paper (for sand)
- Green construction paper (for palm leaves)
- Brown construction paper (for the tree trunk)
- Glue stick
How To Make
- Use the light blue paper as your full background sheet.
- Cut an oval, about 5 inches wide, from tan or yellow paper for the sand. Glue it near the bottom center of the background.
- Cut a thin brown rectangle, about 3 inches tall, for the palm tree trunk. Glue it standing up from the sand.
- Cut 4–5 long, narrow green leaf shapes, each about 3 inches long, for the palm fronds.
- Glue the fronds at the top of the trunk, fanning them out in different directions.
Tips
Curve each palm frond slightly before gluing by running it gently between your fingers, so the leaves don’t lie flat and stiff.
Craft Idea 7: Inchworm Paper Craft
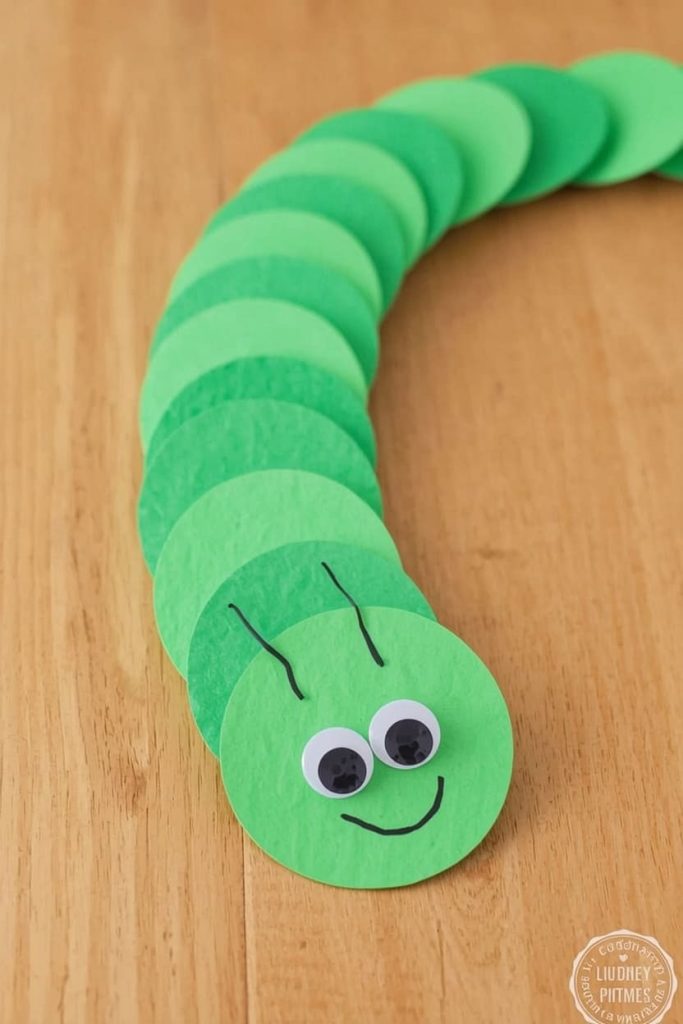
An inchworm craft is an easy, forgiving project to end on, and it teaches a pattern skill since the body is made from a repeating row of circles.
Materials Needed
- Green construction paper
- Googly eyes
- Glue stick
- Black marker
How To Make
- Cut 5–6 circles from green paper, each about 2 inches wide, for the inchworm’s body segments.
- Glue the circles in a slightly curved row, overlapping each circle by about half an inch, to form the worm’s arched body.
- Glue a googly eye onto the first circle at the front of the row.
- Use the black marker to draw a small smile under the eye.
- Draw two tiny antennae lines above the eye with the marker.
Tips
Overlapping the circles in a gentle arch, rather than a straight line, makes the inchworm look like it’s mid-crawl.
FAQs
What crafts start with the letter I for preschoolers? Insect, igloo, ice cream, iguana, ice pop, island, and inchworm crafts are all solid choices, since each one is easy to recognize even though letter I has fewer options than most letters.
Why is it hard to find letter I crafts? Letter I simply has fewer common, kid-friendly objects than letters like P or B. Most searchers run into the same short list of ideas, which is why having 7 complete options in one place saves real time.
How do I teach the letter I through crafts? Say the word out loud as your child works on each craft, and point out the short I sound at the start. Repeating the sound while their hands are busy helps it stick faster than flashcards alone.
What materials do I need for letter I crafts? Construction paper, glue sticks, and scissors cover nearly every craft in this list. A black marker for details is the only other item worth having on hand.
Can toddlers do these letter I crafts? Younger toddlers can help with gluing and placing pre-cut shapes, while preschoolers ages 3 to 5 can usually handle simple cutting and full assembly with light supervision.
How long does each letter I craft take? Most of these crafts take 15 to 25 minutes, though the island scene and folded-wing insect may take closer to 30 minutes for younger kids.

Sohel Rana is the writer, editor, publisher, and founder of The Tidy Porch. He is the man who is responsible for the craft (my wife created) being converted into a written piece. He also helps her wife (Sumona) by capturing videos of each craft. In short, he brings each craft created by her wife in front of you by transforming it into an article and a video.
