
Last week I set out paper, scissors, and glue sticks for a simple penguin craft.
Ten minutes in, my daughter had glued her penguin’s feet upside down and declared him “a penguin doing a handstand.”
We kept him just like that. He’s taped to our fridge right now.
That’s the thing about letter P crafts. They rarely go the way you planned, and that’s usually the best part. If you’re working through your letter-of-the-week routine and you’ve landed on P, you’re in the right place.
Below are 7 complete, paper-only craft ideas. Each one is easy enough to start today and finish today.
Top 5 Amazon Products For Letter P Crafts
- Crayola Construction Paper (Assorted Colors, 240-Count) gives you every shade you’ll need for pumpkins, penguins, pandas, and parrots without a mid-project store run.
- Elmer’s Disappearing Purple School Glue Sticks (30-Pack) are the exact glue-stick type this article calls for, and the purple-to-clear formula helps little hands see their coverage.
- Fiskars Blunt-Tip Kids Scissors (2-Pack) cut paper cleanly while staying safe for preschool-aged fingers still learning control.
- Googly Wiggle Eyes Assorted Sizes (700-Piece Pack) turn a flat paper shape into a character in about three seconds, which matters a lot to a four-year-old’s patience level.
- Crayola Broad Line Markers (Classic Colors, 10-Pack) are perfect for adding detail lines, faces, and patterns once the glue has dried.
Craft Idea 1: Paper Plate Penguin
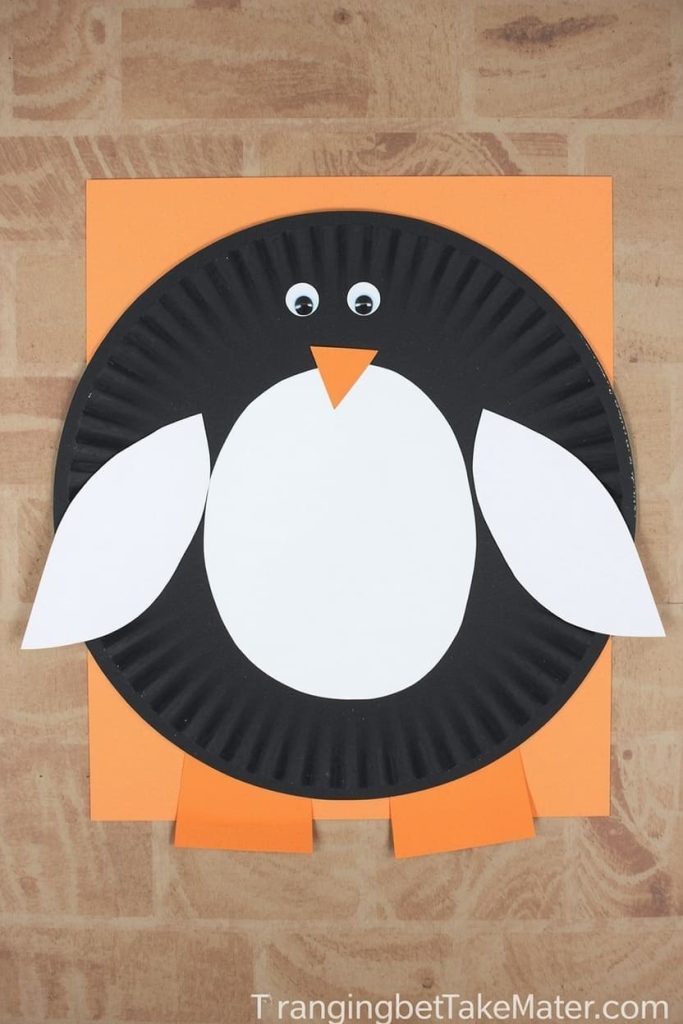
A paper plate penguin is the easiest way to introduce the letter P if you want a project that looks impressive but takes under 20 minutes. It works because the plate’s shape does most of the job for you. Kids as young as three can help with every step.
Materials Needed
- 1 white paper plate
- Black construction paper
- Orange construction paper
- White construction paper
- Googly eyes
- Glue stick
- Black marker
How To Make
- Cut the paper plate in half. You’ll only use one half per penguin.
- Cover the curved plate half with black construction paper, trimming it to match the plate’s shape.
- Cut a white oval, about 3 inches tall, for the penguin’s belly. Glue it to the center of the black plate.
- Cut a small orange triangle, roughly 1 inch wide, for the beak. Glue it above the belly.
- Cut two small orange triangles for feet. Glue them peeking out from the bottom edge.
- Glue two googly eyes above the beak.
- Use the black marker to draw small wings on either side of the belly.
Tips
Let the glue dry flat for 5 minutes before propping the plate up, or the belly oval will slide.
Craft Idea 2: Pumpkin Patch Collage
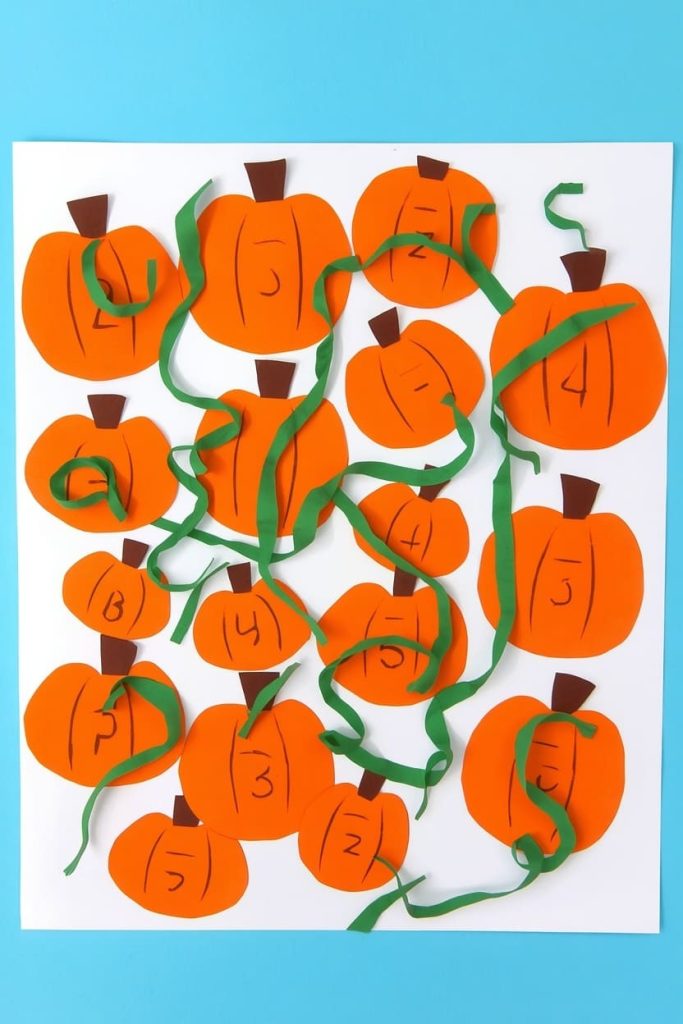
A pumpkin patch collage is a strong pick if you’re doing this letter unit in the fall. It combines counting practice with the letter P, since kids naturally want to count how many pumpkins they’ve made.
Materials Needed
- Orange construction paper
- Green construction paper
- Brown construction paper
- Light blue or white paper (background)
- Glue stick
- Black marker
How To Make
- Cut 4–6 circles from orange paper, ranging from 2 to 4 inches wide, for pumpkins of different sizes.
- Cut small brown rectangles, about half an inch wide, for pumpkin stems.
- Cut thin green strips and curl them around a pencil for pumpkin vines.
- Glue the orange circles onto the background paper in a cluster, like a patch.
- Glue a brown stem on top of each pumpkin.
- Glue the curled green vines weaving between the pumpkins.
- Use the black marker to add vertical lines on each pumpkin for texture.
Tips
Curling the vines around a pencil first, before gluing, keeps them from lying flat.
Craft Idea 3: Panda Face Paper Plate
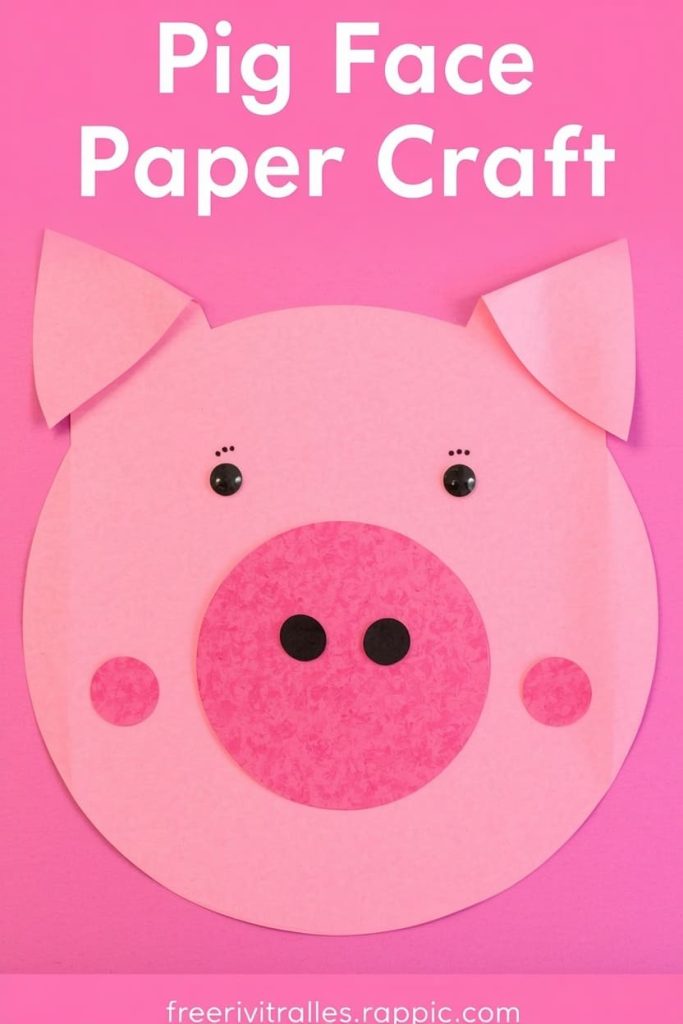
A panda face uses the same paper plate base as the penguin but teaches a different skill: layering circles of different sizes. It’s a good second project in your P lineup because it builds on a technique kids just practiced.
Materials Needed
- 1 white paper plate
- Black construction paper
- Glue stick
- Scissors
How To Make
- Cut two black circles, about 3 inches wide, for ear patches. Glue them near the top edges of the plate.
- Cut two smaller black circles, about 2 inches wide, for eye patches. Glue them in the center of the plate.
- Cut two small white circles, about 1 inch wide, and glue one inside each black eye patch.
- Cut two tiny black dots for pupils and glue them onto the white circles.
- Cut a small black oval for the nose and glue it below the eyes.
- Cut a thin black curved line for the mouth and glue it under the nose.
Tips
Cut both ear patches and both eye patches at the same time, stacking the paper, so the sizes match.
Craft Idea 4: Paper Parrot With Layered Feathers
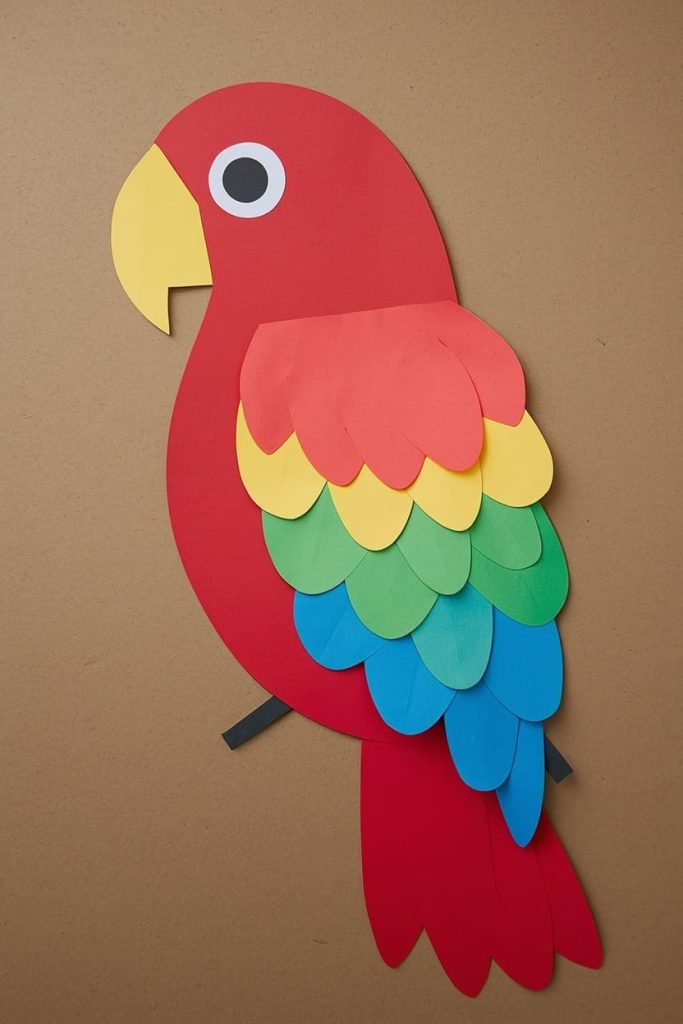
A layered-feather parrot is a bit more advanced, which makes it a good choice if your child has already made a few of the crafts above. The layered wing teaches an early lesson in symmetry and pattern.
Materials Needed
- Construction paper in red, yellow, green, and blue
- White construction paper
- Glue stick
- Black marker
How To Make
- Cut a large red oval, about 5 inches tall, for the parrot’s body.
- Cut a yellow triangle, about 2 inches wide, for the beak. Glue it to the head area of the body.
- Cut 3 feather shapes each from yellow, green, and blue paper, each about 2 inches long.
- Layer the feathers by color, starting with blue at the back, green in the middle, and yellow in front, gluing each row slightly overlapping the last.
- Glue the layered feathers to the back of the red body as a wing.
- Cut a small white circle for the eye and glue it near the beak. Add a black dot with marker.
Tips
Gluing the feathers in layers, back color first, gives the wing real depth once it dries.
Craft Idea 5: Pig Face Paper Craft
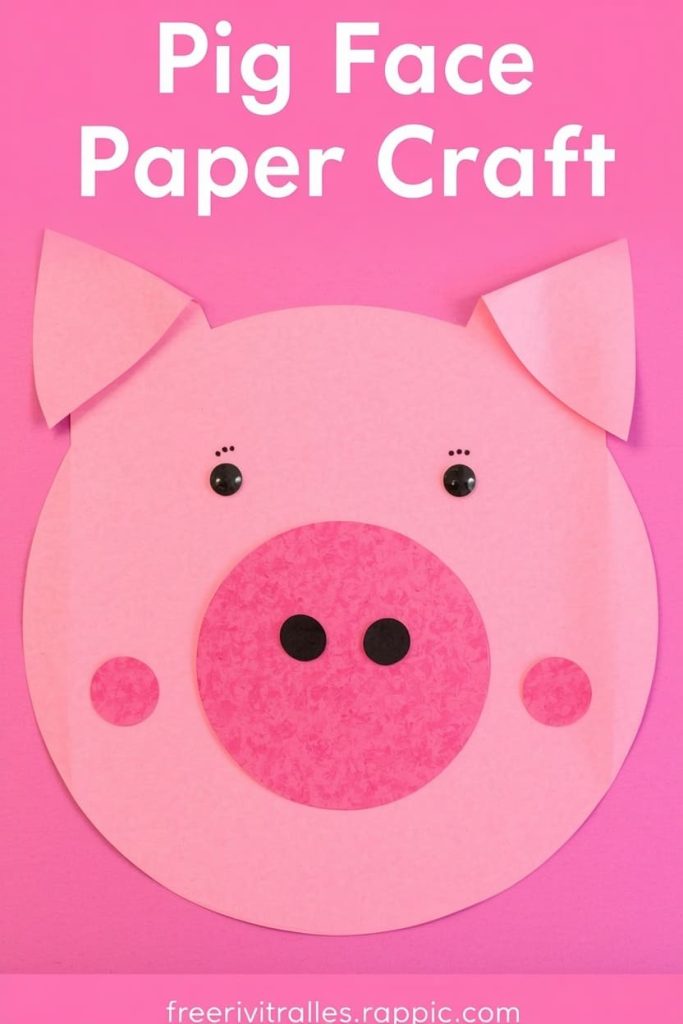
A pig face is one of the fastest crafts on this list, which makes it a good option on a busy day. It only uses three shapes, so even a distracted preschooler can finish start to finish.
Materials Needed
- Pink construction paper
- Black construction paper
- Glue stick
How To Make
- Cut a large pink circle, about 5 inches wide, for the face.
- Cut a smaller pink oval, about 2 inches wide, for the snout. Glue it to the center of the face.
- Cut two tiny black ovals for nostrils and glue them onto the snout.
- Cut two pink triangles for ears and glue them to the top corners of the face.
- Cut two small black circles for eyes and glue them above the snout.
Tips
Rounding the corners of the ear triangles slightly, instead of leaving them sharp, makes the pig look softer and friendlier.
Craft Idea 6: Peacock Paper Fan Craft
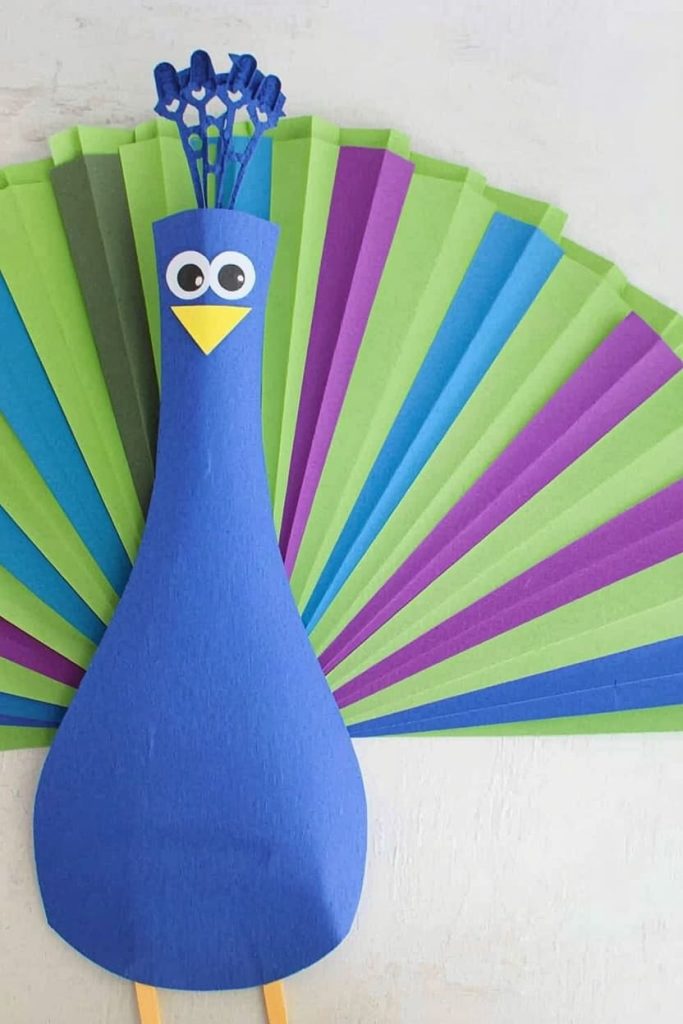
A peacock fan craft is a great pick if your child likes bold color. The fan-fold technique used here is also a useful fine motor skill outside of just this one project.
Materials Needed
- Blue, green, and purple construction paper
- Yellow construction paper
- Glue stick
- Black marker
How To Make
- Cut a large teardrop shape, about 6 inches long, from blue paper for the peacock’s body.
- Cut 5 rectangular strips, each about 1.5 by 6 inches, in a mix of green, blue, and purple.
- Fan-fold each strip accordion-style, then let it spring open slightly like a fan.
- Glue the wide end of each fan-folded strip behind the top of the teardrop body, fanning them out like tail feathers.
- Cut a small yellow triangle for the beak and glue it to the narrow end of the teardrop.
- Draw a small eye near the beak with the black marker.
Tips
Press each fan fold firmly with your fingernail before gluing it down, so it holds its shape.
Craft Idea 7: Paper Plane Letter P Craft
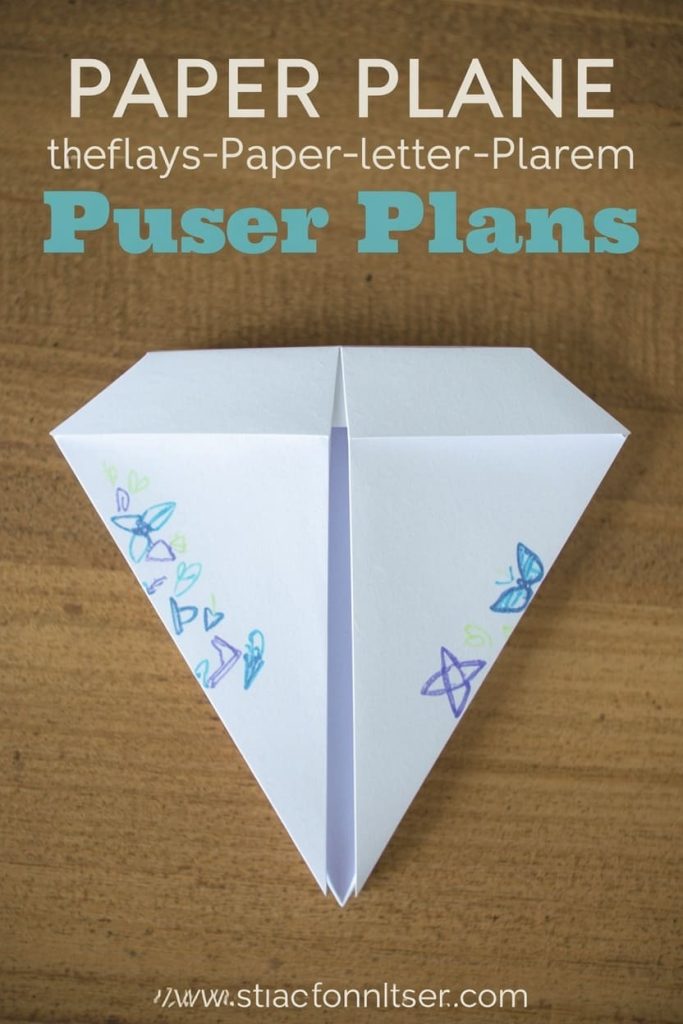
A paper plane craft ties the letter P to an action word, which helps kids connect letters to sounds and meaning, not just shapes. It’s also just fun to fly around the living room afterward.
Materials Needed
- 1 sheet white or colored paper
- Markers or crayons
- Glue stick (optional, for decorations)
How To Make
- Fold the paper in half lengthwise, then unfold it to leave a center crease.
- Fold the top two corners down to meet the center crease, forming a triangle point.
- Fold the new angled edges in again to meet the center crease.
- Fold the whole plane in half along the original crease.
- Fold each side down to form the wings, lining the fold up with the bottom edge of the body.
- Decorate the wings with markers or small glued paper shapes before flying.
Tips
Crease every fold with a fingernail run along the edge. Sharp creases make the plane fly straighter.
FAQs
What crafts start with the letter P for preschoolers? Penguin, pumpkin, panda, parrot, pig, peacock, and paper plane crafts are all strong choices because each subject is easy to recognize and easy to build from basic paper shapes.
How do I teach the letter P through crafts? Say the word out loud as your child works on each craft, and point out the P sound at the start. Pairing the sound with a hands-on project helps preschoolers remember it faster than flashcards alone.
What materials do I need for letter P crafts? Construction paper, glue sticks, and scissors cover nearly every craft in this list. A black marker for details is the only other item you’ll want on hand.
Can toddlers do these letter P crafts? Younger toddlers can help with gluing and placing pre-cut shapes, while preschoolers ages 3 to 5 can usually handle simple cutting and full assembly with light supervision.
How long does each letter P craft take? Most of these crafts take 15 to 25 minutes, though the peacock fan and layered parrot may take closer to 30 minutes for younger kids.
Do I need special supplies for these crafts? No. Every craft here uses basic construction paper, glue sticks, and scissors you likely already have at home.

Sohel Rana is the writer, editor, publisher, and founder of The Tidy Porch. He is the man who is responsible for the craft (my wife created) being converted into a written piece. He also helps her wife (Sumona) by capturing videos of each craft. In short, he brings each craft created by her wife in front of you by transforming it into an article and a video.
