
Hello, Mamas & Teachers! Today, we’re excited to share another fun alphabet activity: A is for Angel Craft, made with nothing more than salmon-colored paper, scissors, and glue.
This easy Letter A craft is perfect for toddlers, preschoolers, and kindergarteners who are learning the alphabet while building fine motor skills.
With a few simple accordion folds, children can turn ordinary paper into a beautiful angel they’ll be proud to display. Be sure to save this idea to your Pinterest board if you’re collecting alphabet crafts or planning a letter-of-the-week curriculum.
Without further ado, let’s grab our supplies and create this adorable A for Angel Craft together!
Materials Needed
You’ll only need a few basic supplies:
- Salmon-colored paper
- Scissors
- Glue
How To Make “A For Angel Craft”: Easy Step-by-Step Guides For Preschoolers
Here is the step-by-step instruction to make the paper angel craft with ease:
Step 1: Cut the Paper and Make Accordion Folds
Start by taking a sheet of salmon-colored paper and folding it in half. Using a pair of scissors, carefully cut along the folded line to create two equal pieces of paper.
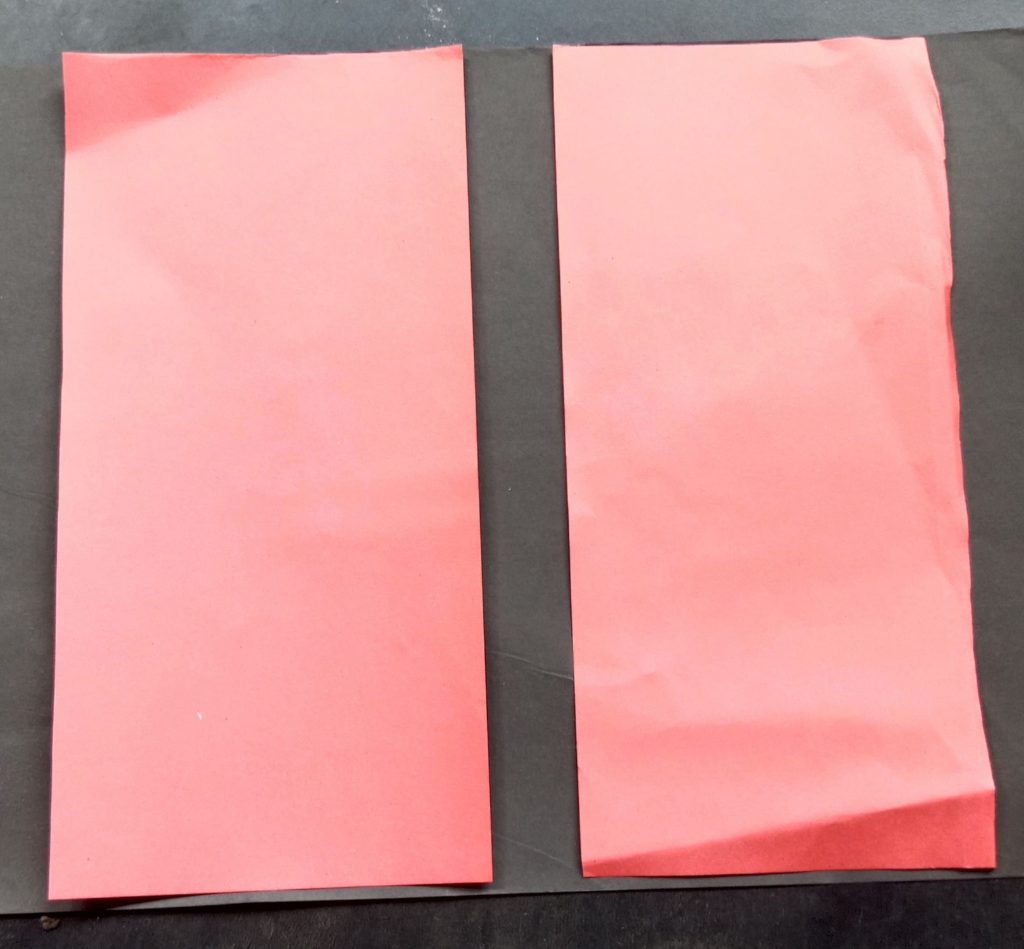
If your child is old enough to use scissors safely, encourage them to do the cutting themselves. This simple task helps strengthen fine motor skills, hand-eye coordination, and scissor control. Younger children can have an adult prepare the paper beforehand.
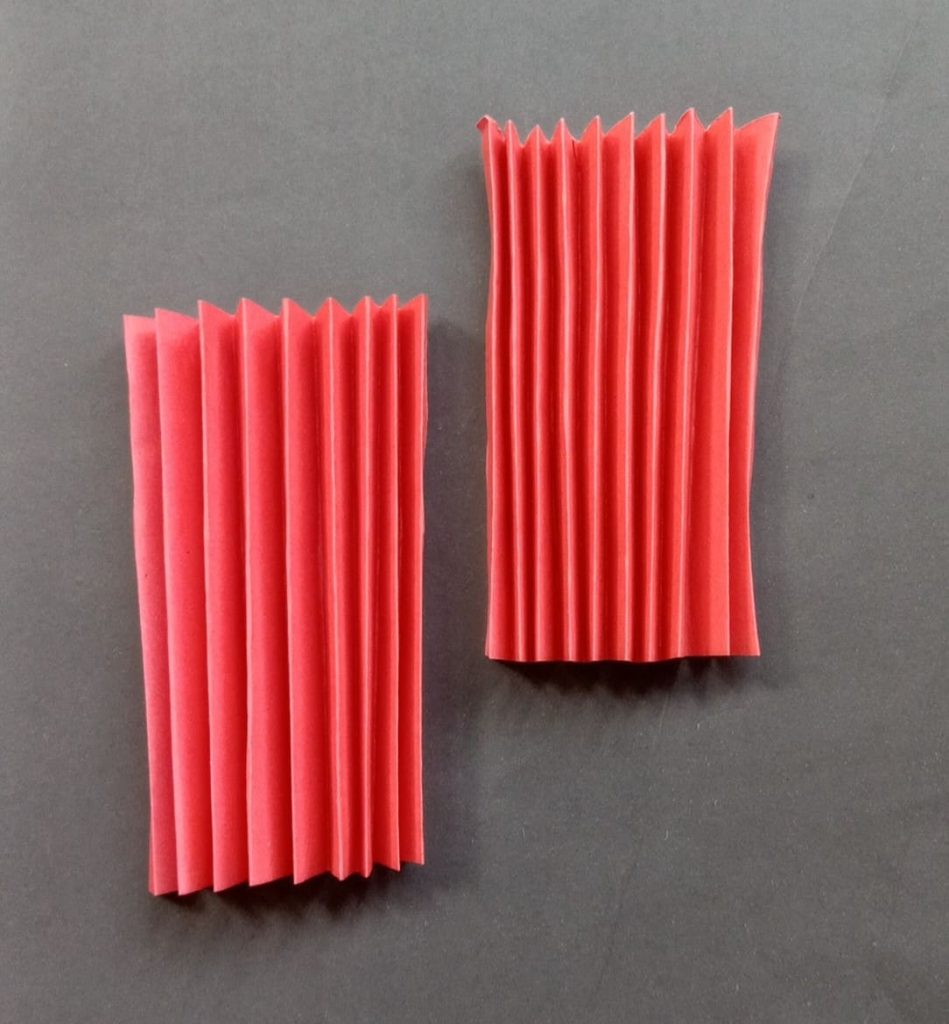
Once both paper pieces are ready, it’s time to create the accordion folds. Take one paper strip and fold it back and forth in small, even sections from one end to the other. Continue folding until you’ve reached the end of the strip. Repeat the same process with the second paper strip.
Try to keep the folds as even as possible. Neat, consistent folds will help the angel hold its shape and make the finished craft look more polished.
This is how the accordion-folded paper should look:
Step 2: Turn the Folded Paper into the Angel’s Body and Wings
Now it’s time to transform the folded paper into your beautiful angel.
Take one accordion-folded strip and fold it slightly off-center so one side is shorter than the other. The shorter section will become the angel’s upper wings, while the longer section forms the flowing gown. Pinch the folded center tightly, then add a small dab of glue to hold the fold securely in place.
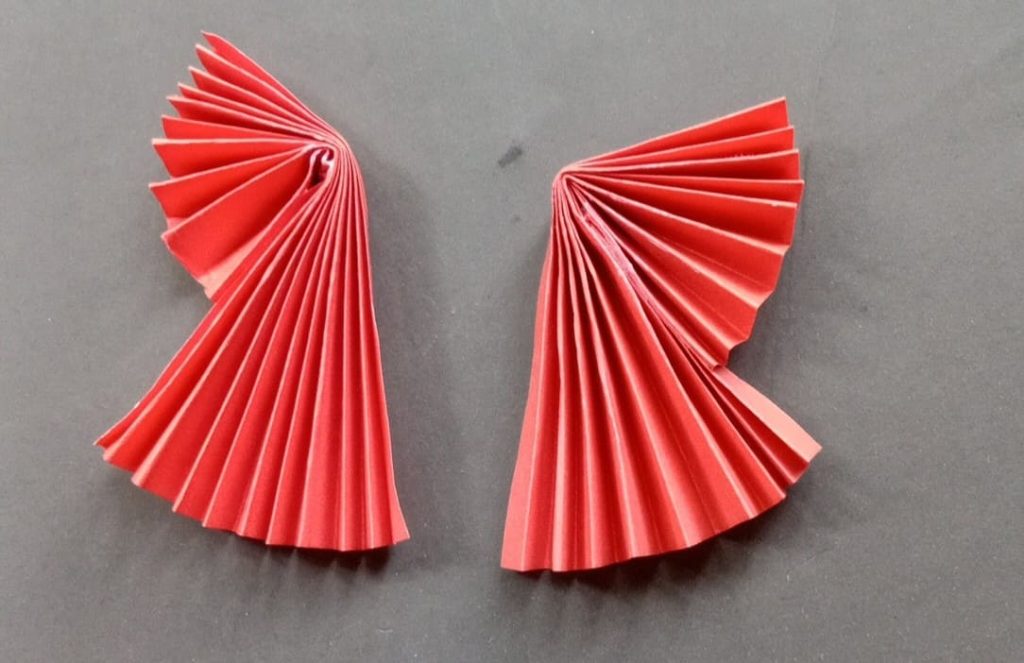
Repeat these same steps with the second folded paper.
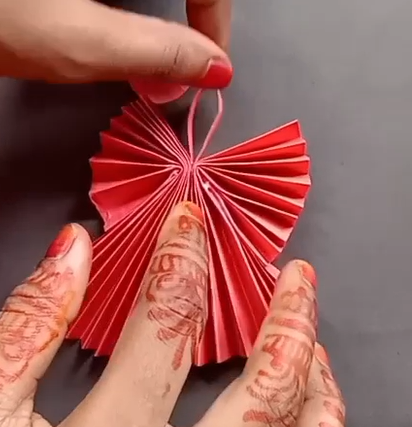
Once both pieces are ready, place them side by side with the long sections facing outward and the short sections meeting in the middle. Apply glue along the straight inner edges where the two folded pieces touch.
Press the glued edges together firmly for a few seconds until they stick. As the glue dries, gently fan out the folds to reveal the angel’s wide wings and flowing dress.
Your paper angel body is now complete and ready for the finishing touch.
Here’s how the joined angel body should look:
Step 3: Draw, Cut Out, and Attach the Angel’s Head
Using the remaining salmon-colored paper, hand-draw a small circle for the angel’s head. You can also draw a thin strip of paper if you’d like to create a hanging loop for displaying your finished craft.
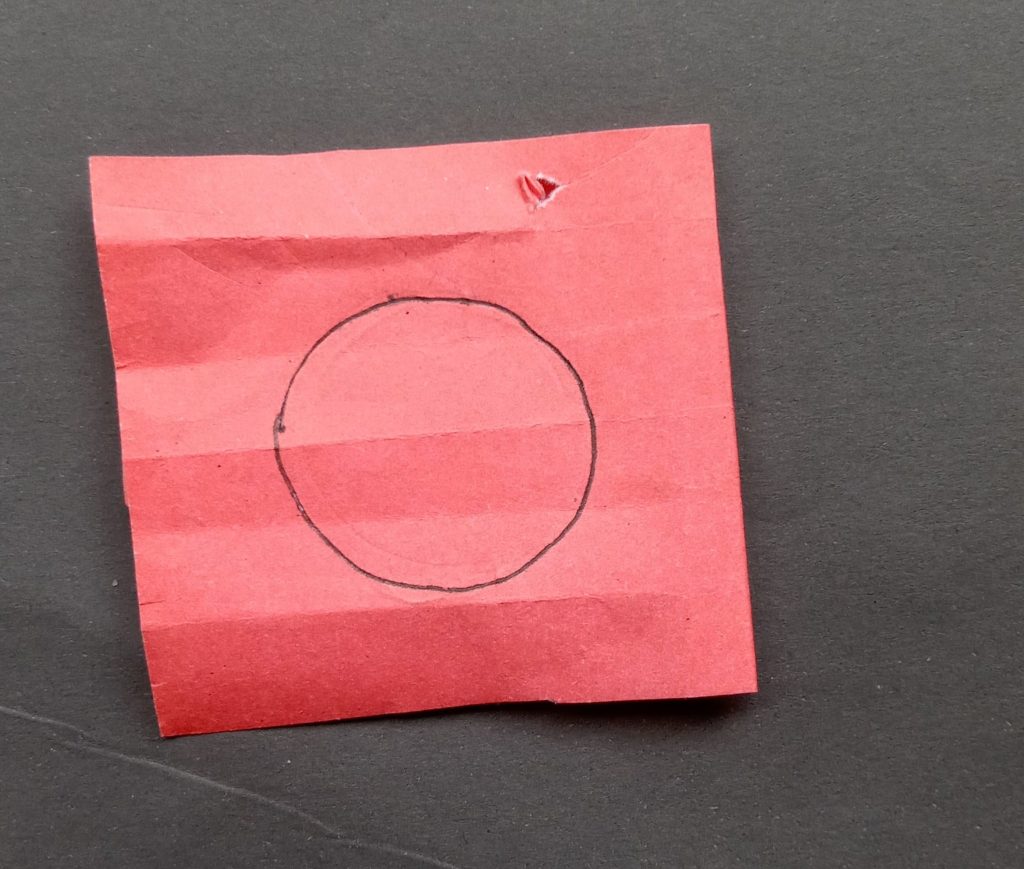
Carefully cut out the circle along the outline using scissors.
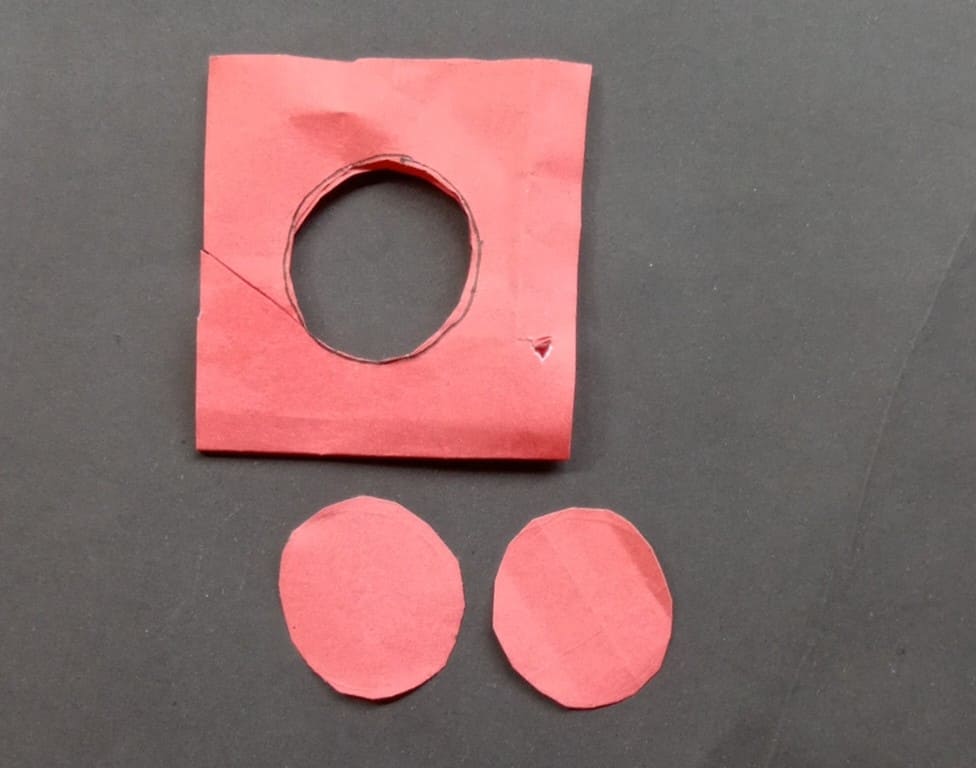
Next, apply a small amount of glue to the back of the circle and attach it directly above the center where the two folded papers meet. Hold it in place for a few seconds so the glue sets properly.
If you made a paper strip, glue it behind the head to create a loop. This makes it easy to hang your paper angel on a Christmas tree, classroom bulletin board, wall, or window.
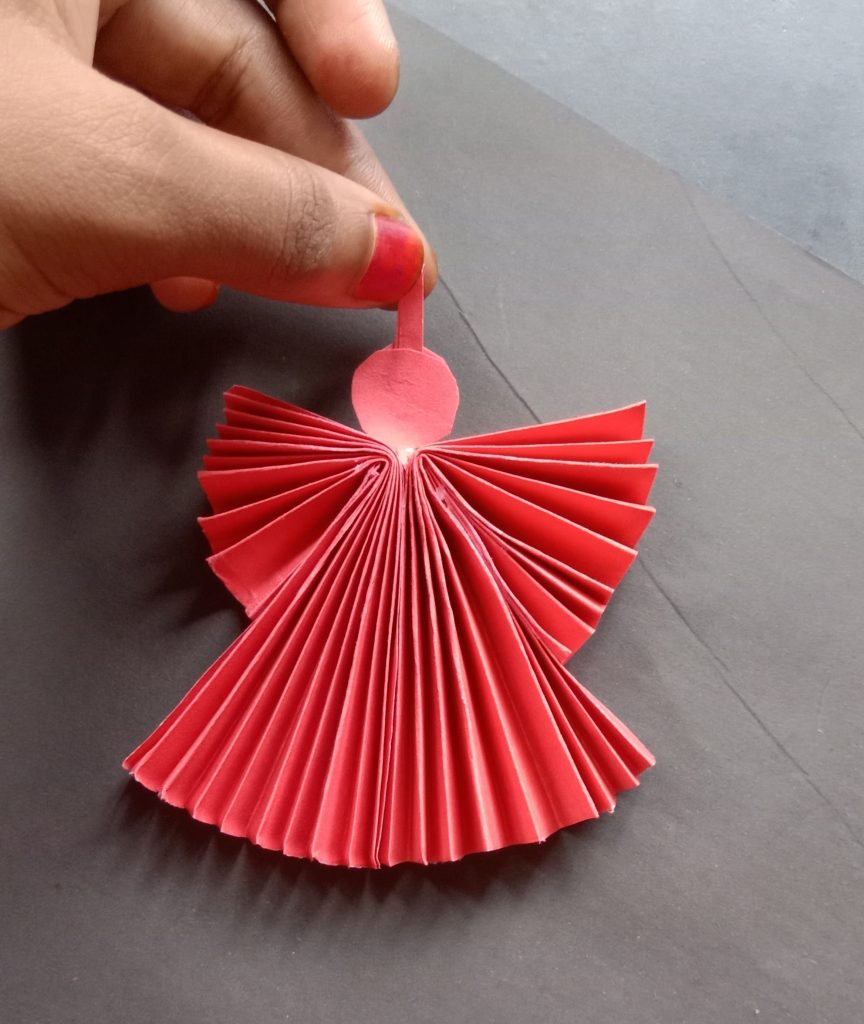
Once everything has dried, gently fluff the accordion folds if needed, and your A for Angel Craft is ready to display!
Here’s the final look of our Letter A Angel Craft.
Give It a Try
The A for Angel Craft is a simple and enjoyable paper craft your little one will love making. Just gather your supplies, follow the step-by-step instructions, and watch your child transform folded paper into a beautiful angel while practicing important early learning skills.
We’d love to see your little crafter’s finished angel! Share your Letter A craft with us on Instagram by tagging #thetidyporch. Happy crafting!
Read Also:

Sohel Rana is the writer, editor, publisher, and founder of The Tidy Porch. He is the man who is responsible for the craft (my wife created) being converted into a written piece. He also helps her wife (Sumona) by capturing videos of each craft. In short, he brings each craft created by her wife in front of you by transforming it into an article and a video.
