
Is your child ready to explore the letter A in a fun and creative way? Then, our letter-of-the-week activities will help your preschooler learn the first letter with this A is for Aquarium Craft.
Our Aquarium A Craft is easy, hands-on, and toddler-friendly. Your little one will enjoy making colorful paper fish, building their own aquarium, and learning to recognize the letter A through this engaging alphabet activity.
Materials You’ll Need
- Colored paper
- White paper
- Green paper
- Blue marker
- Black marker
- Scissors
- Glue
Optional
- Pencil
- Googly eyes or paper eyes
- Ruler for even folds
How to Make an A for Aquarium Craft
Step 1: Draw and Cut Out the Fish Tails
Begin by making the fish tails.
Take a piece of colored paper and use a black marker to draw a simple triangle. It doesn’t need to be perfectly shaped since it will become the tail of the fish.
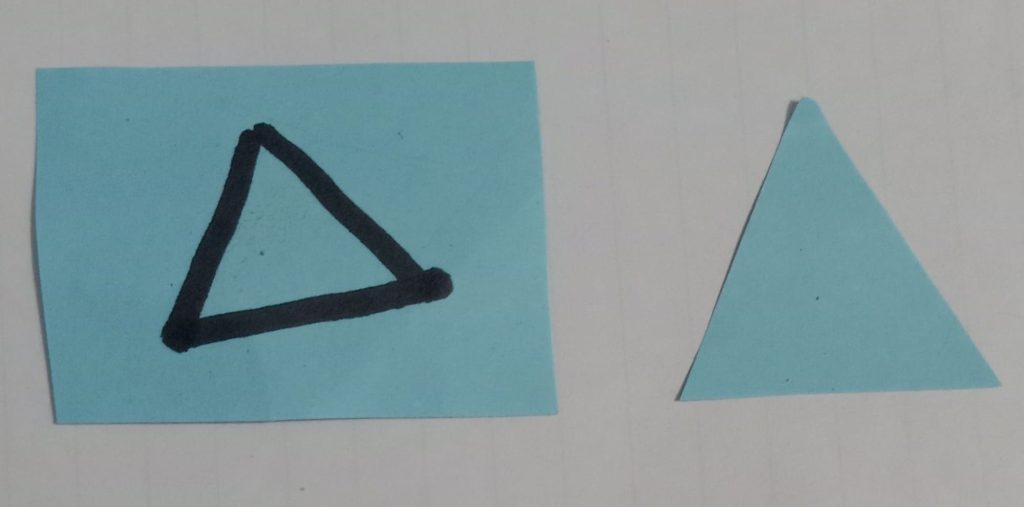
Carefully cut out the triangle with scissors. Repeat this step using different paper colors if you want several colorful fish in your aquarium.
Tip: Keep the triangles roughly the same size so the fish look balanced.
Step 2: Fold the Paper to Create the Fish Body
Now create the fish body using an accordion fold.
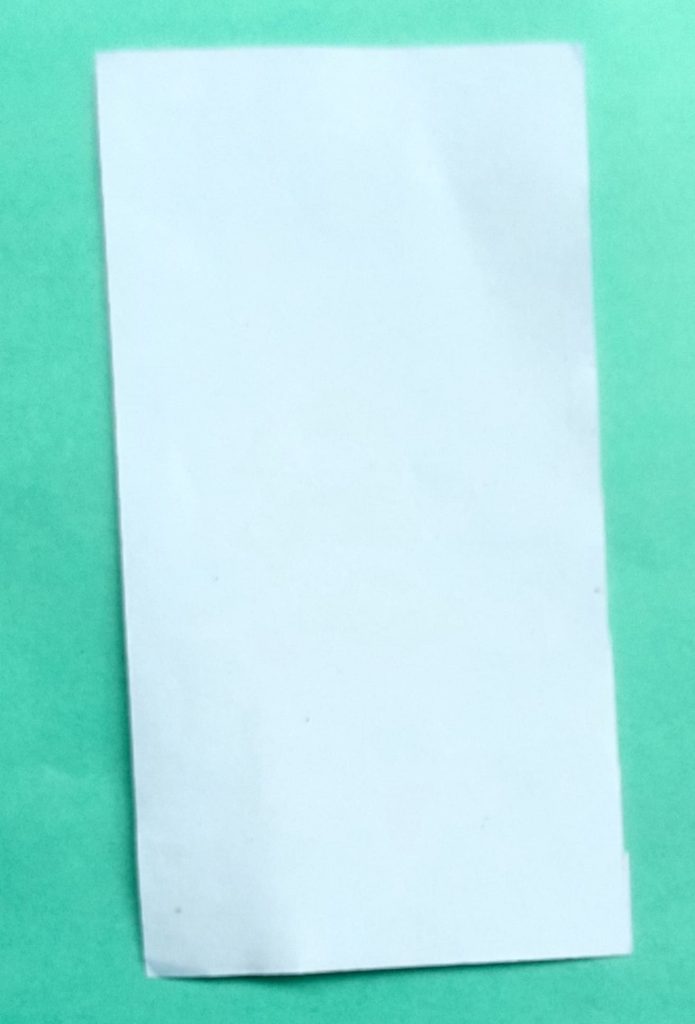
Cut a rectangle from colored paper. Starting at one short edge, fold a narrow strip forward. Flip the paper over and fold it back in the opposite direction. Continue alternating folds until you reach the other end of the paper.
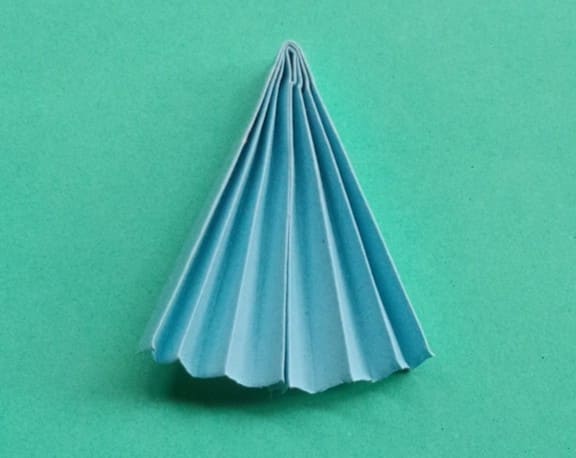
Press each fold firmly to create neat creases. When finished, the paper should resemble a small fan. This folded piece becomes the body of the fish and gives the craft its three-dimensional appearance.
Repeat this step with different paper colors to make multiple fish.
Tips
- Keep the folds evenly sized.
- Press firmly on each crease.
- Younger children may need help with folding.
Step 3: Make the Aquarium
Next, create the aquarium background.
Draw a large circle on a sheet of white paper and carefully cut it out. The circle will represent the aquarium or fishbowl.
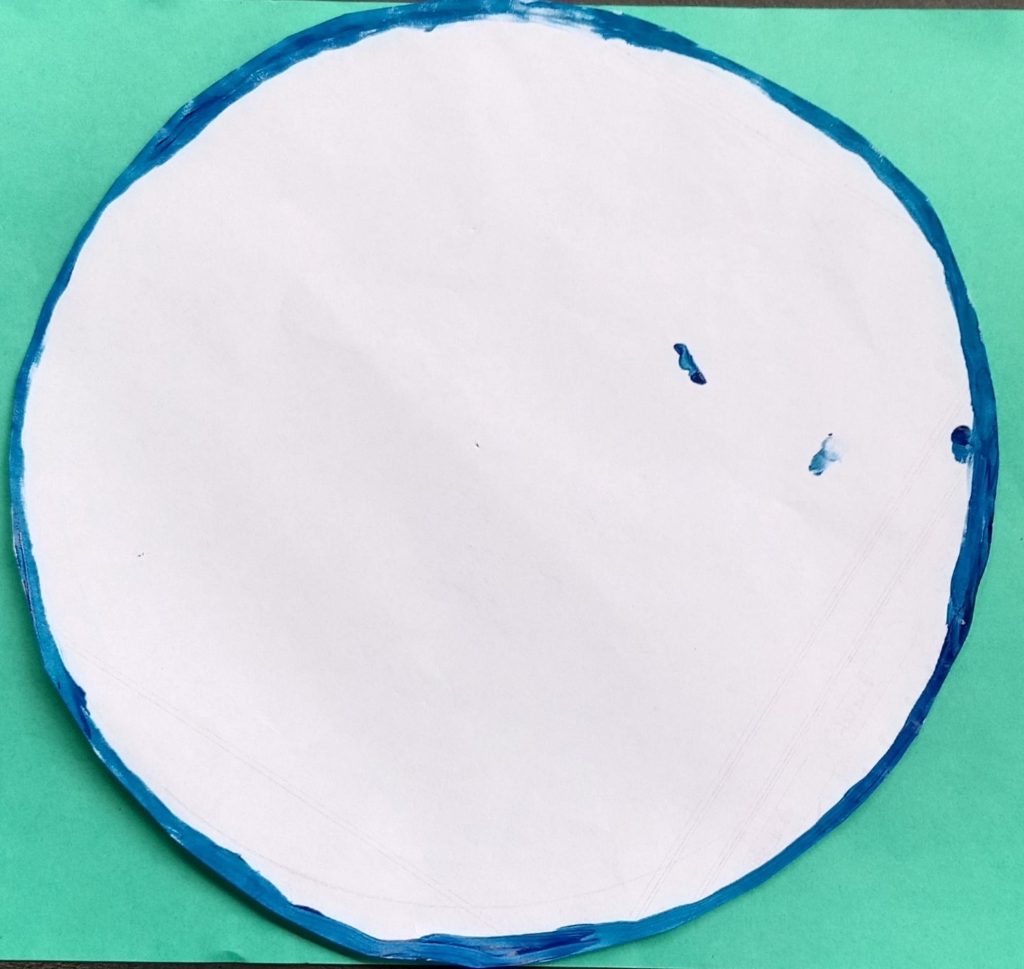
Use a blue marker to color around the edge of the circle to create the glass border. Then glue the circle onto a larger sheet of green paper, which becomes the background.
Leave plenty of space inside the circle for your fish and some room along the bottom for underwater plants.
Step 4: Assemble the Fish
Now it’s time to put the fish together.
Take one accordion-folded paper body and glue one paper triangle to the back to create the tail.
Next, add a small paper eye near the pointed end of the folded paper. You can use googly eyes or make simple eyes from white and black paper circles.
Repeat until you’ve made several colorful fish.
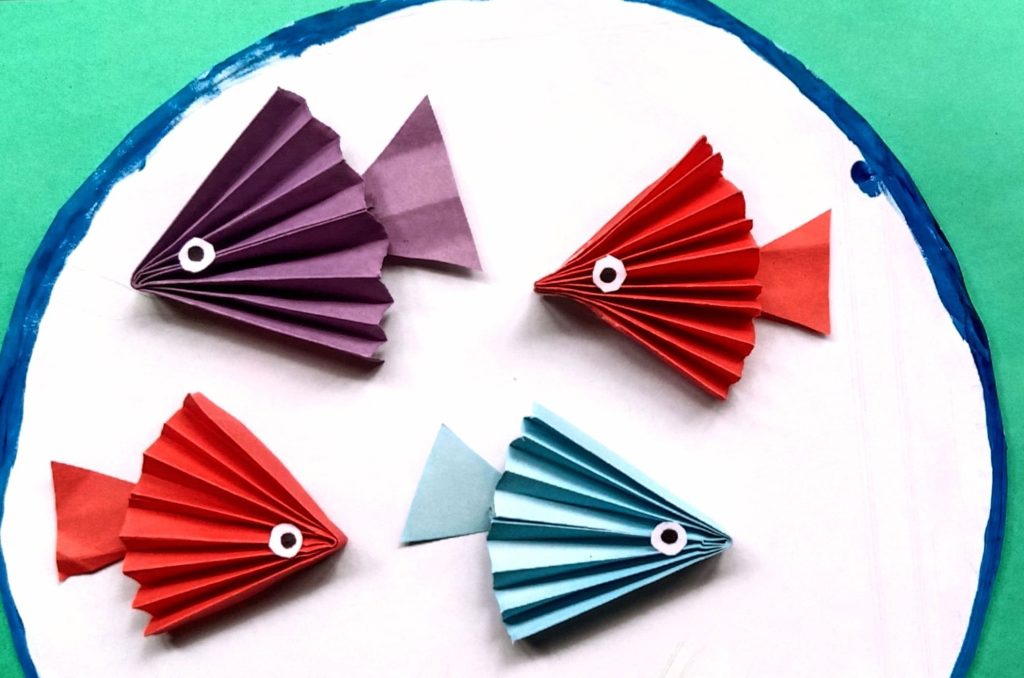
Before gluing them onto the aquarium, arrange the fish inside the circle to decide where each one should go. Point some fish in different directions to make the aquarium look more natural.
Once you’re happy with the layout, glue each fish in place.
Tips
- Use only a small amount of glue.
- Leave space between the fish.
- Mix different colors to create a lively aquarium.
Step 5: Add Seaweed and Finish the Aquarium
To complete the underwater scene, cut several long, wavy strips from green paper. These become the seaweed growing along the bottom of the aquarium.
Arrange the strips in different heights before gluing them down. Keeping the seaweed uneven creates a more natural look.
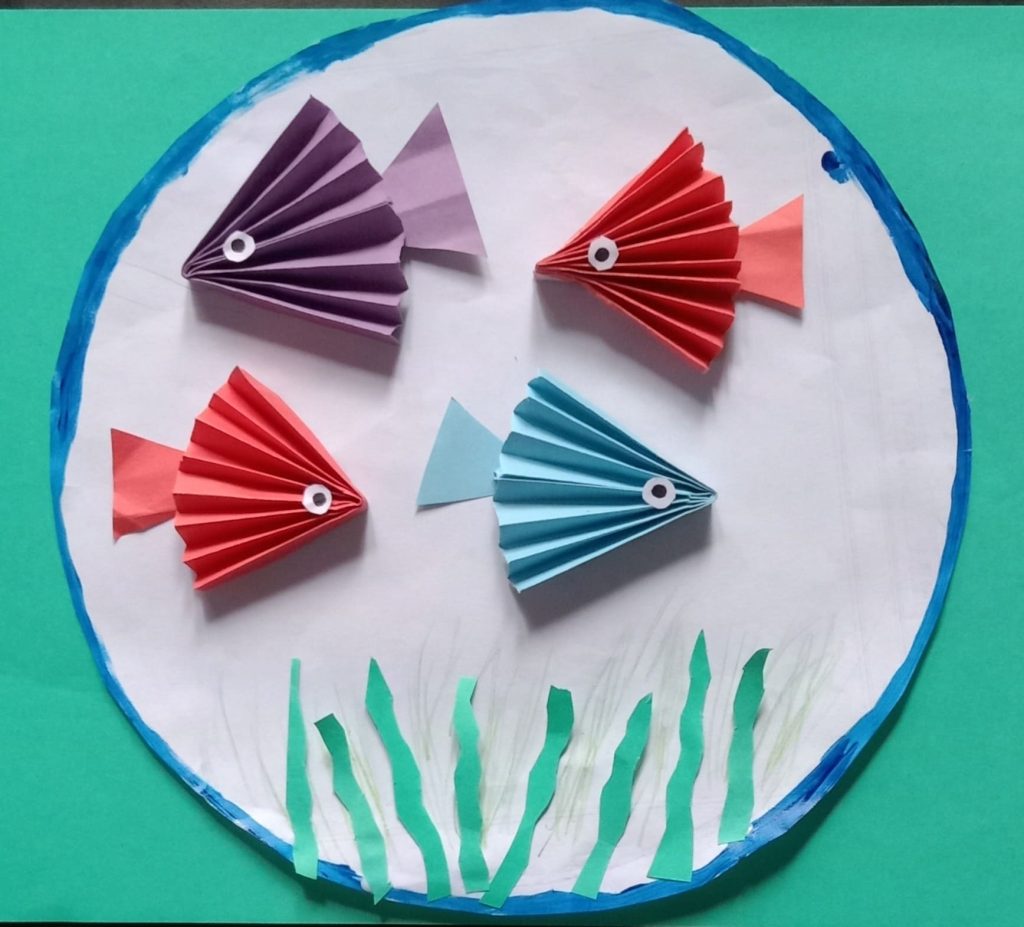
If you’d like, lightly draw underwater grass or bubbles using colored pencils or crayons for extra detail.
Once everything is glued securely, allow the craft to dry completely before displaying it.
Congratulations! Your A for Aquarium Craft is finished.
Read other articles:
Tips for Success
- Prepare all materials before starting.
- Demonstrate one step at a time.
- Help younger children with folding and cutting if needed.
- Encourage creativity instead of aiming for perfection.
- Let the glue dry before moving the finished craft.
- Display the completed aquarium on a wall, bulletin board, or refrigerator.
Frequently Asked Questions
What age is this craft suitable for?
This craft works well for preschoolers, kindergarteners, and early elementary students. Younger children may need help with folding and cutting.
Can I use construction paper?
Yes. Construction paper is sturdy, colorful, and folds easily, making it an excellent choice.
How many fish should I make?
There isn’t a fixed number. Four to six fish fit comfortably inside a large paper aquarium, but you can add more or fewer depending on its size.
Can I make a different aquarium shape?
Absolutely. While a circle looks like a fishbowl, you can also make a rectangular fish tank or create your own design.
Is this suitable for classroom activities?
Yes. Since it uses inexpensive supplies and simple techniques, it’s ideal for classrooms, homeschool lessons, daycare centers, and library craft sessions.
Give It A Try
The A for Aquarium Craft is an easy and enjoyable way to introduce the letter A while encouraging creativity. Simply gather the supplies, follow the step-by-step instructions, and help your child build a colorful underwater aquarium filled with adorable paper fish.
We’d love to see your little one’s finished craft! Share your A is for Aquarium Craft with us by tagging us on Instagram using #TheTidyPorch. Happy crafting!

Sohel Rana is the writer, editor, publisher, and founder of The Tidy Porch. He is the man who is responsible for the craft (my wife created) being converted into a written piece. He also helps her wife (Sumona) by capturing videos of each craft. In short, he brings each craft created by her wife in front of you by transforming it into an article and a video.
