
B Is for Ball Craft is a fun hands-on project that helps preschoolers learn the letter B while creating a colorful ball.
For this simple alphabet craft, we use basic supplies like construction paper, glue, and a marker. Children can practice recognizing the uppercase B, cutting paper shapes, and putting the pieces together.
The activity is easy enough for little learners to follow with some adult help. It is also a fun way to connect the letter B with a familiar object—a ball!
Materials Needed
- Construction paper in different colors
- White paper or cardstock for the background
- Marker
- Glue or glue stick
- Child-safe scissors
- Pencil
- Ruler, optional
Step-by-Step Instructions to Make the B Is for Ball Craft
Step 1: Prepare the Background
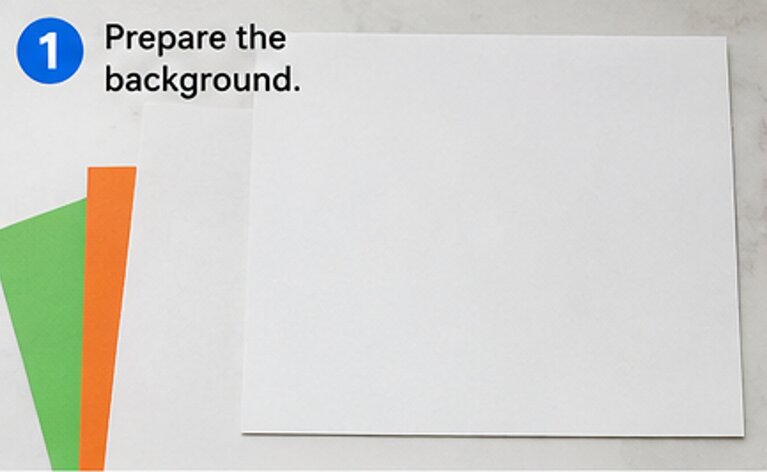
Start by choosing a sheet of construction paper for the background. I like using a light-colored sheet because the letter B and ball will stand out clearly against it.
Place the paper flat on your work surface. If you want a sturdier craft, you can use cardstock instead.
Make sure there is enough open space on the sheet for the large letter B and the ball. This will give the finished craft a clean and balanced look.
Step 2: Draw the Uppercase B
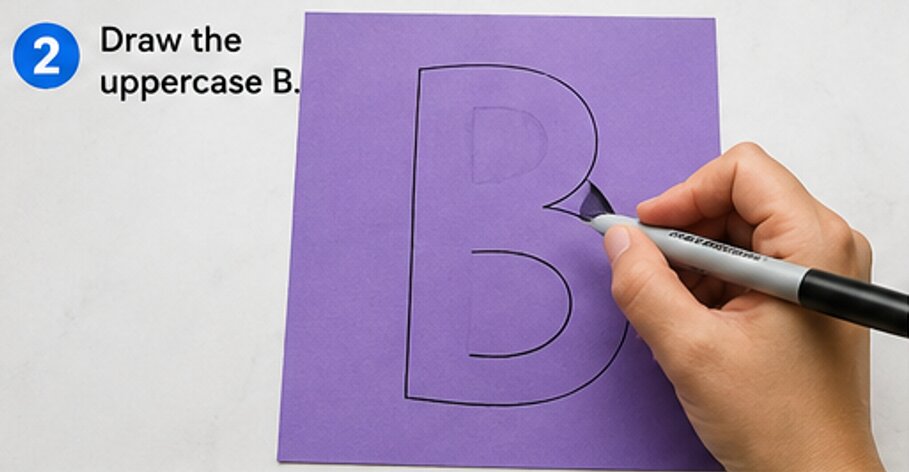
Take a piece of construction paper in the color you want for the letter B. Using a pencil or marker, draw a large uppercase B.
Try to make the letter large enough to be easy for children to see. You can draw it freehand or use a ruler to help create straight lines.
The uppercase B should have one long vertical line with two rounded sections on the right side. Keep the shape simple because this is a preschool alphabet craft.
Step 3: Cut Out the Letter B
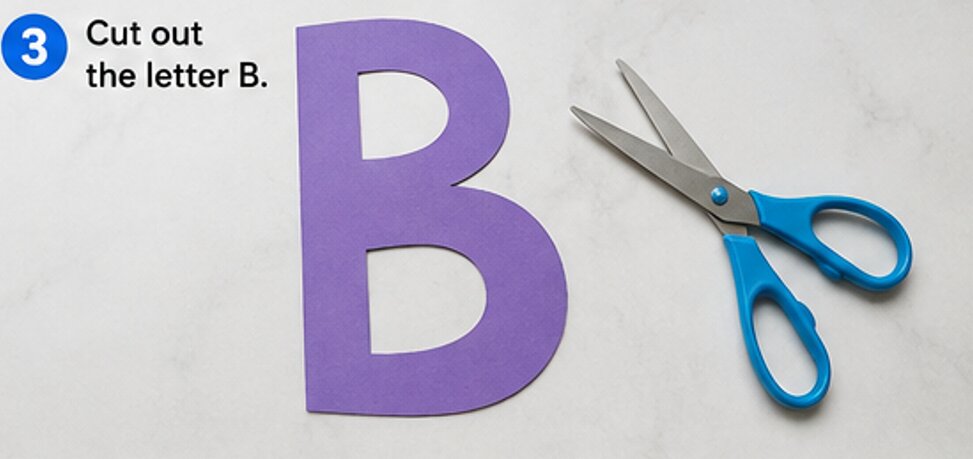
Carefully cut around the B using child-safe scissors.
If a child is doing the cutting, let them work slowly around the curves. This is a good opportunity to practice cutting skills and hand-eye coordination.
Once the letter is cut out, check its shape. Trim any extra paper around the edges if needed.
Now you have a large paper B ready to become the main part of the craft.
Step 4: Choose Paper for the Ball
Next, choose a bright piece of construction paper for the ball. You can use any color your child likes.
A red, blue, yellow, green, or orange ball can look cheerful. You can also use several colors if you want to make the ball more playful.
Place the selected paper on the table and prepare to make a round ball shape.
Step 5: Draw and Cut the Ball Shape
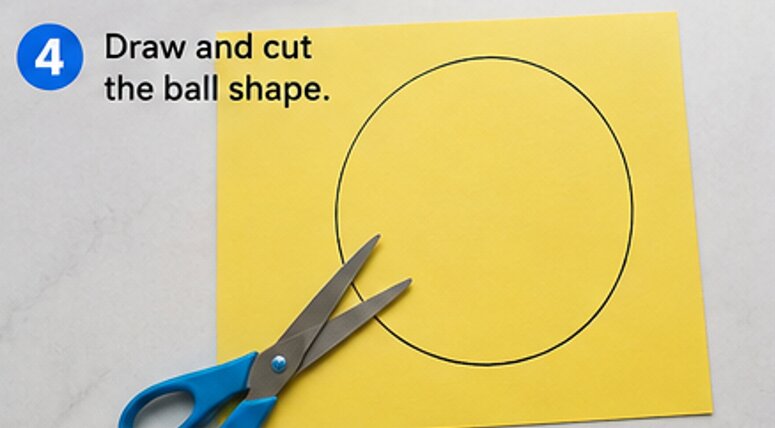
Use a pencil to draw a large circle on the colored construction paper.
You do not need a perfect circle. A simple rounded shape works well for this craft.
Carefully cut around the circle. This will become the ball that represents the word Ball in the alphabet activity.
If you want the ball to be larger or smaller, simply adjust the size of your circle before cutting it.
Step 6: Add Details to the Ball
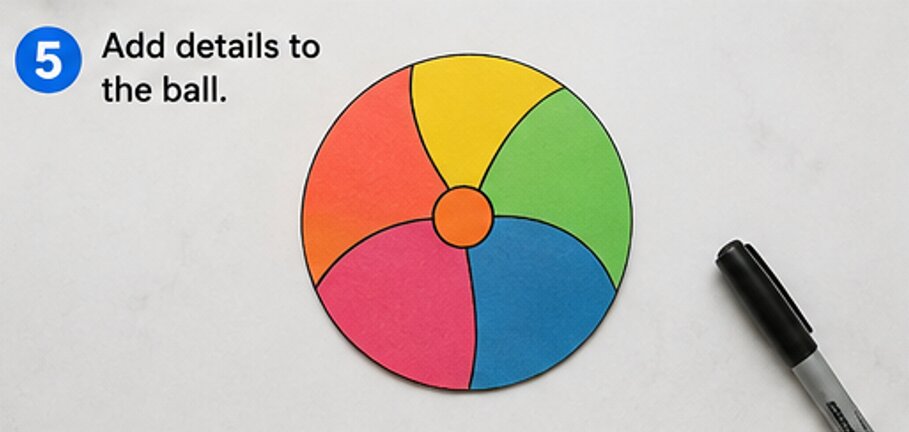
Now it is time to make the paper ball look more like a real ball.
Use a marker to draw a few curved or simple lines across the circle. You can copy the pattern of a playground ball or create your own design.
For example, you can draw curved sections, stripes, or small shapes inside the ball.
This part allows children to use their creativity. There is no need for the design to be perfect. The goal is to create a fun and colorful ball.
Step 7: Arrange the Letter and Ball
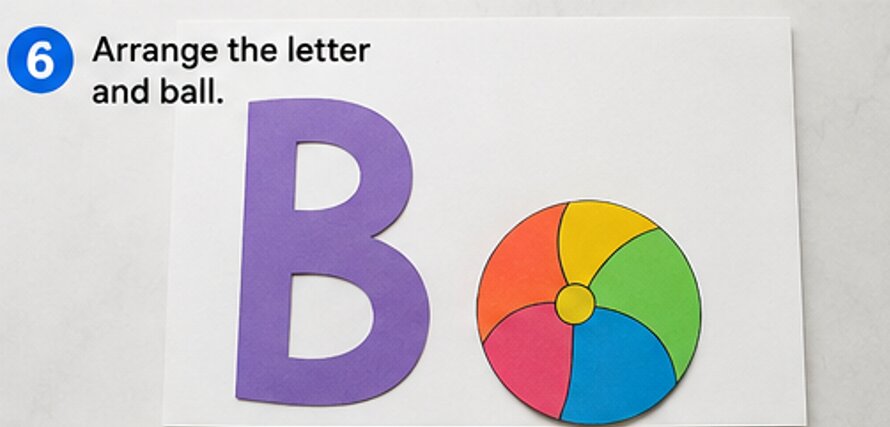
Before using glue, place the large B and the ball on the background paper.
Move the pieces around until you like the arrangement. You can place the B on one side and the ball beside it, or position the ball near the lower part of the letter.
Take a moment to make sure both pieces fit nicely on the page.
Arranging the pieces before gluing also makes it easier to avoid placing something in the wrong spot.
Step 8: Glue the Letter B
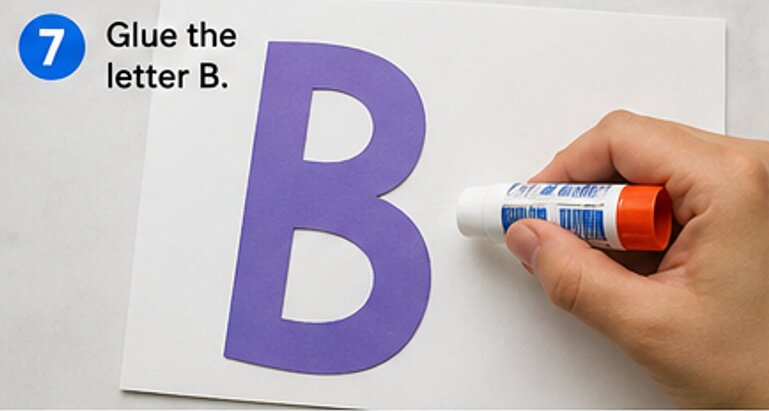
Once you are happy with the arrangement, turn the paper B over.
Apply a thin layer of glue to the back of the letter. Add glue around the edges and a little in the middle so the entire letter stays attached.
Carefully place the B onto the background paper.
Press it gently with your fingers for a few seconds. Make sure the edges are firmly attached before moving on.
Step 9: Glue the Ball
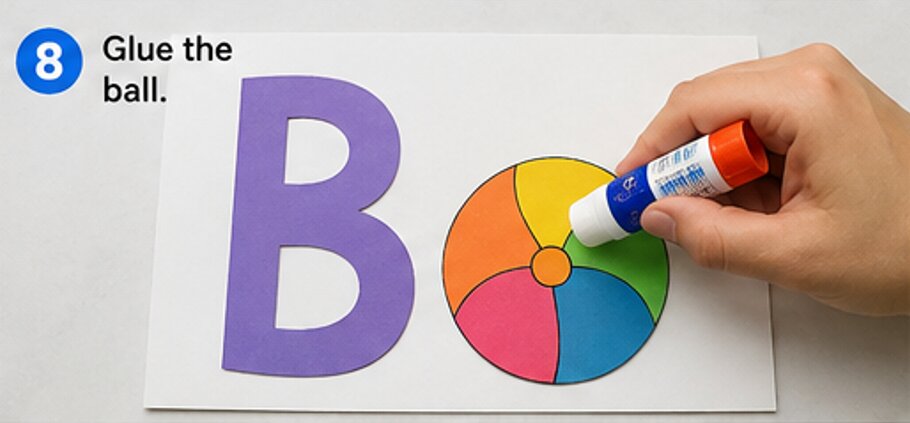
Now apply glue to the back of the paper ball.
Place it next to or underneath the letter B, depending on the arrangement you chose.
Press the ball gently onto the background paper. Smooth down the edges so they do not lift.
Allow the glue to dry for a few minutes.
At this point, the main part of your B Is for Ball Craft is complete!
Step 10: Add Final Details
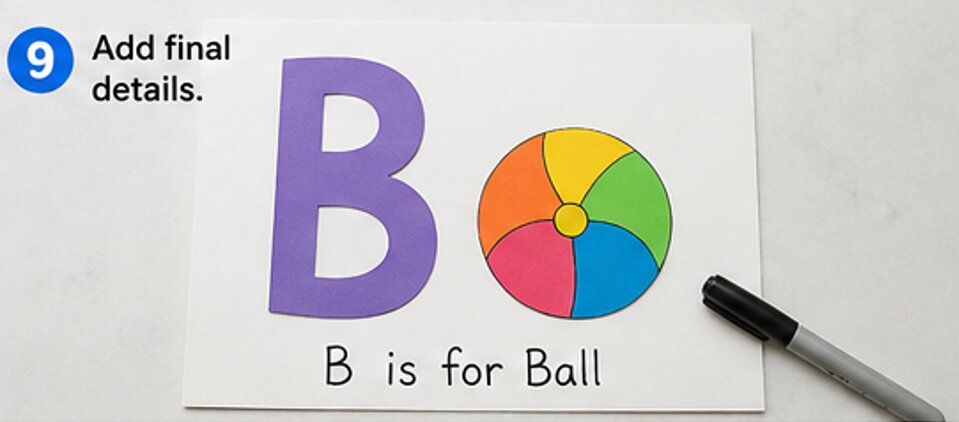
Use the marker to add any final details you want.
You can outline the letter B, add small decorations around the ball, or write the words “B is for Ball” on the craft.
If your child is practicing writing, they can try tracing the words or writing the letter B several times.
You can also add small paper shapes around the ball for extra decoration. Keep the design simple so the letter B and ball remain the main focus.
Step 11: Let the Craft Dry
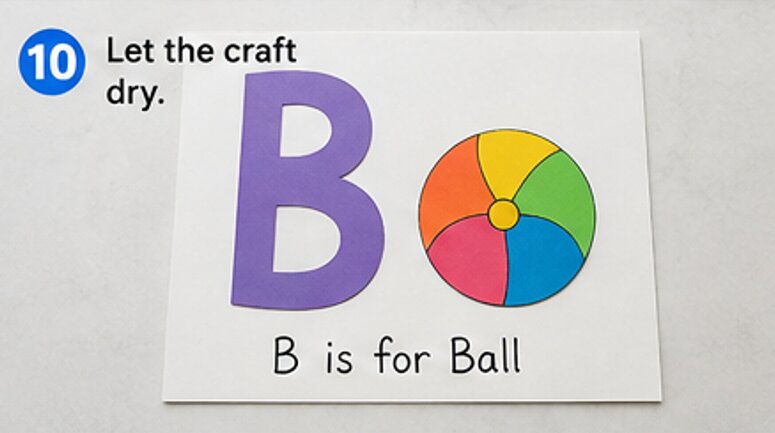
Before moving the finished artwork, give the glue enough time to dry.
Place the craft flat on the table and let it sit for several minutes. If you used a lot of glue, it may need a little longer.
Once everything is dry, check that all the paper pieces are firmly attached.
Your colorful alphabet craft is now ready to display!
Step 12: Talk About the Letter B and Ball
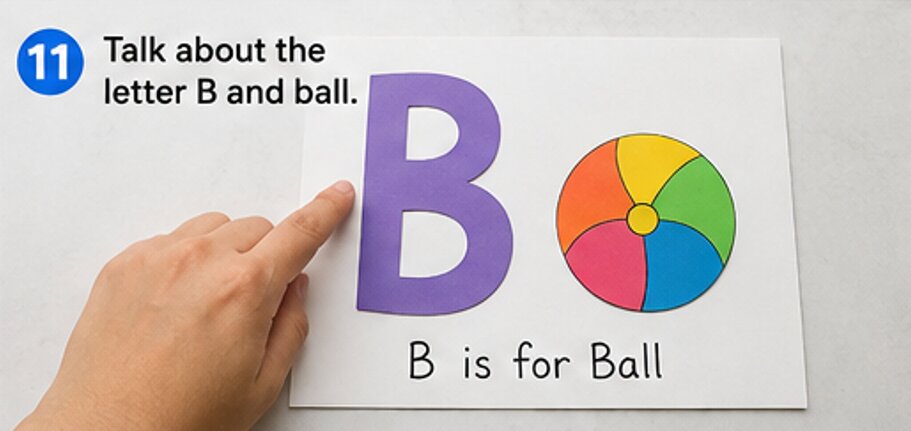
After finishing the craft, take a few minutes to talk about what you made.
Point to the uppercase B and say the letter name together. Then point to the ball and slowly say “B is for Ball.”
You can ask your child questions such as:
- What letter did we make?
- What shape is the ball?
- What word starts with B?
- What color is your ball?
- Can you find the letter B on the page?
Repeating the letter and word connection helps make the craft a simple and enjoyable alphabet-learning activity.
Give It a Try
B Is for Ball Craft is a simple way to turn alphabet practice into a creative activity.
With just construction paper, glue, a marker, and a few other basic supplies, you can make a colorful project that introduces children to the letter B.
I love that this craft also gives preschoolers a chance to practice cutting, gluing, arranging, and decorating.
Once your B Is for Ball Craft is finished, display it on a wall or refrigerator and let your little learner proudly show off their work. Give this easy alphabet craft a try and have fun learning the letter B!

Sohel Rana is the writer, editor, publisher, and founder of The Tidy Porch. He is the man who is responsible for the craft (my wife created) being converted into a written piece. He also helps her wife (Sumona) by capturing videos of each craft. In short, he brings each craft created by her wife in front of you by transforming it into an article and a video.
