
B for Bunny Craft is a fun hands-on activity that helps preschoolers learn the letter B while creating a cute paper bunny.
For this easy alphabet craft, I use basic supplies like construction paper, glue, and a marker. Children can practice recognizing an uppercase B while also working on cutting, gluing, and arranging paper pieces.
The best part is that the letter B becomes the bunny’s body, making the alphabet lesson more playful and memorable.
Materials Needed
For this B Is for Bunny craft, I use a few simple craft supplies:
- Construction paper in white, pink, and any color you like for the background
- Glue or school glue
- Black marker
- Pencil
- Scissors
- A ruler, optional, for making the letter B
- Small scraps of construction paper for the bunny’s facial details
Step-by-Step Instructions to Make B For Bunny Craft
Step 1: Prepare the Construction Paper
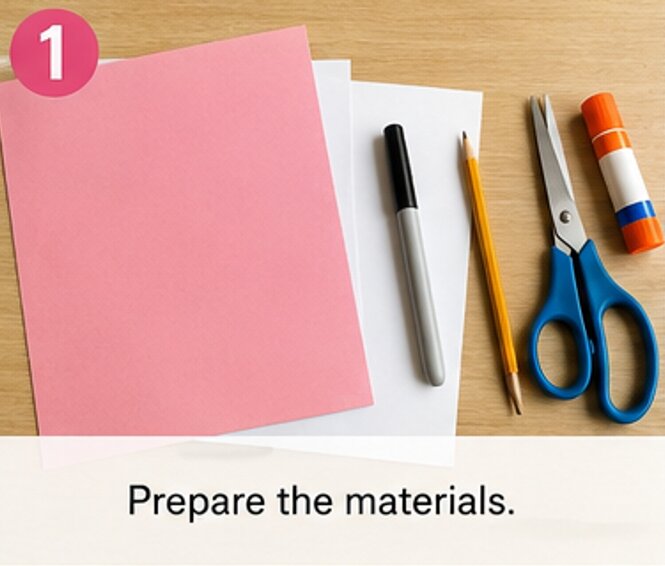
I start by choosing a sheet of construction paper for the background. You can use any color you like, but a darker or bright color makes the white bunny stand out nicely.
Place the paper flat on your work surface. If you are doing this craft with a preschooler, I recommend having all the supplies ready before you begin.
Next, I choose white construction paper for the bunny. This will be used to create the large uppercase letter B and the bunny’s ears.
Step 2: Draw an Uppercase B
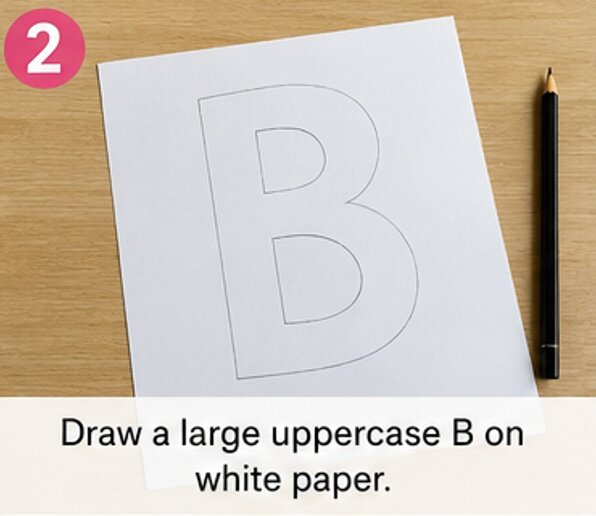
The main part of this alphabet craft is the uppercase letter B.
Using a pencil, I draw a large uppercase B on the white construction paper. I make the letter big enough to fit nicely in the middle of the background sheet.
Try to make the B fairly wide because it will become the bunny’s body. You do not need a perfect letter. A hand-drawn B gives the craft a simple, homemade look.
If you are making this activity with a young child, you can draw the letter first and let the child trace over it with a pencil.
Step 3: Cut Out the Letter B
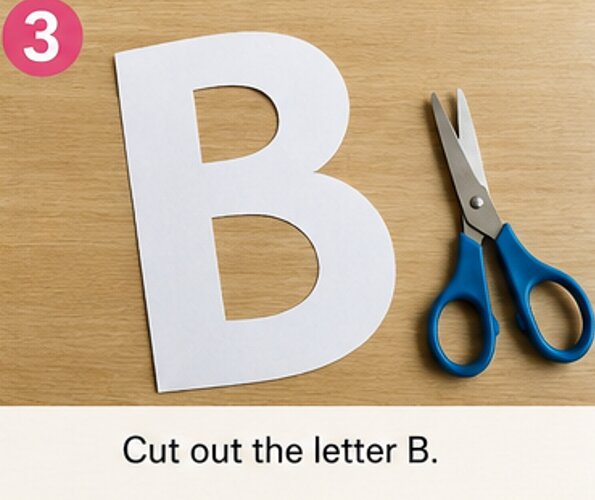
Once the uppercase B is drawn, I carefully cut it out with scissors.
I follow the pencil lines around the outside of the letter and take my time around the curved parts. The two rounded sections of the B will form the main body of the bunny.
If a child is doing the cutting, use child-safe scissors and provide help when needed.
After cutting, I place the B on the background paper to check its position. I leave enough room at the top for the bunny ears.
Step 4: Make the Bunny Ears
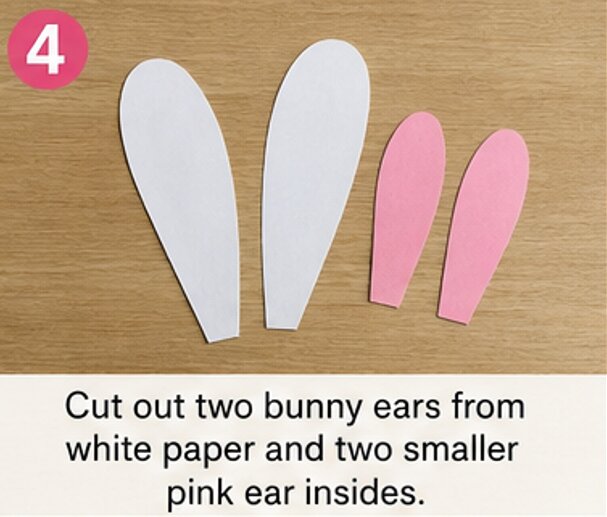
Now it is time to turn the letter B into a bunny.
I use the remaining white construction paper to draw two long bunny ears. I make each ear slightly rounded at the top and narrow toward the bottom.
Then I cut out both ears.
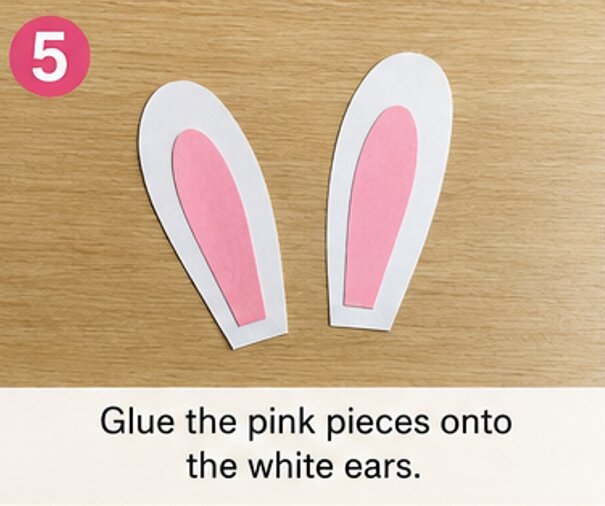
For the inside of the ears, I use pink construction paper. I draw two smaller ear shapes and cut them out. These pieces should be slightly smaller than the white ears so that a white border remains around each one.
I glue the pink pieces onto the white ears.
Step 5: Attach the Bunny Ears
I place the two bunny ears behind the top of the letter B.
Before adding glue, I move them around until I like their position. I want the ears to extend above the letter without covering too much of the B.
Once I am happy with the placement, I add glue to the bottom part of each ear and attach them to the back of the B.
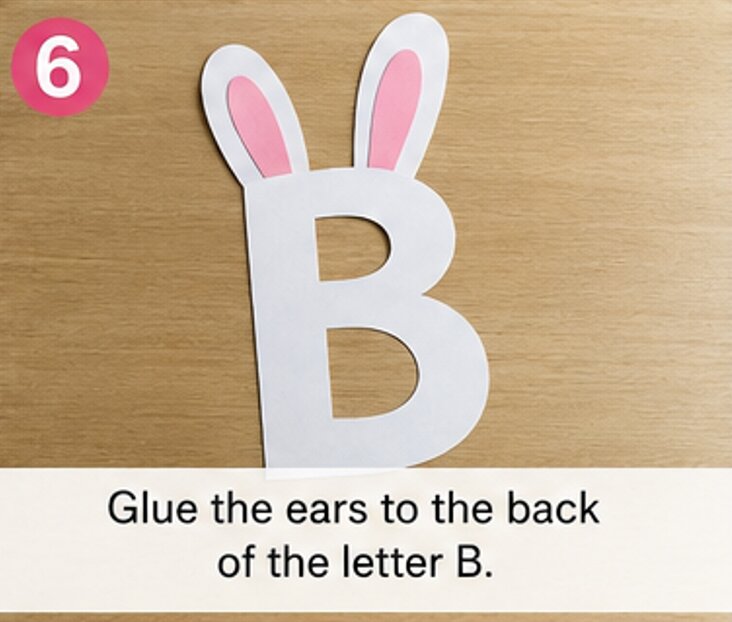
I press them gently for a few seconds so they stay in place.
Step 6: Glue the Letter B to the Background
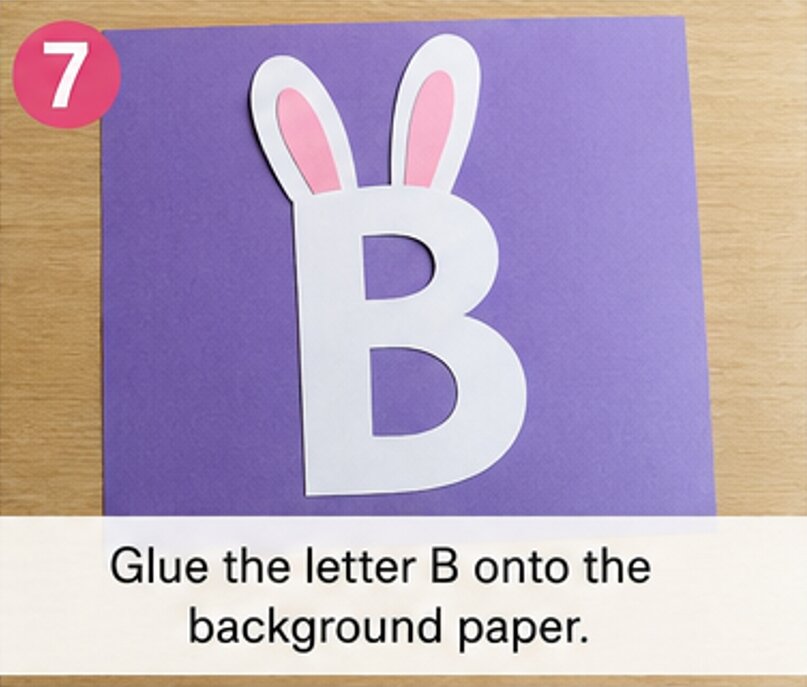
Now I am ready to attach the bunny body.
I turn the letter B over and apply glue to the back. I add enough glue around the edges and a few spots in the middle so the letter stays flat.
Then I place the B in the center of the background construction paper.
I gently press the letter down, especially around the edges and curved sections.
At this point, the uppercase B already starts to look like the body of a bunny.
Step 7: Create the Bunny Face
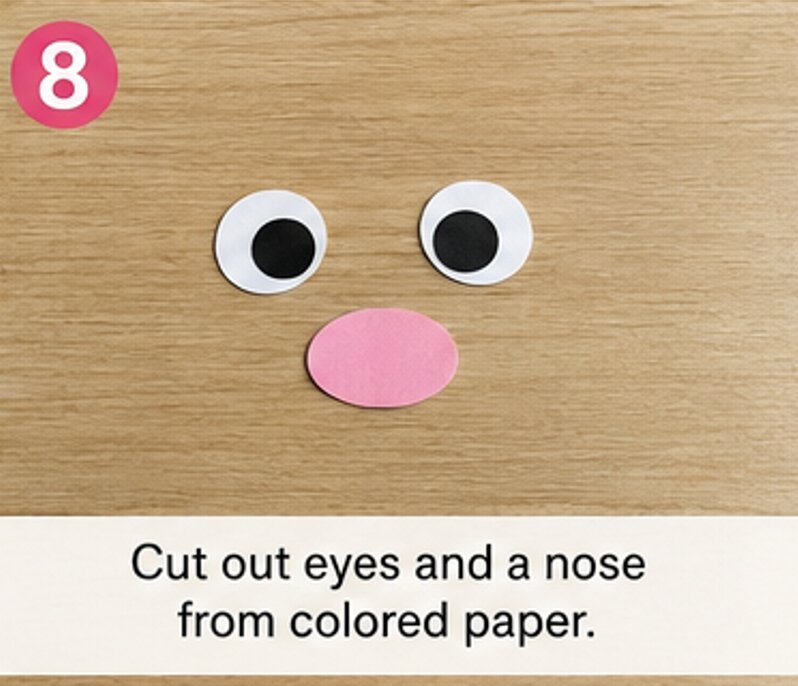
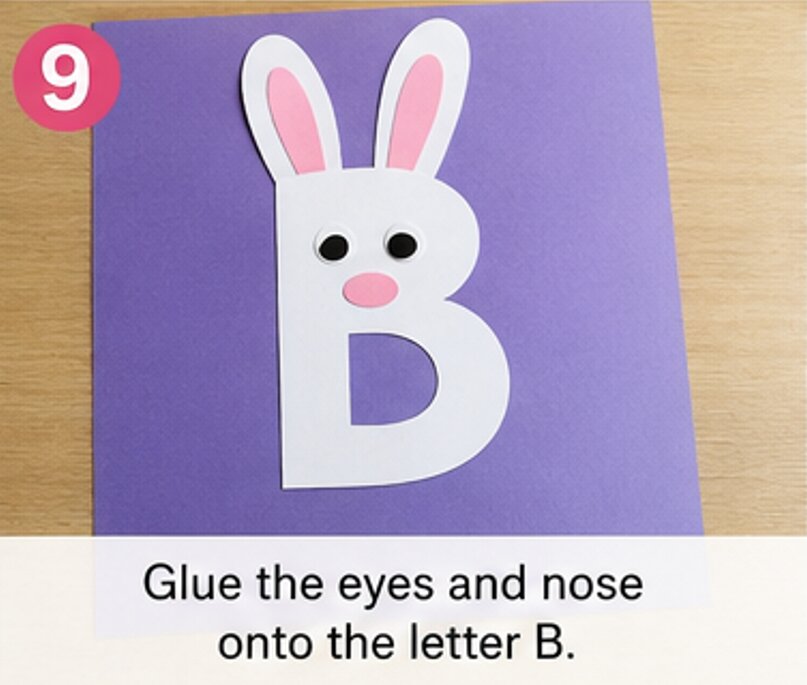
Next, I make the bunny’s face using small pieces of construction paper.
I cut out a small pink circle or oval for the nose. Then I use white or black paper for the eyes, depending on the look I want.
You can also make the eyes using a black marker instead of cutting paper pieces. This keeps the craft even easier.
I place the eyes on the upper part of the B and add the small pink nose between them.
Step 8: Draw the Bunny Details
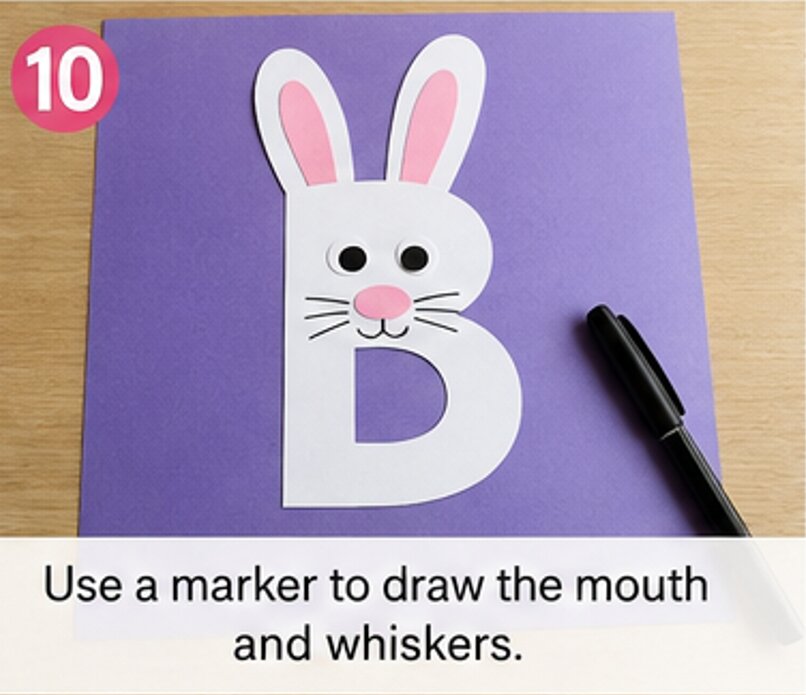
Once the main pieces are glued down, I use a black marker to add the bunny’s details.
I draw two small dots or circles for the eyes if I did not use paper eyes. Then I draw a small mouth underneath the nose.
Finally, I add a few thin lines on each side of the nose to create the bunny’s whiskers.
These little details help turn the simple letter B into a recognizable bunny.
Step 9: Add a Bunny Tail
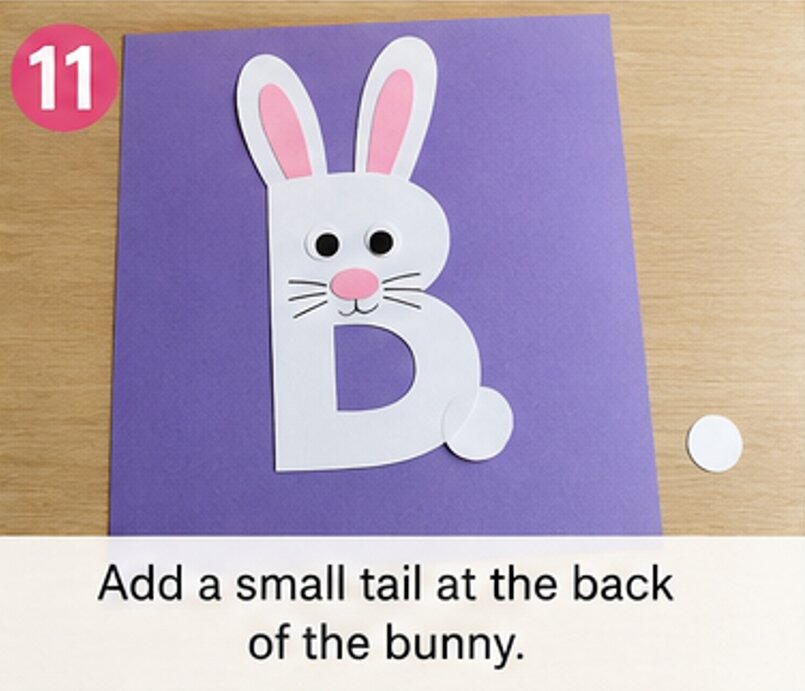
For the finishing touch, I make a small bunny tail.
I cut a small white circle from construction paper and glue it near the lower back side of the B. If you want the tail to stand out more, you can use a small piece of cotton instead.
I make sure the tail is not too large because the letter B should remain easy to see.
Step 10: Let the Craft Dry
I give the glue some time to dry before moving the finished craft.
Once everything is secure, I check the edges and add a little more glue to any loose pieces.
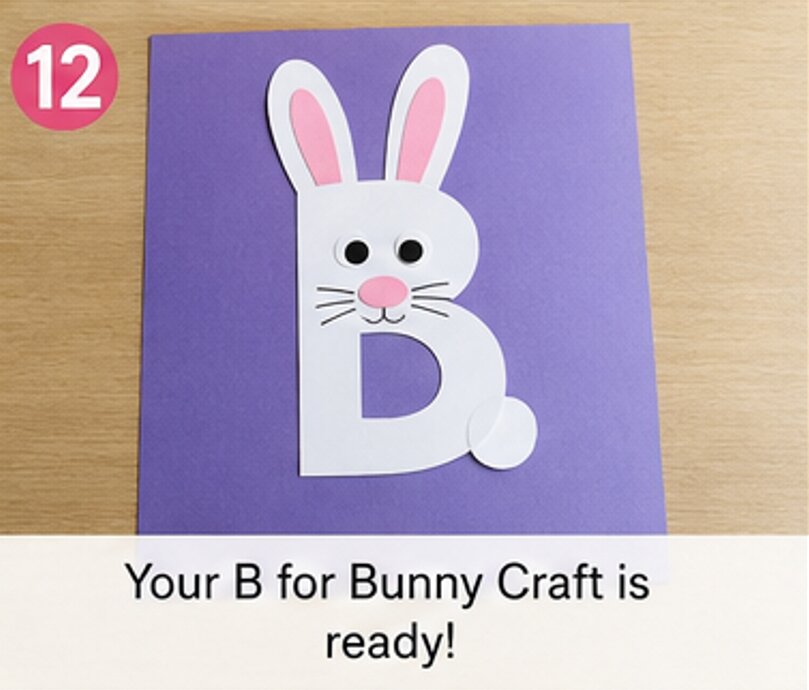
The finished project should clearly show an uppercase B while also looking like a cute bunny.
This makes it a fun letter B craft for preschoolers and a simple way to connect the letter B with the word bunny.
Give It A Try
This B for Bunny Craft is a simple way to combine alphabet learning with a creative paper activity.
By turning an uppercase B into a bunny, children can practice recognizing the letter while cutting, gluing, drawing, and arranging different shapes.
I only need a few basic supplies, so this is an easy project to make at home, in a preschool classroom, or during a letter-of-the-week activity.
Give this cute B Is for Bunny craft a try and let your little learner create their own paper bunny!

Sohel Rana is the writer, editor, publisher, and founder of The Tidy Porch. He is the man who is responsible for the craft (my wife created) being converted into a written piece. He also helps her wife (Sumona) by capturing videos of each craft. In short, he brings each craft created by her wife in front of you by transforming it into an article and a video.
