
I love simple letter crafts because they make alphabet learning fun and hands-on. This B for Bee Craft is an easy project for preschoolers and kindergarteners who are learning the letter B.
Using construction paper, glue, and a marker, you can turn a large uppercase B into a cute buzzing bee. Kids can practice letter recognition, cutting, gluing, and creativity while making their own paper bee. F
Follow the simple steps below to create this cheerful letter B bee craft together.
Materials Needed
For this easy B for Bee craft, gather these basic supplies:
- Yellow construction paper
- Black construction paper
- White construction paper
- A small piece of pink or red construction paper
- Glue
- Black marker
- Pencil
- Scissors
- A sheet of plain paper or light-colored construction paper for the background
Step-by-Step Instructions to Make a B for Bee Craft
Step 1: Prepare the Letter B
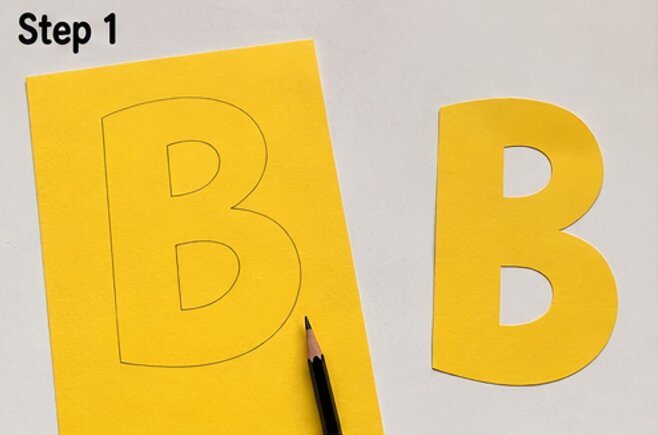
Start by drawing a large uppercase B on yellow construction paper with a pencil. Make the letter large enough to become the main body of your bee.
You can draw the B by hand. It does not have to be perfectly straight or symmetrical. In fact, a slightly imperfect handmade letter gives the craft a fun, personal look.
Once you are happy with the shape, carefully cut out the letter B with scissors. If a young child is doing the cutting, use child-safe scissors and provide help when needed.
The yellow B will become the bee’s main body, so leave enough space around the letter for the additional bee details.
Step 2: Cut the Bee’s Black Stripes
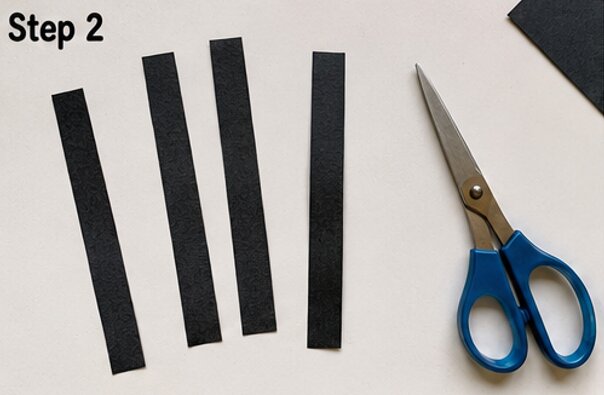
Next, take your black construction paper and cut several narrow strips.
You will need enough strips to create the bee’s familiar black-and-yellow pattern. Try cutting strips that are roughly the same width, but they do not need to be perfect.
Place the black strips across the yellow B to see where they look best before adding glue.
The stripes help the letter B look more like a cheerful little bee while keeping the shape of the letter easy to recognize.
Step 3: Add the Black Stripes to the B
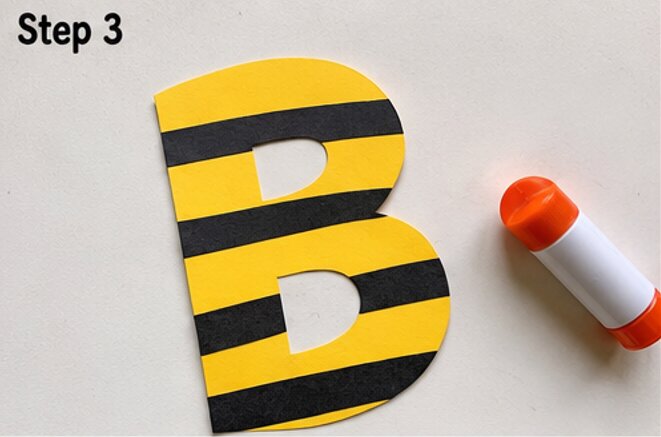
Apply a small amount of glue to the back of each black paper strip. Carefully place the strips across the yellow B.
Press each strip gently with your fingers so it sticks securely.
Allow the strips to extend slightly beyond the edges of the B if needed. After the glue dries, you can trim away any extra paper around the edges.
Keep the curved sections of the B visible. This is important because the finished craft should still clearly look like the uppercase letter B.
Step 4: Make the Bee’s Wings
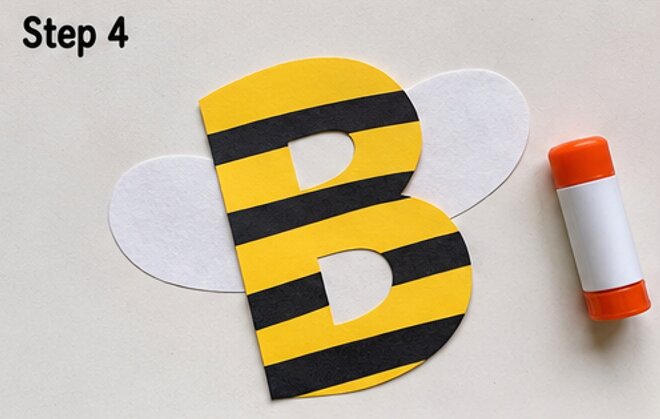
Now it is time to give your bee a pair of wings.
Take the white construction paper and draw two simple wing shapes. You can make them oval, rounded, or slightly curved. They do not have to match perfectly.
Cut out both wings with scissors.
For a cute paper bee, place one wing near the upper curve of the B and the other near the lower curve. You can position them behind the B if you want them to look more like real bee wings.
Add a little glue to the parts of the wings that will touch the B and press them into place.
Step 5: Create the Bee’s Face
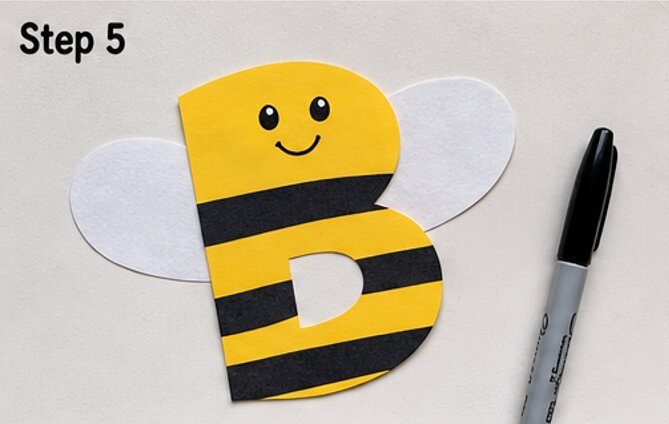
Give your bee a friendly face using the black marker.
Draw two small eyes near the upper part of the B. Then add a tiny smile underneath them.
You can also draw small cheeks with your marker or use tiny pieces of pink construction paper to create colorful cheeks.
Keep the face simple so the letter B remains the main focus of the craft.
Step 6: Add the Bee’s Antennae
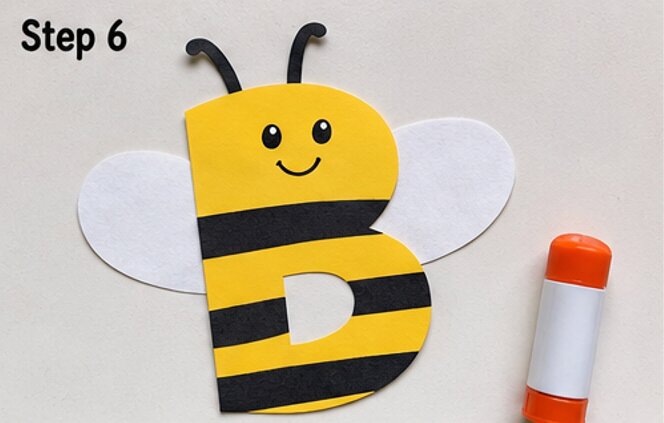
A bee needs its antennae, so let’s add those next.
Cut two thin strips from black construction paper. These will become the antennae.
Glue them near the top of the bee’s head. Bend the strips slightly before gluing them down to give the antennae a playful shape.
If you prefer, you can simply draw the antennae with a black marker instead. Either option works well for this easy paper bee craft.
Step 7: Add Extra Bee Details
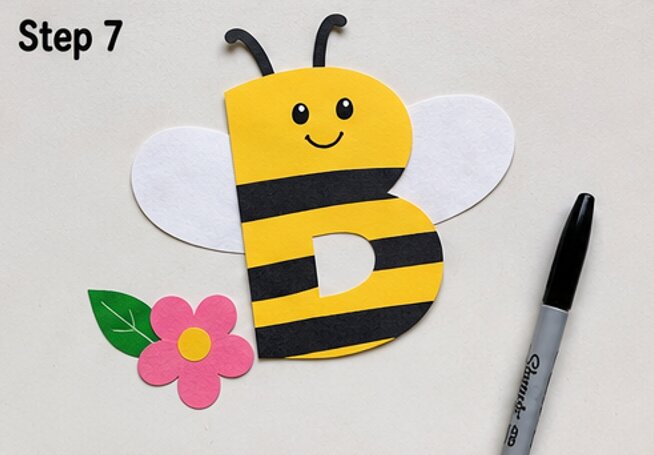
At this point, your B already looks like a bee, but you can add a few small details to make it more fun.
Use the black marker to add tiny lines to the wings or a few decorative marks around the bee. You could also cut small circles from black paper and use them as additional details.
Another fun idea is to cut a tiny flower from colored construction paper and place it beside the bee. This gives your craft a garden theme.
Remember that extra decorations are optional. The simple B shape should remain easy to see.
Step 8: Glue the Finished Bee to the Background
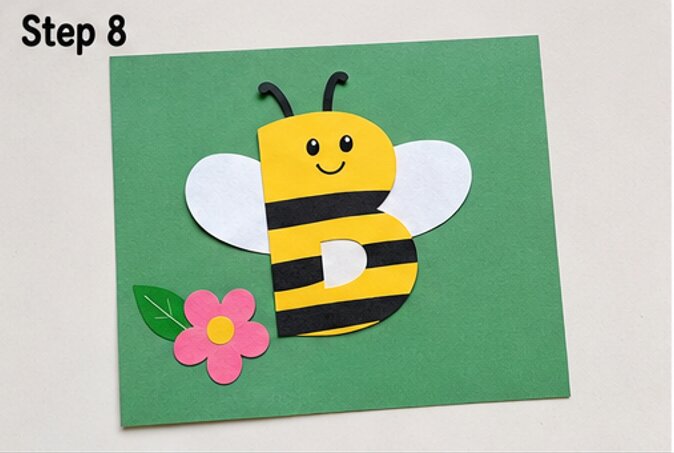
Take your background paper and place your completed B for Bee in the center.
Move it around until you find a position you like. Then apply glue to the back of the B and carefully press it onto the background.
Hold it down for a few seconds so the paper sticks properly.
If you are making this craft as part of a letter-of-the-week activity, you can write “B is for Bee” above or below the craft with a black marker.
Step 9: Let the Craft Dry
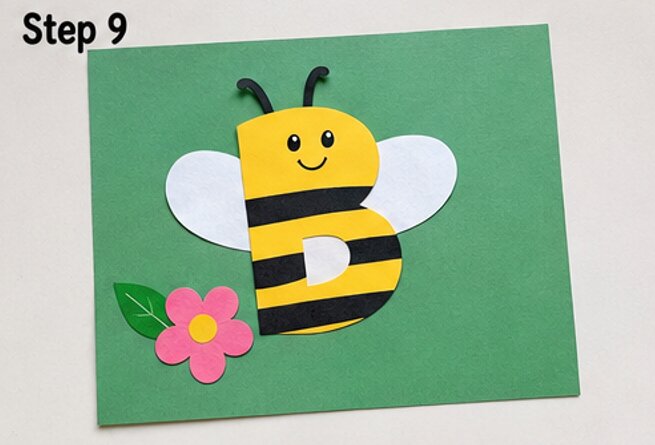
Finally, leave your finished bee craft on a flat surface until the glue has completely dried.
Check the wings, stripes, antennae, and other paper pieces to make sure everything is firmly attached.
Once the craft is dry, your cute B for Bee Craft is ready to display!
You can hang it on a classroom wall, add it to an alphabet learning board, or keep it as part of a child’s letter B collection.
Give It A Try
This B for Bee Craft is a simple way to combine creativity and alphabet learning in one fun activity. With just construction paper, glue, and a marker, kids can turn a basic uppercase B into a cheerful little bee.
While making the craft, children can practice recognizing the letter B, cutting paper shapes, using glue, and creating their own designs. The finished bee also makes a cute classroom or home decoration.
So gather your paper and craft supplies, draw that big B, and let your little learner make a buzzing B is for Bee project!

Sohel Rana is the writer, editor, publisher, and founder of The Tidy Porch. He is the man who is responsible for the craft (my wife created) being converted into a written piece. He also helps her wife (Sumona) by capturing videos of each craft. In short, he brings each craft created by her wife in front of you by transforming it into an article and a video.
