
Learning the alphabet becomes much more exciting when children can create something with their hands. This B Is for Boat Craft is a simple and fun paper project that helps kids recognize the uppercase letter B while making a cute little boat.
With just construction paper, glue, and a marker, children can turn a basic letter into a creative boat craft. It is perfect for preschool, kindergarten, classroom activities, or an easy afternoon project at home.
Let’s grab the supplies and make this fun letter B craft together!
Materials Needed
You only need a few basic craft supplies to make this easy B Is for Boat Craft:
- Construction paper: Choose blue for the background and colors such as brown, red, yellow, or orange for the boat and decorations.
- Glue: A glue stick or school glue works well for attaching the paper pieces.
- Marker: Use a black marker to draw the letter B and add small details.
- Scissors: Use child-safe scissors for cutting the paper pieces. Younger children should have adult supervision.
- Pencil: Helpful for lightly sketching shapes before cutting.
- White paper: Optional for creating small details such as clouds, waves, or a sail.
How to Make a B Is for Boat Craft
Step 1: Prepare the Background
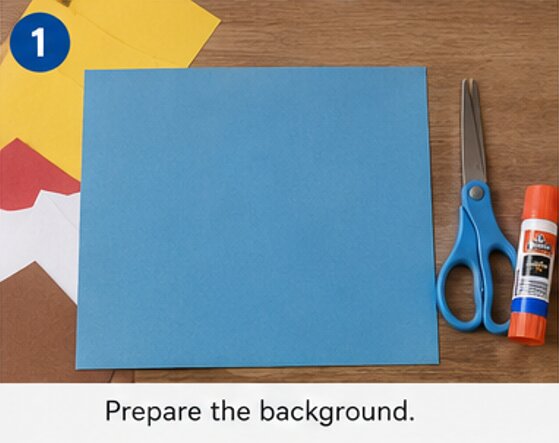
Start by choosing a piece of construction paper for your craft background. Blue works especially well because it can represent the sky or water.
Place the paper flat on your work surface. If you want to create an ocean scene, use blue paper as the water and leave enough room above it for the boat and sky.
You can also use white construction paper and add blue paper later to create the water.
Step 2: Draw a Large Uppercase B
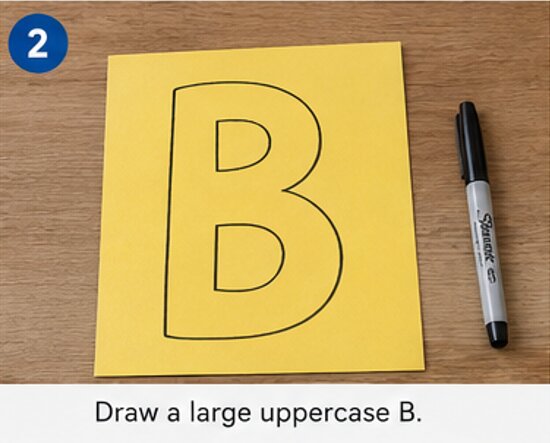
Take a sheet of construction paper in the color you want for your main letter.
Using a pencil or marker, draw a large uppercase B in the center of the paper. Make the letter large enough to become the main part of the boat craft.
Try to keep the two rounded sections of the B clearly visible. A simple hand-drawn letter works perfectly for this project.
For younger children, an adult can draw the letter B first so the child can focus on cutting and decorating.
Step 3: Cut Out the Letter B
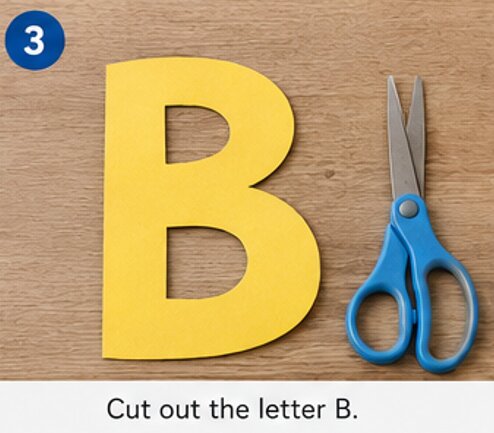
Carefully cut around the uppercase B using scissors.
Take your time around the curved parts of the letter. The cut does not need to be perfectly straight. Small imperfections can make the craft look handmade and give children a chance to practice their cutting skills.
Once finished, place the B on the background to see where the boat will fit.
Step 4: Create the Boat Shape
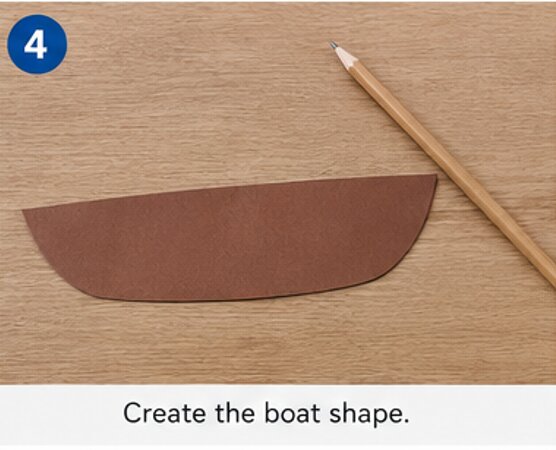
Now it is time to turn the letter B into a boat.
Choose a piece of brown, orange, red, or another colorful construction paper. Draw a simple boat hull shape. It can look like a long curved rectangle or a shallow bowl.
Cut out the boat shape.
Place it along the lower part of the letter B. The boat should overlap or sit beneath the bottom portion of the B so that the letter becomes part of the boat design.
Step 5: Add the Boat to the Letter B
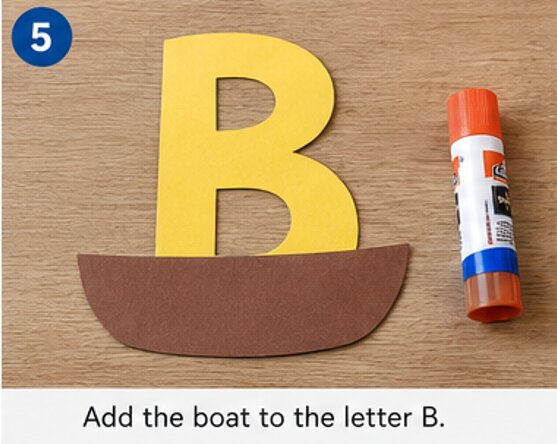
Apply a small amount of glue to the back of the boat piece.
Press it onto the lower section of the B and gently smooth it down.
Make sure the glue reaches the edges so the piece stays securely attached. Avoid using too much glue because it can make the construction paper wet and wrinkled.
Let the glue sit for a few moments before moving on.
Step 6: Make a Colorful Sail
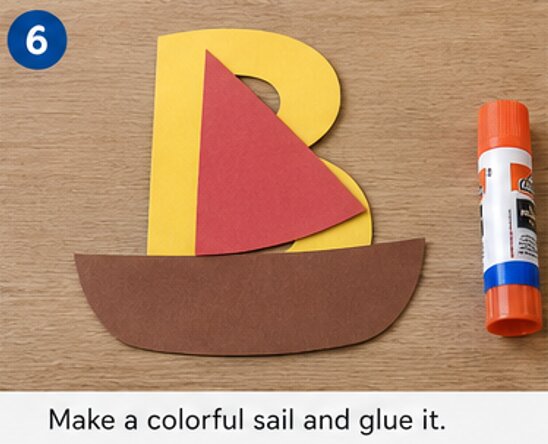
A boat looks even more fun with a sail.
Choose a bright piece of construction paper and cut out a simple triangle. This will become the sail.
You can make one large sail or two smaller sails in different colors.
Glue the sail above the boat. Position it near the center or upper part of the B so the finished craft clearly resembles a sailing boat.
Step 7: Add a Mast
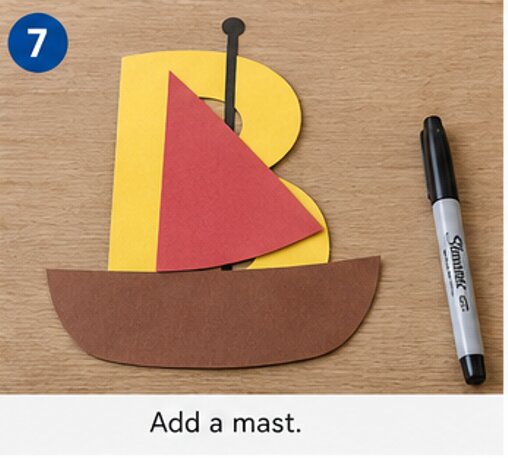
Use a black marker to draw a straight vertical line underneath the sail. This creates the boat’s mast.
You can also cut a thin strip of brown or black construction paper and glue it in place.
If your child is doing the craft independently, drawing the mast with a marker is the easiest option.
Step 8: Draw the Boat Details
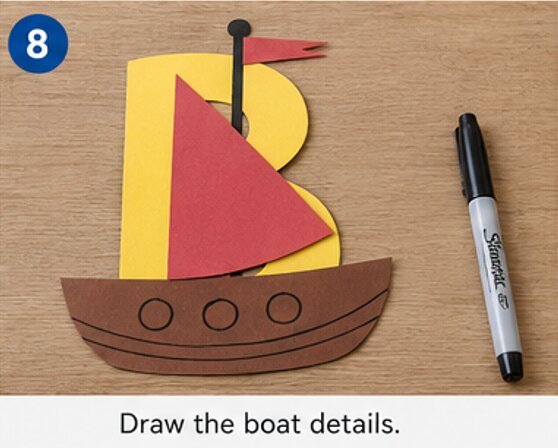
Now comes the fun decorating part!
Use a marker to add small details to the boat. You can draw:
- Windows
- A flag
- Small lines on the boat
- A steering wheel
- Waves
- Ropes
- Dots or patterns
Encourage children to use their imagination. There is no single correct way to decorate a paper boat.
Step 9: Add Waves
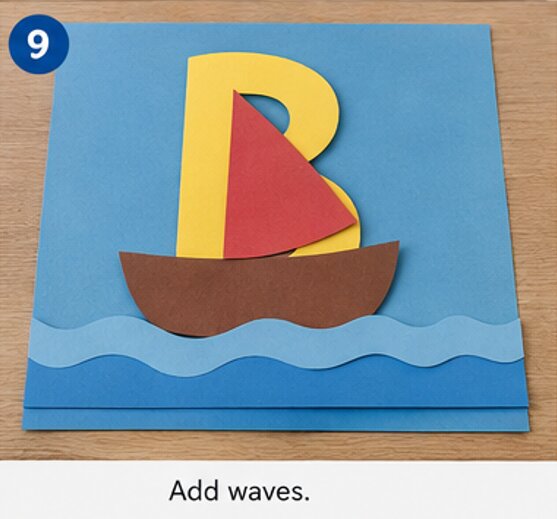
To make the scene look like the boat is floating, create some paper waves.
Cut several simple wavy strips from blue or white construction paper. You can make the waves long, short, wide, or narrow.
Glue the waves underneath and around the boat.
Alternatively, draw curved blue lines with a marker if you want to keep the craft even simpler.
Step 10: Add Extra Decorations
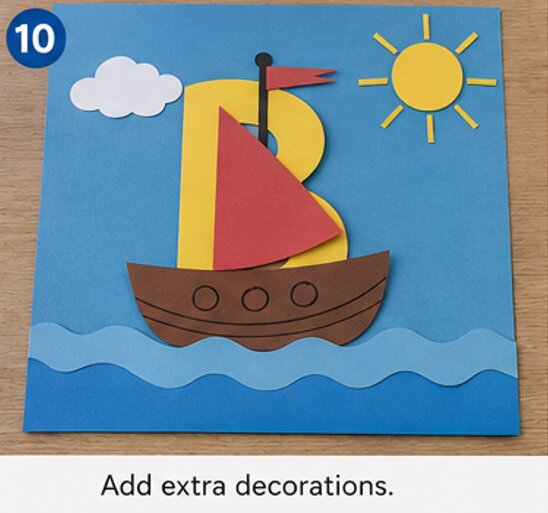
Give the craft a little more personality by adding a few simple background details.
You can cut out white clouds and glue them above the boat. Add a yellow paper sun in one corner or draw small birds in the sky with a marker.
Children can also add their names, stickers, dots, stars, or other paper shapes.
This is a great opportunity to let kids make creative choices while practicing their fine motor skills.
Step 11: Let the Craft Dry
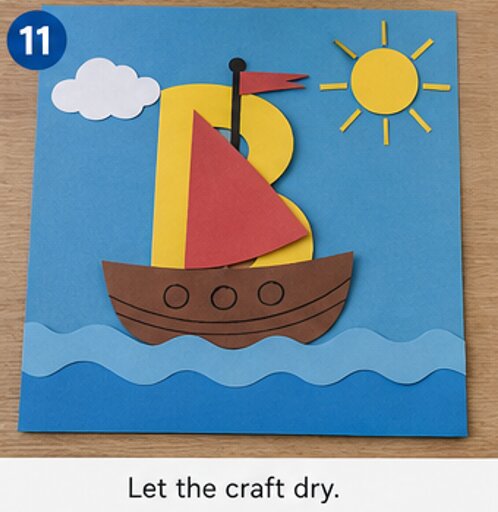
Once all the pieces are attached, place the finished craft on a flat surface.
Allow the glue to dry completely before picking it up or displaying it.
If some paper edges lift while drying, add a tiny amount of glue underneath and press them down gently.
Step 12: Display Your B Is for Boat Craft
Your B Is for Boat Craft is now complete!
Display it on a classroom wall, refrigerator, bulletin board, or craft display area. You can place several alphabet crafts together to create a colorful letter-of-the-week collection.
While displaying the project, encourage children to say the letter and its sound: “B is for Boat!”
This simple repetition can make alphabet learning more memorable and engaging.
Give It A Try
This B Is for Boat Craft is an easy way to combine creativity and early alphabet learning in one fun activity.
With construction paper, glue, and a marker, children can turn a simple uppercase B into a colorful boat while practicing cutting, gluing, decorating, and letter recognition.
Whether you make it at home, in preschool, or in a kindergarten classroom, this paper craft is sure to be a fun hands-on learning activity.
Give it a try and let your little learner sail away with the letter B!

Sohel Rana is the writer, editor, publisher, and founder of The Tidy Porch. He is the man who is responsible for the craft (my wife created) being converted into a written piece. He also helps her wife (Sumona) by capturing videos of each craft. In short, he brings each craft created by her wife in front of you by transforming it into an article and a video.
