
Last Sunday night, I sat on my kitchen floor surrounded by construction paper. My daughter’s letter-of-the-week folder said “C” starts Monday. I had no plan.
Sound familiar?
If you’ve ever stared at a lesson calendar wondering what on earth you’re going to make for letter C, you’re not alone.
I built this list so you never have to scramble again. Ten complete paper crafts. No mess, no 3D pieces, no glitter avalanche.
Just grab paper, scissors, and glue, and you’re ready for C week starting today.
The Supplies That Make These Crafts Easy
You don’t need much for any of these projects. Here are the five items I keep on hand for every letter-of-the-week craft, C included.
- Crayola Construction Paper Pack gives you every color you’ll need for cats, cars, and crabs without a mid-project store run.
- Fiskars Blunt-Tip Kids Scissors cut cleanly through paper while staying safe for small hands.
- Elmer’s Disappearing Purple School Glue Sticks go on purple so kids can see their coverage, then dry clear.
- Googly Eyes Assorted Multipack turns any flat paper shape into a character in about two seconds.
- Crayola Black Fine Line Markers handle the small detail work — whiskers, wheels, and facial features — better than crayons ever could.
Paper Caterpillar Craft for Letter C Week
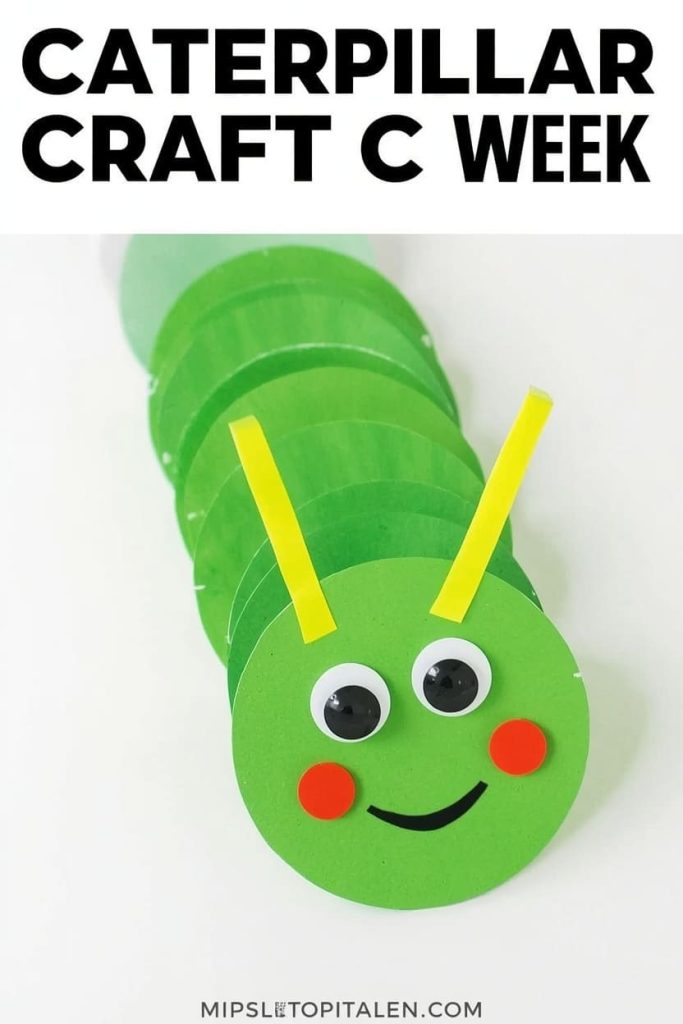
This caterpillar is one of the easiest ways to introduce the C sound, and your child already knows what one looks like. It’s built from simple circles, so even a first-time crafter can follow along. You’ll have it finished in about ten minutes.
Materials Needed
- Green construction paper
- Yellow and red construction paper (small scraps)
- Scissors
- Glue
- Googly eyes
- Black marker
How to Make It
- Cut 6–8 circles from green paper, each about 2 inches wide
- Glue the circles in a slightly overlapping row to form the body
- Cut two thin antenna strips from yellow paper and glue them to the front circle
- Glue googly eyes onto the front circle
- Draw a small smile under the eyes with the black marker
- Cut small red “spots” and glue one onto each body circle
Tips
- Pre-cut the circles ahead of time for toddlers who aren’t ready for scissors yet
- Use a paper plate as a size guide so all the circles come out even
Paper Cat Craft for Letter C Week
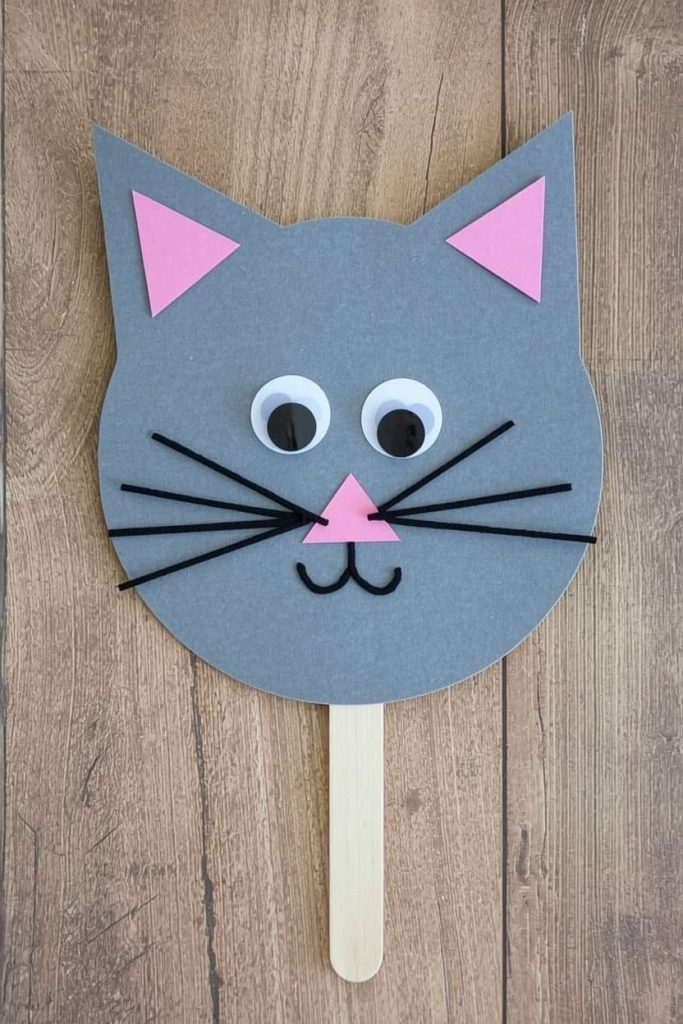
This cat face comes together from just a few shapes, which makes it a good pick when you’re short on time. Glue it to a craft stick afterward and it doubles as a puppet. Kids especially like adding the whiskers at the end.
Materials Needed
- Gray or orange construction paper
- Pink paper scrap (for the nose)
- Scissors
- Glue
- Googly eyes
- Black marker
How to Make It
- Cut one large circle from gray or orange paper for the face
- Cut two small triangles for ears and glue them behind the top of the circle
- Cut a small pink triangle and glue it in the center of the face for the nose
- Glue googly eyes just above the nose
- Draw whiskers extending out from each side of the nose
- Draw a small mouth below the nose with the marker
Tips
- Fold the ear triangles slightly before gluing to give them a more dimensional look
- Let your child choose the fur color to make it feel personal
Paper Car Craft for Letter C Week
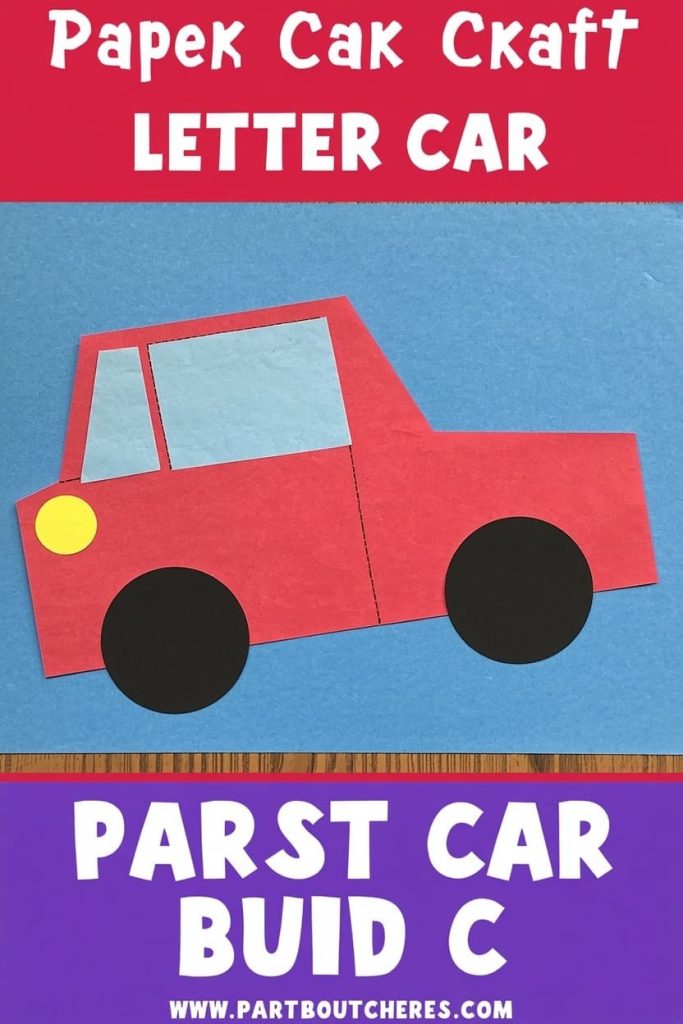
This craft is a good fit for kids who’d rather build than color. It has a clear front-to-back structure, so it’s easy for your child to see progress as they go. It also gives you a natural moment to talk about the “c” sound in “car.”
Materials Needed
- Red or blue construction paper (body)
- Black paper (wheels)
- Lighter-colored paper scrap (windshield)
- Scissors
- Glue
How to Make It
- Cut a rectangle for the car body and round off the top two corners
- Cut two small black circles for wheels
- Glue the wheels to the bottom edge of the car body
- Cut a smaller rectangle in a lighter color for the windshield
- Glue the windshield near the top of the car body
- Add a small paper circle inside the windshield as a “driver” if your child wants a character
Tips
- Use a bottle cap to trace perfectly round wheels
- Let older kids add paper headlights and a bumper for extra detail
Paper Crab Craft for Letter C Week
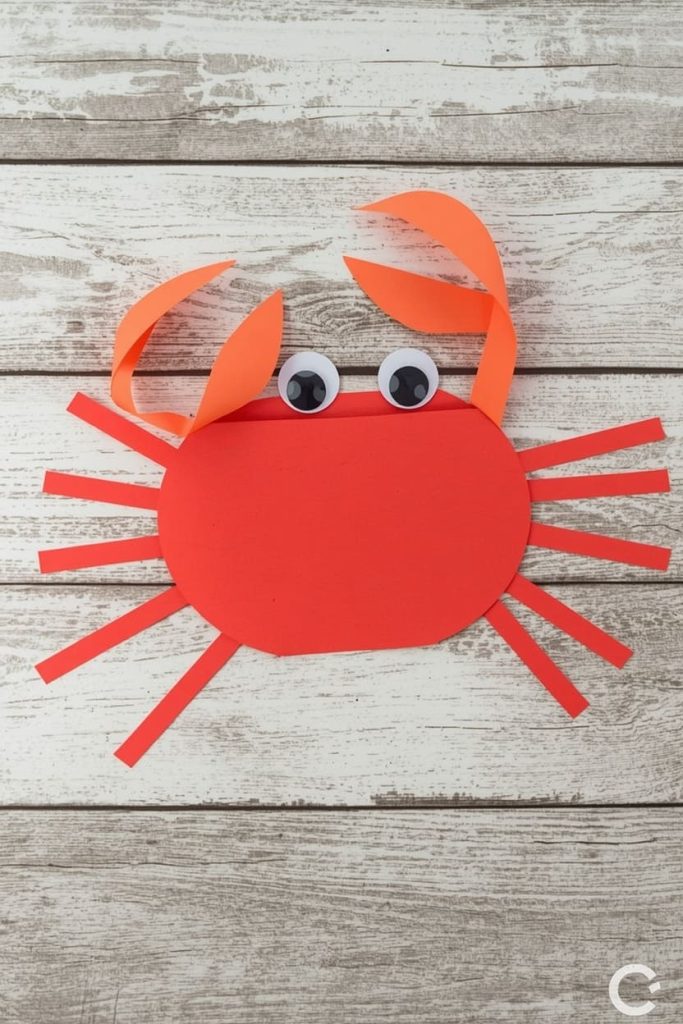
Kids love this one because the claws have a bit of movement once they’re glued on. It’s slightly more advanced than the others on this list, so it works well for kids who’ve already done a few paper crafts. Expect it to take closer to fifteen minutes.
Materials Needed
- Orange or red construction paper
- Scissors
- Glue
- Googly eyes
- Black marker
How to Make It
- Cut one oval from paper for the crab’s body
- Cut two smaller ovals for the claws
- Fold each claw oval slightly at the middle to create a pincer look
- Glue the claws to the top sides of the body
- Cut four thin strips of paper per side for legs
- Fan the legs out along the bottom edge of the body and glue in place
- Add googly eyes to the top of the body
Tips
- Curl the leg strips slightly around a pencil before gluing for a more realistic look
- Keep the claw fold light so it doesn’t tear the paper
Paper Cupcake Craft for Letter C Week
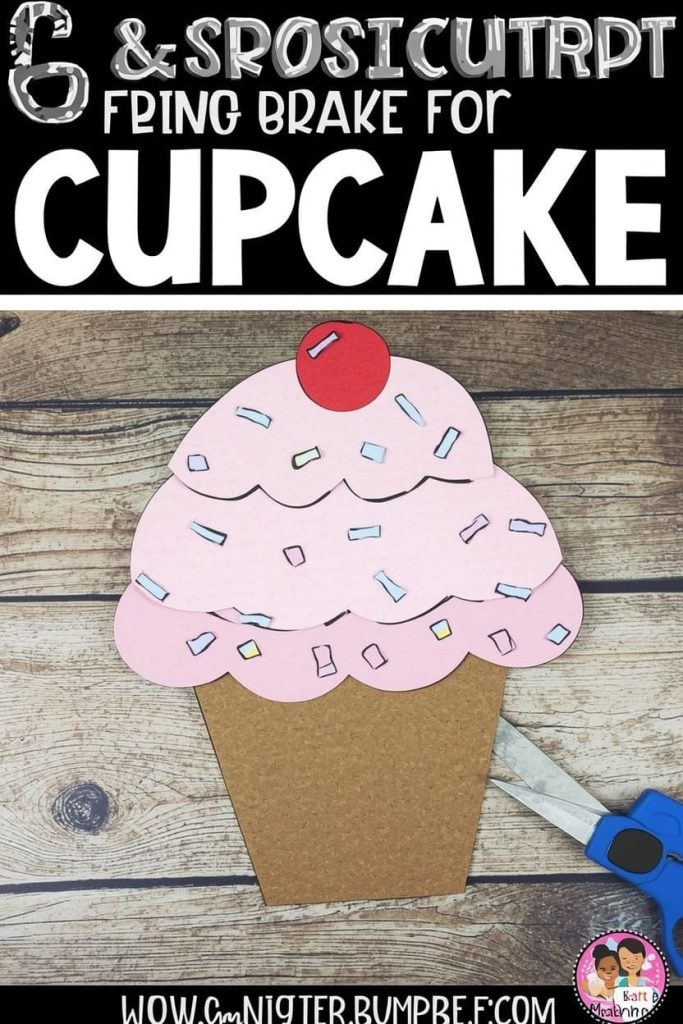
This is a favorite for a “C is for cupcake” angle, and it holds up nicely as a display piece on a classroom wall. The scalloped frosting edge is the only slightly tricky cut, and even that’s forgiving if it’s not perfect. Kids tend to enjoy the sprinkle step most.
Materials Needed
- Brown or tan paper (cupcake base)
- Pink or white paper (frosting)
- Small red paper circle (cherry)
- Scissors
- Glue
- Markers (for sprinkles)
How to Make It
- Cut a trapezoid shape from brown paper, wider at the top and narrower at the bottom, for the cupcake base
- Cut a scalloped or wavy-edged half-circle from pink or white paper for the frosting
- Glue the frosting piece to the top of the cupcake base
- Glue a small red paper circle to the top center as the cherry
- Let the glue dry fully
- Draw small dots across the frosting with markers for sprinkles
Tips
- Draw the scalloped edge lightly in pencil first if your child is cutting it themselves
- Try two frosting colors layered on top of each other for a fun variation
Paper Clock Craft for Letter C Week
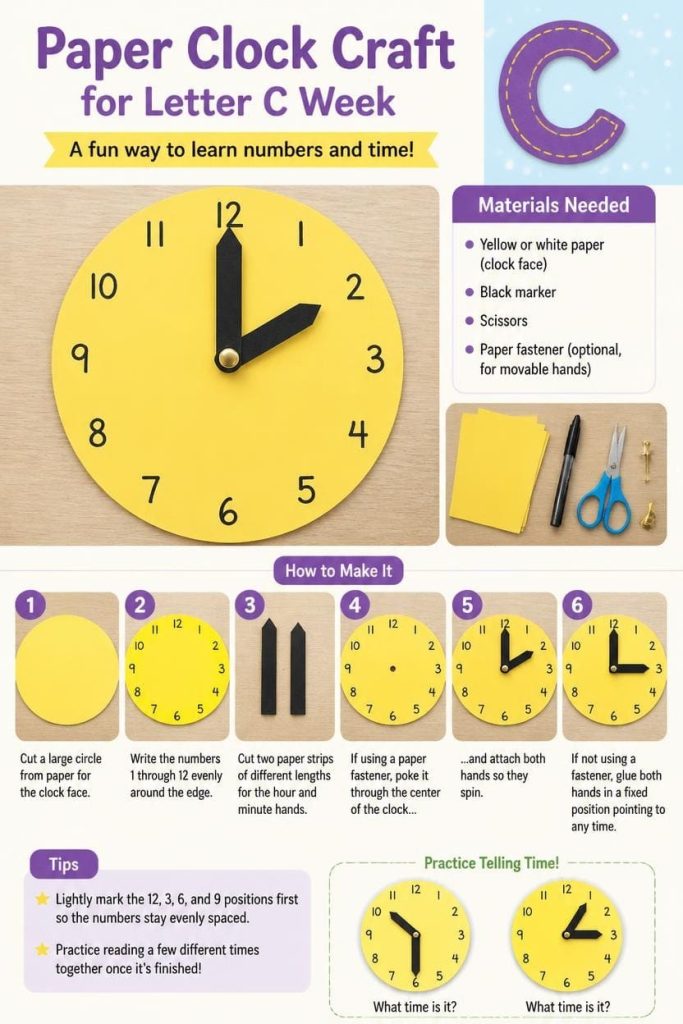
A clock craft is a nice way to sneak in early number recognition alongside the letter C. It’s mostly a writing and cutting exercise rather than a shaping one, which makes it a good change of pace after several other crafts on this list.
Materials Needed
- Yellow or white paper (clock face)
- Black marker
- Scissors
- Paper fastener (optional, for movable hands)
How to Make It
- Cut a large circle from paper for the clock face
- Write the numbers 1 through 12 evenly around the edge
- Cut two paper strips of different lengths for the hour and minute hands
- If using a paper fastener, poke it through the center of the clock and attach both hands so they spin
- If not using a fastener, glue both hands in a fixed position pointing to any time
Tips
- Lightly mark the 12, 3, 6, and 9 positions first so the numbers stay evenly spaced
- Practice reading a few different times together once it’s finished
Paper Crown Craft for Letter C Week
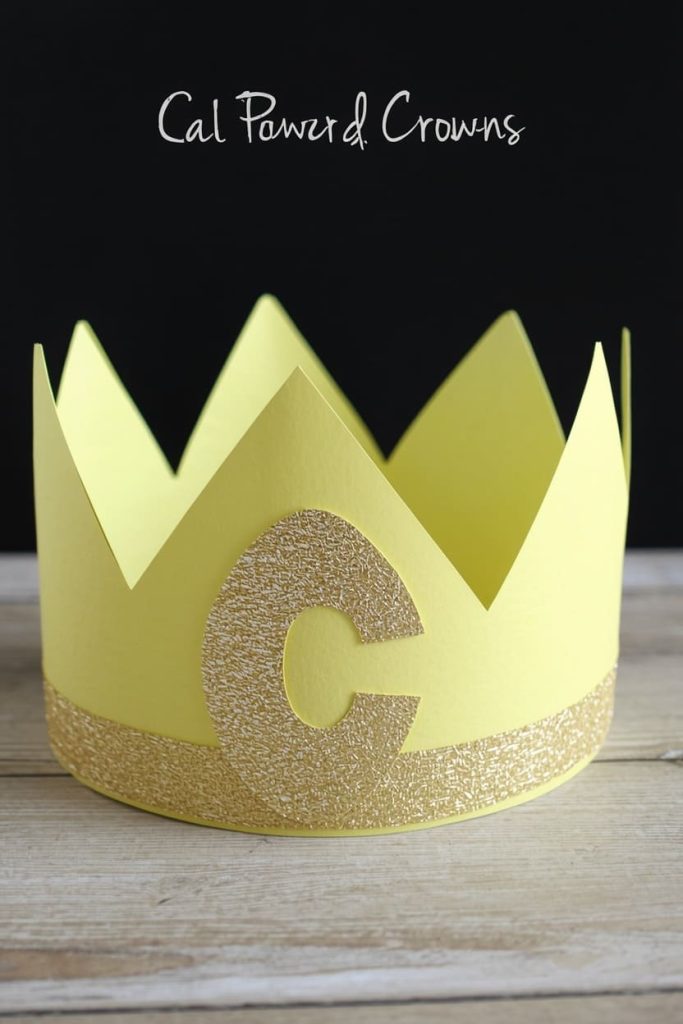
This one turns “C is for crown” into something your child will want to wear all day. It’s less about precision and more about decoration, so it’s a good option when you want a low-pressure activity. Sizing it to fit is the only step that needs your help.
Materials Needed
- Yellow or gold construction paper
- Markers, stickers, or glitter glue (for decorating)
- Scissors
- Tape or a stapler
How to Make It
- Cut a long strip of paper about 3 inches wide, long enough to wrap around your child’s head
- Cut a zigzag pattern along the top edge to create crown points
- Let your child decorate the crown with markers, stickers, or a light layer of glitter glue
- Wrap the strip around your child’s head to check the fit
- Tape or staple the ends together
Tips
- Measure the strip against your child’s head before cutting the zigzag points so the sizing is accurate
- Use two strips taped end to end if one sheet of paper isn’t wide enough
Paper Cookie Craft for Letter C Week
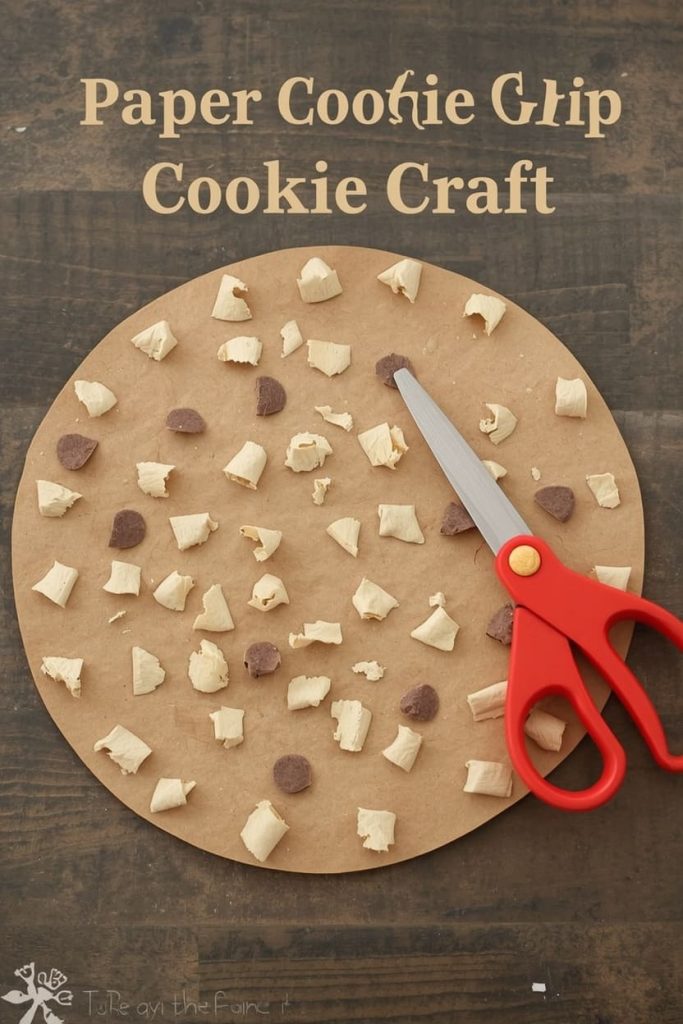
This craft is simple and fast, which makes it a good option when you’re short on time this week. It works well for practicing scissor and tearing control since the chip shapes don’t need to be precise. Most kids finish it in under ten minutes.
Materials Needed
- Tan or light brown paper (cookie base)
- Brown paper scraps (chocolate chips)
- Scissors
- Glue
How to Make It
- Cut a circle from tan paper for the cookie base
- Tear or cut small, irregular pieces from brown paper scraps to look like chocolate chips
- Glue the chips randomly across the cookie surface
- Let the glue dry flat before handling
Tips
- Tearing the chips by hand is easier for toddlers than cutting them with scissors
- Add a light tan paper edge for a “baked” look if your child wants more detail
Paper Castle Craft for Letter C Week
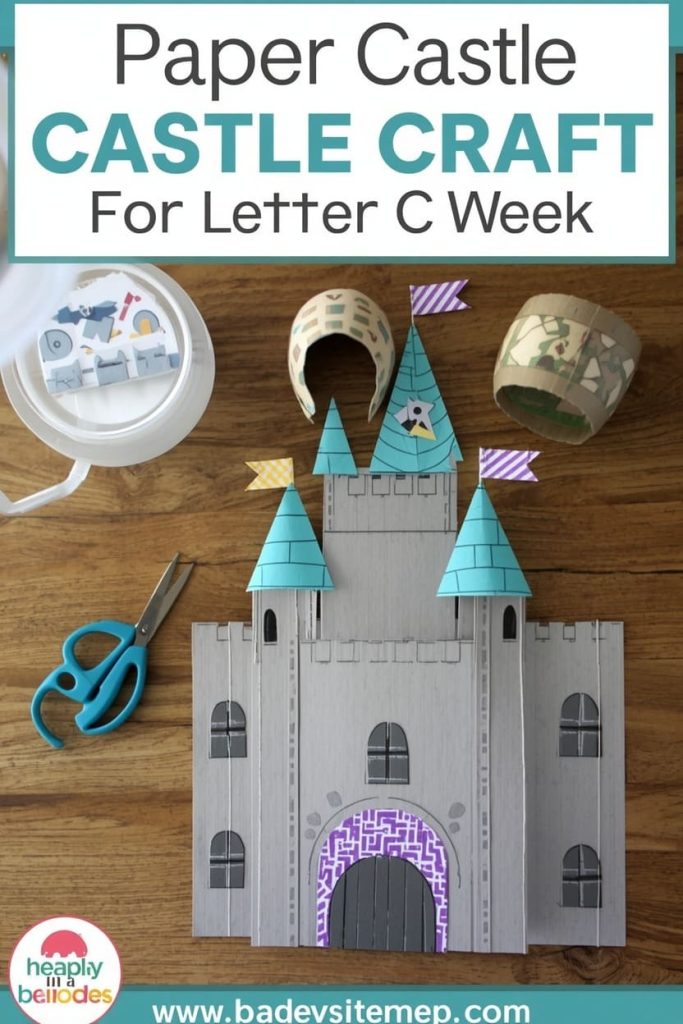
A castle craft gives you a natural chance to talk about shapes — squares, rectangles, and triangles — while reinforcing the C sound. It has more pieces than most crafts on this list, so plan for a little extra time. It also makes a strong bulletin board centerpiece if you’re working with a group.
Materials Needed
- Gray construction paper (castle wall)
- Colored paper scraps (flags)
- Scissors
- Glue
- Black marker
How to Make It
- Cut a large rectangle from gray paper for the main castle wall
- Cut three or four smaller rectangles to stand up as towers along the top edge
- Space the towers evenly and glue them in place
- Cut small colored paper triangles and glue one to the top of each tower as a flag
- Draw windows and a door onto the castle wall with the black marker
Tips
- Let the towers dry for a few minutes before adding flags so they don’t slide out of place
- Add brick lines with the marker for extra texture
Paper Corn Craft for Letter C Week
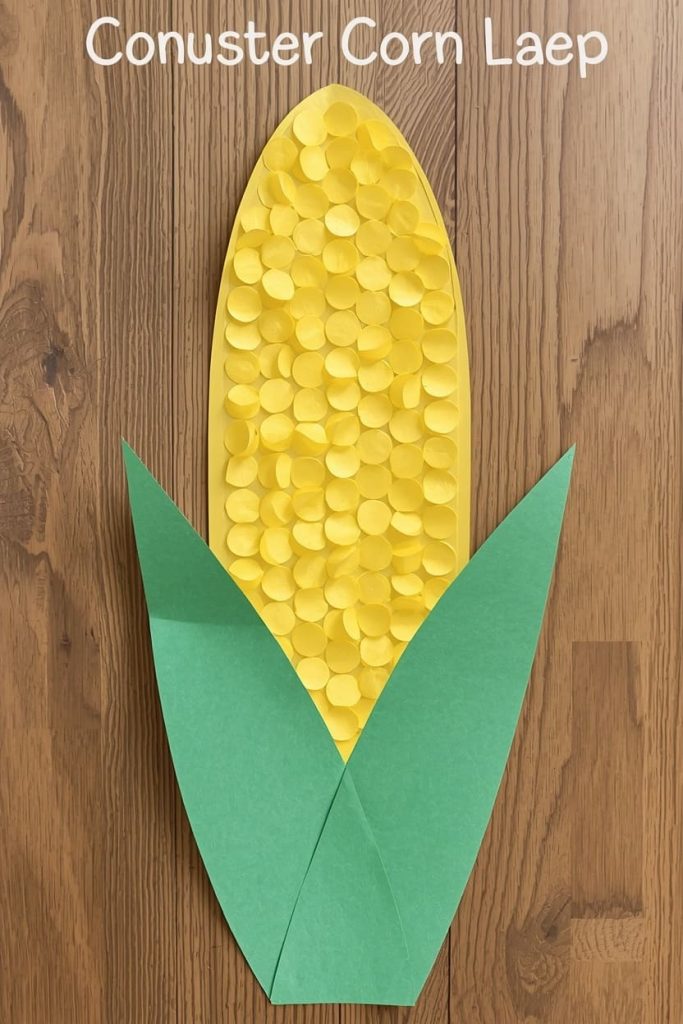
If you’re doing a fall-themed C week, this one fits right in. The kernel step is repetitive in a good way, so it’s a nice option for kids who enjoy steady, hands-on work. The husk leaves at the end pull the whole shape together.
Materials Needed
- Yellow construction paper (cob and kernels)
- Green construction paper (husk leaves)
- Scissors
- Glue
How to Make It
- Cut a tall oval shape from yellow paper for the corn cob
- Cut small yellow circles or ovals for the kernels
- Glue the kernels across the cob in even rows
- Cut two long, pointed leaf shapes from green paper
- Glue the leaves behind the base of the cob, angled outward like husks
Tips
- Use a hole punch for perfectly round kernels if you have one on hand
- Overlap the kernel rows slightly so no yellow background shows through
Frequently Asked Questions
What is the best letter C craft for a 2-year-old? The paper cookie craft works well for toddlers. It only needs tearing and gluing, so it builds fine motor skills without requiring precise cutting.
How do I make letter C crafts without buying new supplies? Stick to construction paper, glue, and scissors you likely already have. Every craft on this list uses the same basic supply kit, so one shopping trip covers all ten.
Are these crafts safe for a classroom of preschoolers? Yes. Every project here is paper-only with no small choking-hazard pieces beyond googly eyes, which you can skip or swap for drawn-on eyes if needed.
How long does each craft take to finish? Most take 10–15 minutes once supplies are laid out. The crown and castle crafts run slightly longer since they involve more cutting.
Can I turn these into a full letter C lesson? Yes. Pair any craft with a short conversation about words that start with C — cat, car, crab, corn — while your child works. It reinforces the letter sound naturally as they build.
You made it through C week without the Sunday night scramble. Pick two or three of these, keep the rest saved for next time, and enjoy watching your kid build something they’re proud of.

Sohel Rana is the writer, editor, publisher, and founder of The Tidy Porch. He is the man who is responsible for the craft (my wife created) being converted into a written piece. He also helps her wife (Sumona) by capturing videos of each craft. In short, he brings each craft created by her wife in front of you by transforming it into an article and a video.
