
I checked my daughter’s folder Sunday night and there it was: “D week starts tomorrow.” No warning, no heads up, just a sticky note and a countdown.
I’ve been through this enough times now to know panic doesn’t help. What helps is a short list of crafts you can actually finish, using paper you already have in the house.
That’s what this is. Seven complete letter D crafts, ready to go today. No 3D pieces, no handprints, no glitter explosions across your kitchen table.
The Supplies That Make These Crafts Easy
You only need a handful of basics to get through every craft on this list. Here’s what I keep stocked for letter-of-the-week projects.
- Crayola Construction Paper Pack covers every color you’ll need for dogs, ducks, and donuts without a store run.
- Fiskars Blunt-Tip Kids Scissors cut cleanly through paper and stay safe in small hands.
- Elmer’s Disappearing Purple School Glue Sticks go on purple so kids can see their coverage, then dry clear.
- Googly Eyes Assorted Multipack turns a flat paper shape into a character in seconds.
- Crayola Black Fine Line Markers handle small details like whiskers, spots, and facial features better than crayons do.
Paper Dinosaur Craft for Letter D Week
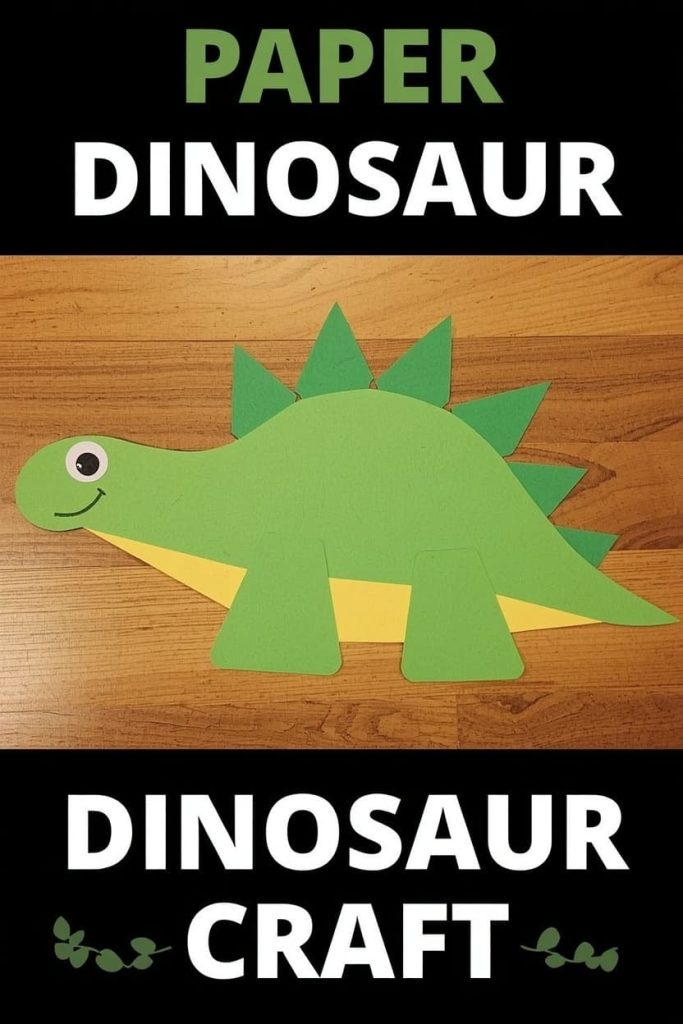
This is the craft kids ask for again once they’ve made it once. It’s built from simple triangle and oval shapes, so it comes together fast even for a first attempt. Most kids finish it in about fifteen minutes, and it works well for a group of a few kids doing D week together.
Materials Needed
- Green construction paper
- Yellow paper scrap (for the belly)
- Scissors
- Glue
- Googly eyes
- Black marker
How to Make It
- Cut a large oval from green paper for the dinosaur’s body
- Cut a smaller oval for the head and glue it to one end of the body
- Cut a row of small triangles from green paper and glue them along the dinosaur’s back as spikes
- Cut a curved yellow strip and glue it along the bottom of the body for the belly
- Glue a googly eye onto the head
- Draw a smiling mouth under the eye with the marker
Tips
- Pre-cut the spikes for toddlers so they can focus on gluing and placement
- Try a longer, thinner oval body for a brontosaurus-style look instead
Paper Dog Craft for Letter D Week
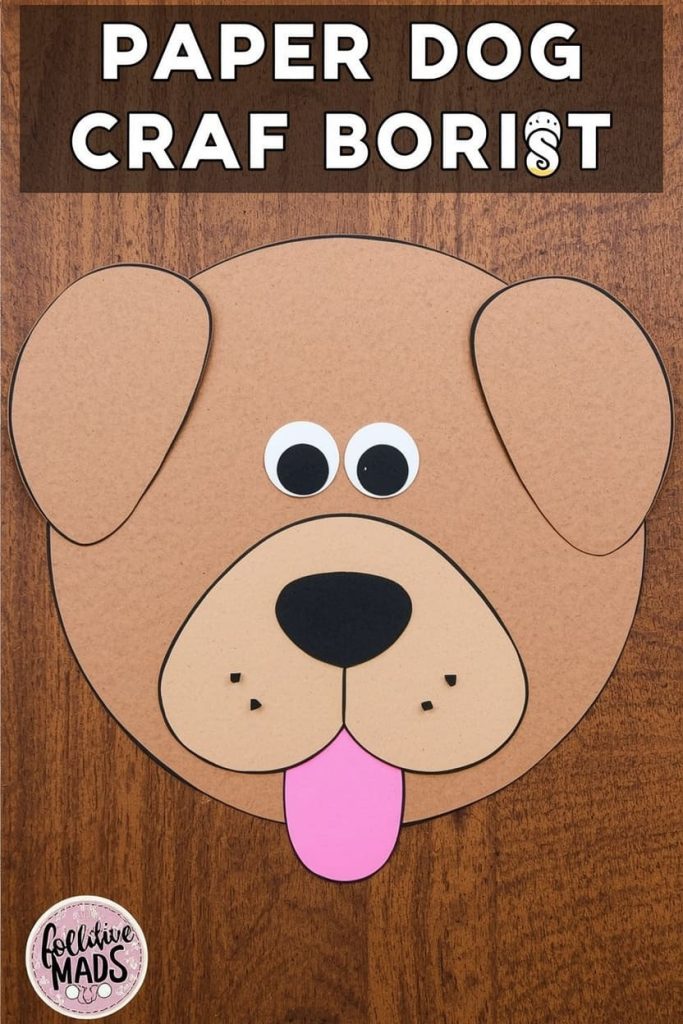
This dog face comes together with just a few pieces, which makes it a solid pick when you’re short on time. It’s an easy one to personalize too — let your child choose the ear shape and coloring to match a real pet if they have one.
Materials Needed
- Brown or tan construction paper
- Pink paper scrap (for the tongue)
- Scissors
- Glue
- Googly eyes
- Black marker
How to Make It
- Cut a large circle from brown or tan paper for the face
- Cut two floppy oval shapes for ears and glue them to the top sides of the circle
- Cut a small pink oval for the tongue and glue it hanging from the bottom of the face
- Glue googly eyes above the tongue
- Draw a nose and a mouth outline with the black marker
- Add a few small dark dots for freckles if you want extra detail
Tips
- Fold the ears slightly before gluing so they hang forward like a real dog’s
- Spotted paper or a light sponge-dabbed pattern works well if your child wants a “spotted dog” version
Paper Duck Craft for Letter D Week
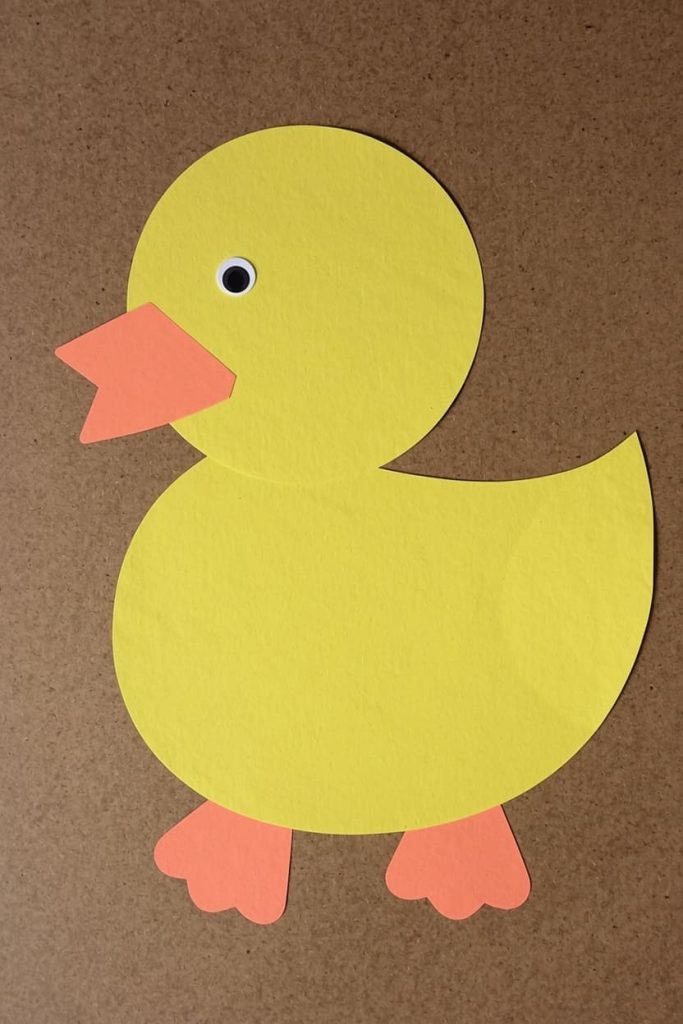
A duck is one of the simplest shapes on this list, which makes it a great starting project for younger toddlers. The whole craft is built from circles and triangles, so there’s very little precision cutting involved.
Materials Needed
- Yellow construction paper
- Orange paper scrap (for the beak and feet)
- Scissors
- Glue
- Googly eyes
How to Make It
- Cut one large circle from yellow paper for the body
- Cut a smaller circle for the head and glue it near the top of the body
- Cut a small orange triangle for the beak and glue it onto the head
- Cut two small orange triangles for feet and glue them beneath the body
- Glue a googly eye onto the head above the beak
Tips
- Use a paper punch for a perfectly round head if your child struggles with small circles
- Add small white paper wing shapes for kids who want more detail
Paper Drum Craft for Letter D Week
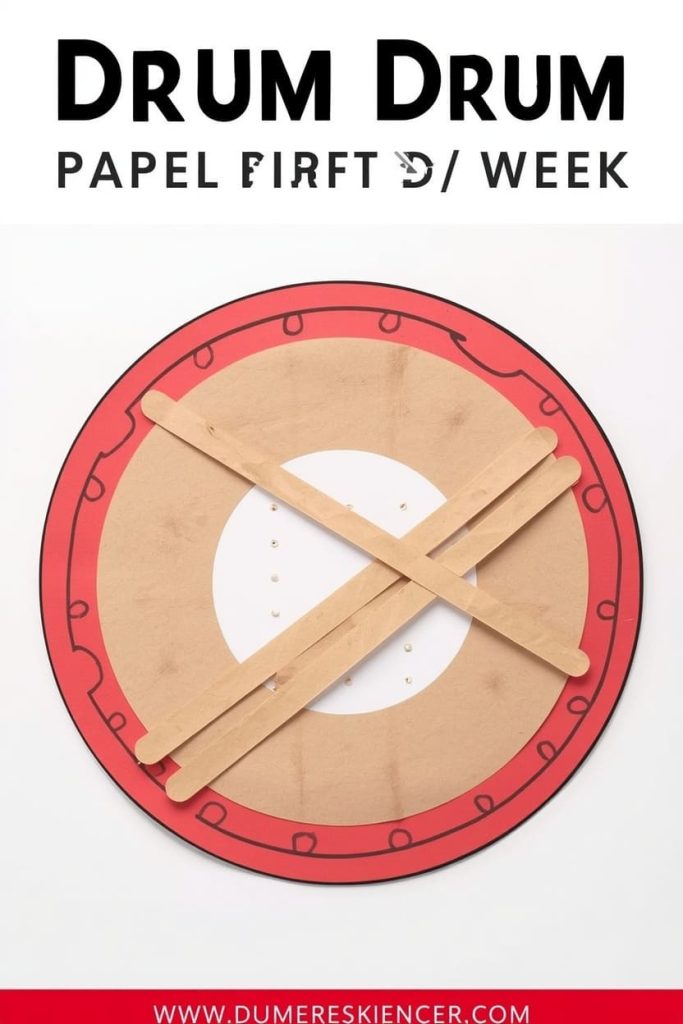
This one gives kids a break from animal crafts and introduces a shape-based project instead. It also opens up an easy conversation about the D sound in “drum,” since the craft doubles as a visual reminder.
Materials Needed
- Red or blue construction paper (drum body)
- Tan or white paper (drum top)
- Two thin brown paper strips (drumsticks)
- Scissors
- Glue
- Black marker
How to Make It
- Cut a wide rectangle from red or blue paper and curve the top and bottom edges slightly for the drum body
- Cut an oval from tan or white paper and glue it across the top of the drum for the drumhead
- Draw a few curved lines around the drum body with the marker for a decorative pattern
- Cut two thin brown strips for drumsticks and glue them crossing over the drumhead
- Add small circles at the tips of the drumsticks if you want a more finished look
Tips
- Use a real drum image as a quick reference so kids see where the lines and stripes usually go
- Skip the drumsticks for younger toddlers to simplify the project
Paper Daisy Craft for Letter D Week
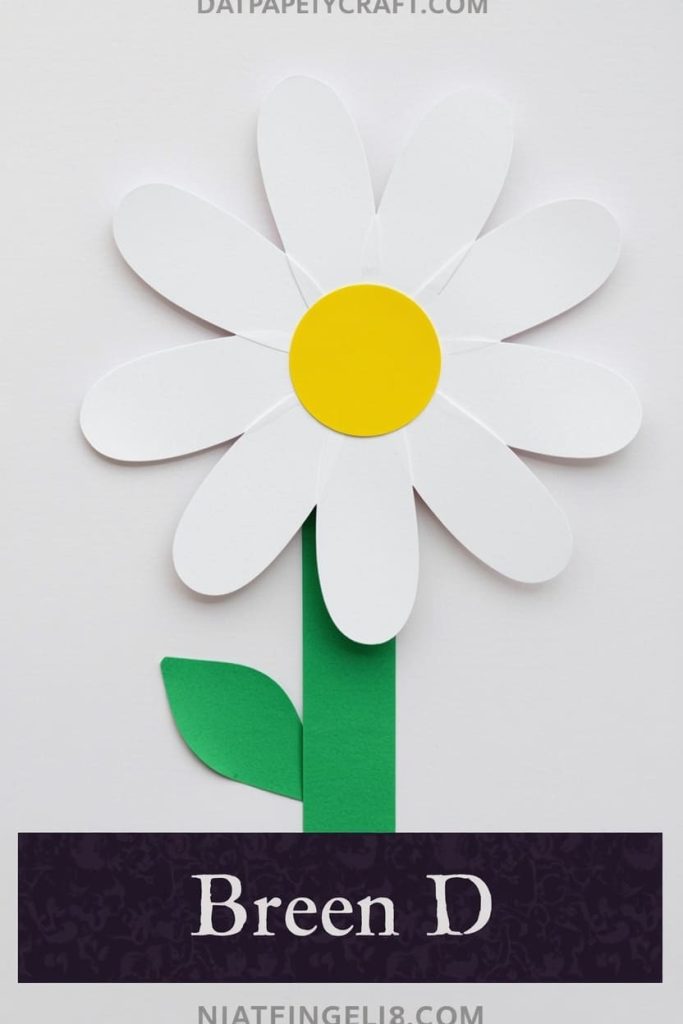
This craft is a nice change of pace if you’ve been doing a lot of animal-based letters. It’s also one of the fastest projects on this list, which makes it a good option on a busy day.
Materials Needed
- White construction paper (petals)
- Yellow paper scrap (center)
- Green paper scrap (stem and leaves)
- Scissors
- Glue
How to Make It
- Cut 8–10 oval petal shapes from white paper
- Arrange the petals in a circle pattern and glue them down at their inner points
- Cut a small yellow circle and glue it in the center where the petals meet
- Cut a long green strip for the stem and glue it beneath the flower
- Cut two small leaf shapes from green paper and glue them along the stem
Tips
- Draw a light pencil circle first as a placement guide for the petals
- Try light purple or pink paper for a colorful variation on the classic white daisy
Paper Donut Craft for Letter D Week
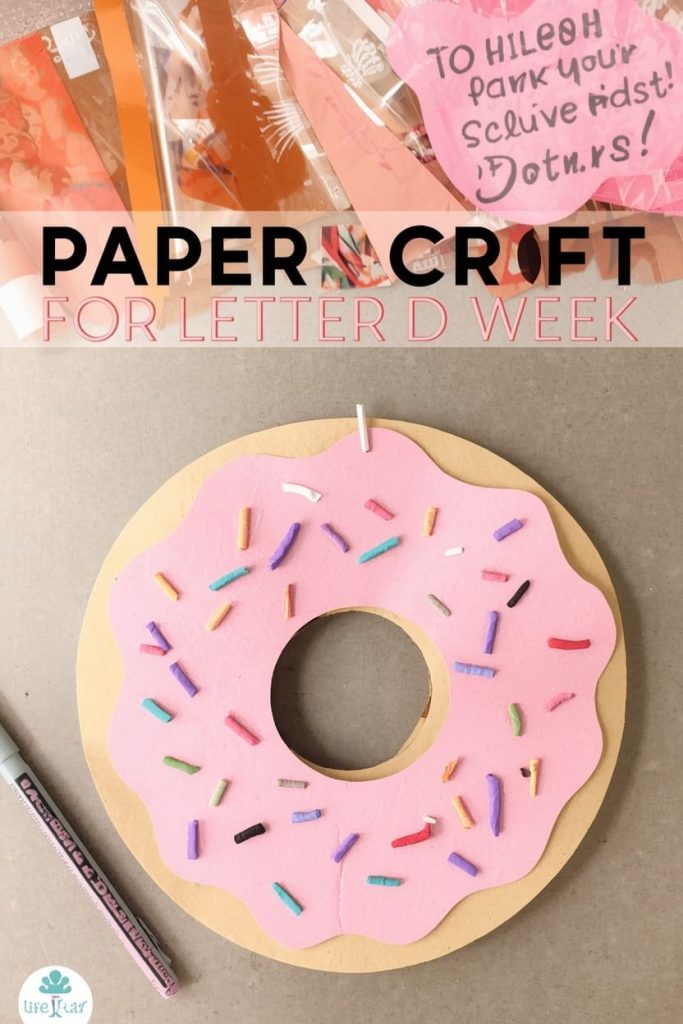
Kids tend to enjoy this one the most, mostly because the “sprinkles” step feels like play rather than a craft step. It’s simple enough for toddlers but has enough decorating room to keep older kids interested too.
Materials Needed
- Tan or light brown paper (donut base)
- Pink or white paper (icing)
- Colored paper scraps or markers (sprinkles)
- Scissors
- Glue
How to Make It
- Cut a large circle from tan paper for the donut base
- Cut a smaller circle from the center and remove it to create the donut hole
- Cut a slightly smaller circle from pink or white paper, also with a center hole, for the icing layer
- Glue the icing layer on top of the donut base
- Cut tiny strips of colored paper for sprinkles and glue them across the icing, or draw sprinkles with markers
Tips
- Use a cup and a bottle cap to trace the two circle sizes evenly
- Let the icing layer dry a few minutes before adding sprinkles so they don’t slide
Paper Dragon Craft for Letter D Week
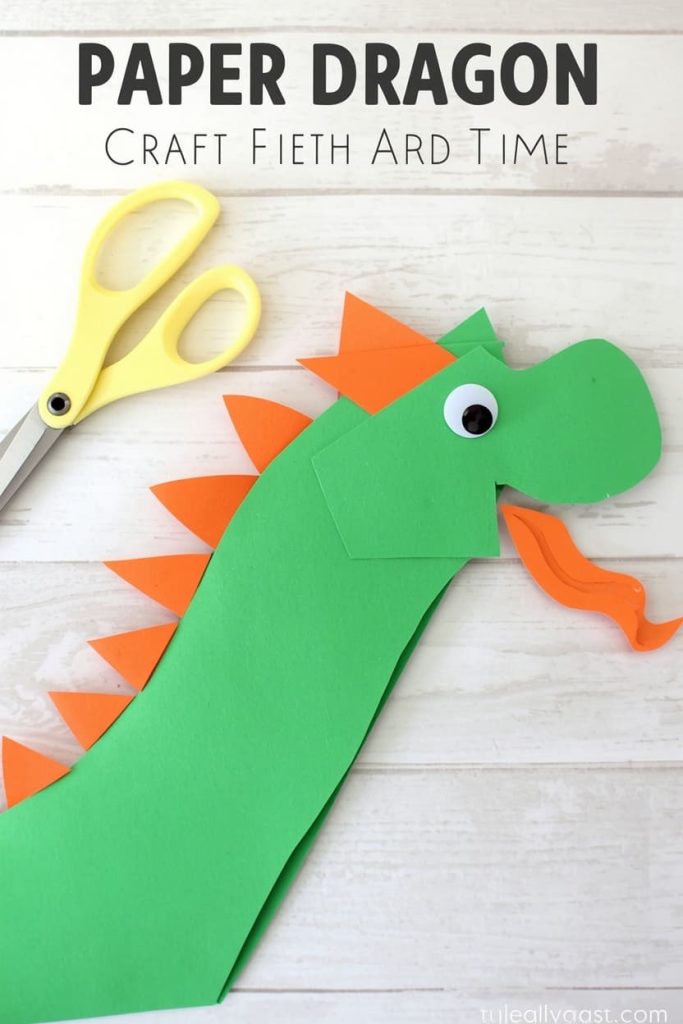
This is the most involved craft on the list, so save it for a day when you have a little extra time. It has more pieces than the others, but each step is still simple on its own, and it makes an impressive final result for the effort.
Materials Needed
- Green construction paper (body)
- Yellow or orange paper scrap (spikes and flame)
- Scissors
- Glue
- Googly eyes
How to Make It
- Cut a long, curved body shape from green paper
- Cut a triangular head shape and glue it to one end of the body
- Cut a row of small triangles from yellow or orange paper and glue them along the dragon’s back as spikes
- Glue a googly eye onto the head
- Cut a small flame shape from yellow or orange paper and glue it near the dragon’s mouth
Tips
- Draw the curved body shape lightly in pencil first so cutting is easier
- Skip the flame piece for a simpler version with younger kids
Frequently Asked Questions
What is the best letter D craft for a 2-year-old? The paper duck craft works well for toddlers. It uses simple circle and triangle shapes and doesn’t require precise cutting.
How do I make letter D crafts without buying new supplies? Stick to construction paper, glue, and scissors, which cover every craft on this list. One basic supply kit gets you through all seven projects.
Are these crafts safe for a classroom of preschoolers? Yes. Every project is paper-only, and the only small pieces are googly eyes, which you can skip or replace with drawn-on eyes if needed.
How long does each craft take to finish? Most take 10–15 minutes. The dragon craft runs a little longer since it has more pieces to cut and place.
Can I turn these into a full letter D lesson? Yes. Talk through D words as your child works — dog, duck, drum, dinosaur — so the letter sound sticks alongside the craft itself.
You made it through D week without the last-minute scramble. Pick a few of these to start with, save the rest for later, and enjoy watching your kid build something they’re proud of.

Sohel Rana is the writer, editor, publisher, and founder of The Tidy Porch. He is the man who is responsible for the craft (my wife created) being converted into a written piece. He also helps her wife (Sumona) by capturing videos of each craft. In short, he brings each craft created by her wife in front of you by transforming it into an article and a video.
