
I opened the lesson planner Sunday night and there it was again: “E week starts tomorrow.” No warning, just a due date staring back at me. If you’ve felt that same little jolt of panic, I get it.
E isn’t the easiest letter either — fewer obvious objects than some of the others. So I put together seven paper crafts that actually work, using shapes kids already recognize.
No 3D pieces, no handprints, no last-minute store run. Just paper, scissors, and glue, ready to go today.
The Supplies That Make These Crafts Easy
You only need a small kit to get through every craft here. This is what I keep on hand for letter-of-the-week projects.
- Crayola Construction Paper Pack covers every color you’ll need for elephants, eggs, and eagles without a store trip.
- Fiskars Blunt-Tip Kids Scissors cut cleanly through paper and stay safe for small hands.
- Elmer’s Disappearing Purple School Glue Sticks go on purple so kids can see their coverage, then dry clear.
- Googly Eyes Assorted Multipack turns a flat paper shape into a character in seconds.
- Crayola Black Fine Line Markers handle small details like feathers, wrinkles, and facial features better than crayons do.
Paper Elephant Craft for Letter E Week
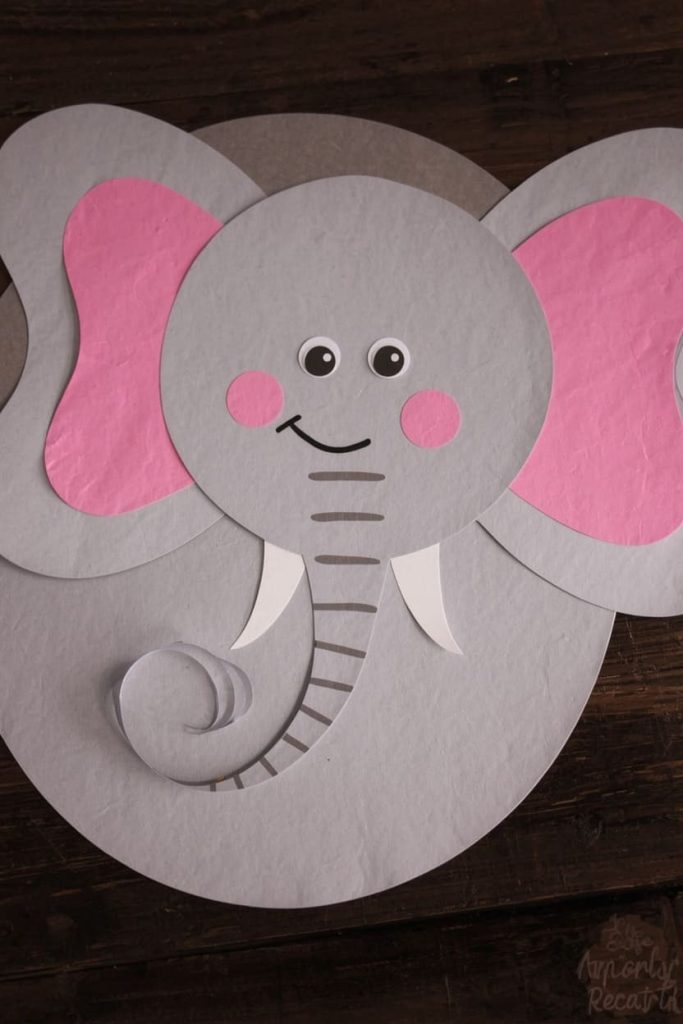
This is the most requested E craft I make, mostly because kids love the big floppy ears. It’s built from just a few rounded shapes, so it comes together in about fifteen minutes even for a first-timer. It’s a strong pick if you want one standout project for the week.
Materials Needed
- Gray construction paper
- Pink paper scrap (for inner ears)
- Scissors
- Glue
- Googly eyes
- Black marker
How to Make It
- Cut a large oval from gray paper for the elephant’s body and head combined
- Cut two large round ears and glue them to the sides of the head
- Cut two smaller pink ovals and glue them inside the ears
- Cut a long curved strip for the trunk and glue it hanging from the front of the head
- Glue a googly eye above the trunk
- Draw a small smile and a few wrinkle lines with the marker
Tips
- Pre-cut the ears for toddlers so they can focus on placement and gluing
- Curl the trunk slightly around a pencil before gluing for a more playful look
Paper Egg Craft for Letter E Week
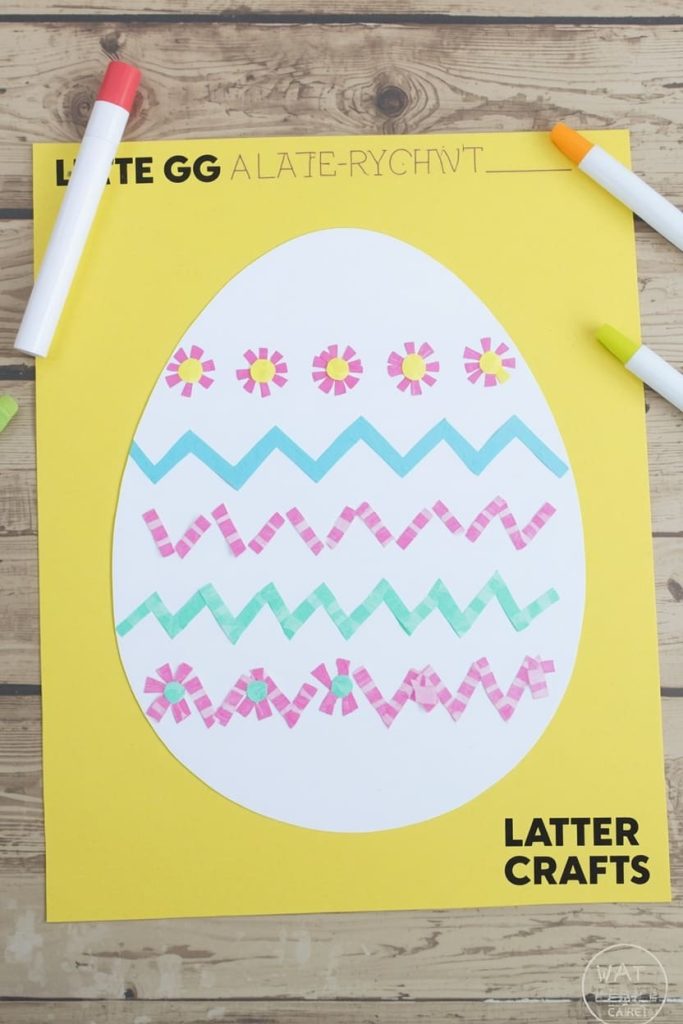
This is one of the simplest crafts on the list, which makes it a great starting project for younger toddlers. It also works well any time of year, not just around spring, since it’s just a plain paper oval with decoration.
Materials Needed
- White or pastel construction paper
- Colored paper scraps or markers (for decorating)
- Scissors
- Glue
How to Make It
- Cut a large oval from white or pastel paper for the egg shape
- Cut small shapes — dots, stripes, or zigzags — from colored paper scraps
- Glue the shapes onto the egg in a pattern
- Let dry, then add extra detail with markers if you want more color
Tips
- Draw the pattern lightly in pencil first if your child wants a planned design instead of a random one
- Cut several eggs at once and let your child decorate each one differently
Paper Envelope Craft for Letter E Week
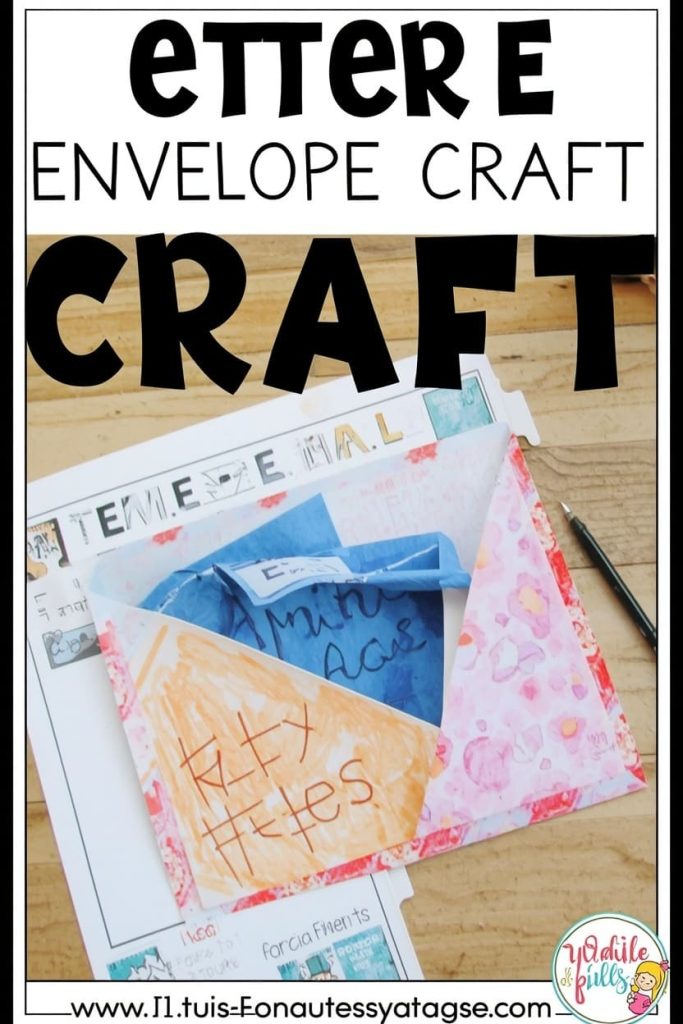
This craft doubles as a real, usable item once it’s finished, which kids find pretty exciting. It’s also a nice way to introduce the idea of mail and letters alongside the letter E itself.
Materials Needed
- Colored construction paper (square or rectangular)
- Scissors
- Glue
- Markers or stickers (for decorating)
How to Make It
- Cut a square piece of paper and fold all four corners in toward the center
- Glue down three of the folded corners, leaving the top flap unglued
- Let your child decorate the front with markers or stickers
- Slip a small paper “letter” inside before sealing the top flap
Tips
- Practice the folds on scrap paper first if your child is new to folding
- Add a drawn stamp in the corner for a more realistic look
Paper Elf Craft for Letter E Week
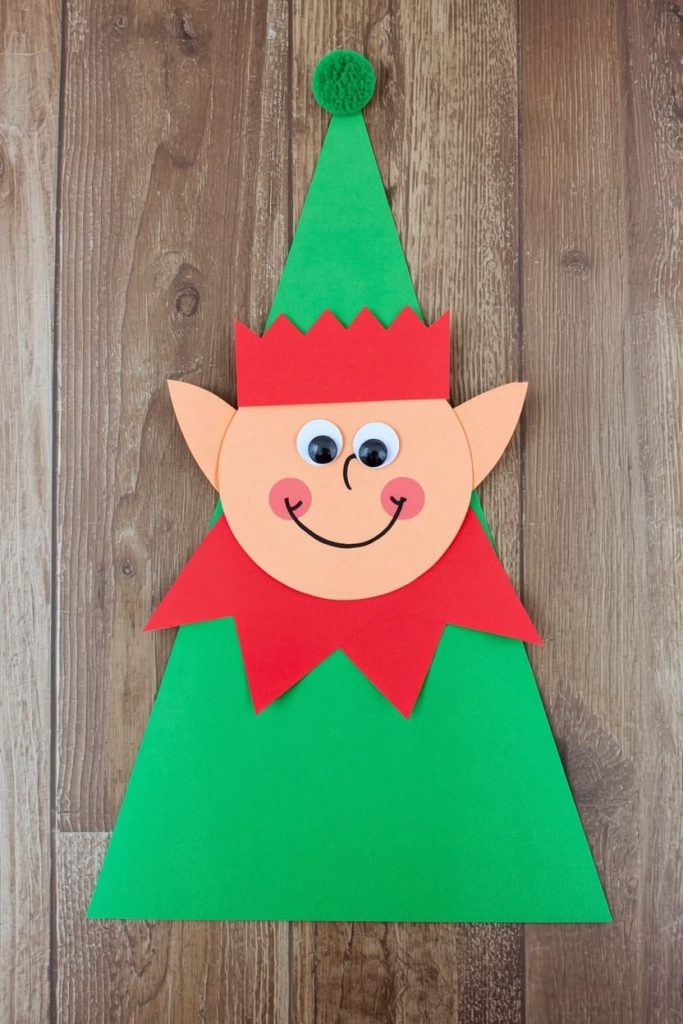
This one adds a bit of character-building fun to the list and works especially well if E week lands near the holidays. Even outside that season, kids enjoy giving the elf a face and a personality.
Materials Needed
- Green construction paper (body and hat)
- Tan or peach paper scrap (face)
- Red paper scrap (hat trim, optional)
- Scissors
- Glue
- Googly eyes
- Black marker
How to Make It
- Cut a triangle from green paper for the elf’s body
- Cut a small circle from tan or peach paper and glue it near the top of the triangle for the face
- Cut a smaller triangle from green paper for the hat and glue it above the face
- Add a small red strip along the base of the hat as trim, if using
- Glue googly eyes onto the face
- Draw a smile and rosy cheeks with the marker
Tips
- Add a small paper pom-pom shape to the tip of the hat for extra detail
- Let your child choose the outfit color for a personalized elf
Paper Earth Craft for Letter E Week
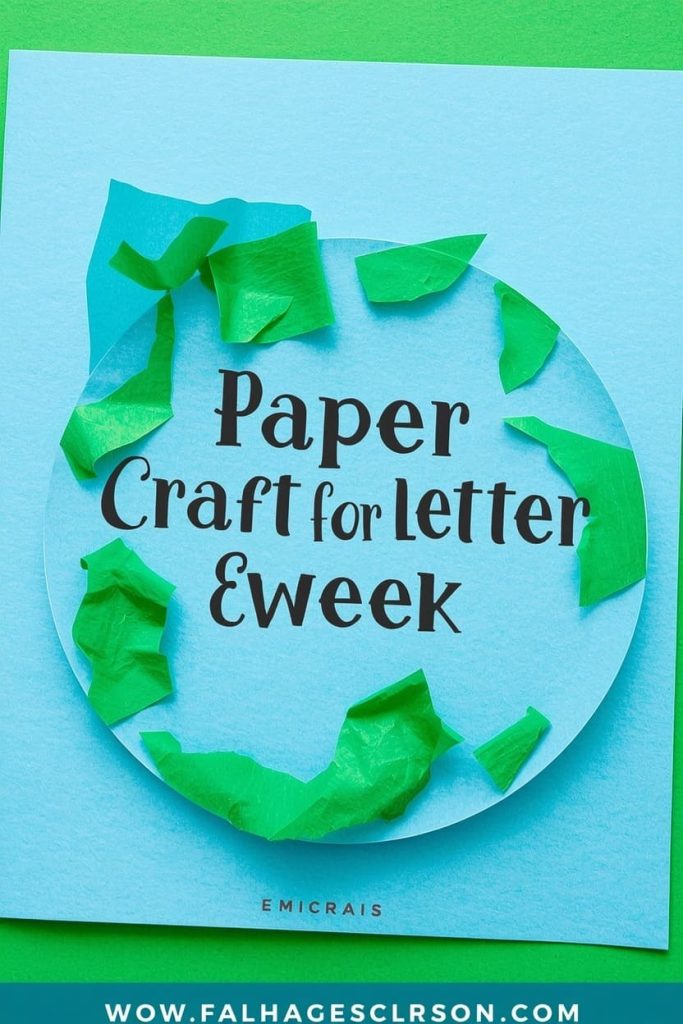
This craft pairs nicely with a short conversation about the planet, which makes it a good pick if you’re layering in a little science alongside your letter lesson. It only uses two colors, so it comes together quickly.
Materials Needed
- Blue construction paper
- Green paper scraps
- Scissors
- Glue
How to Make It
- Cut a large circle from blue paper for the Earth’s base
- Tear or cut irregular green shapes to represent continents
- Glue the green shapes onto the blue circle in a scattered pattern
- Let dry completely before handling
Tips
- Tearing the continent shapes by hand works well for toddlers who aren’t ready for detailed cutting
- Use a globe or map image as a loose reference if your child wants more accuracy
Paper Eagle Craft for Letter E Week
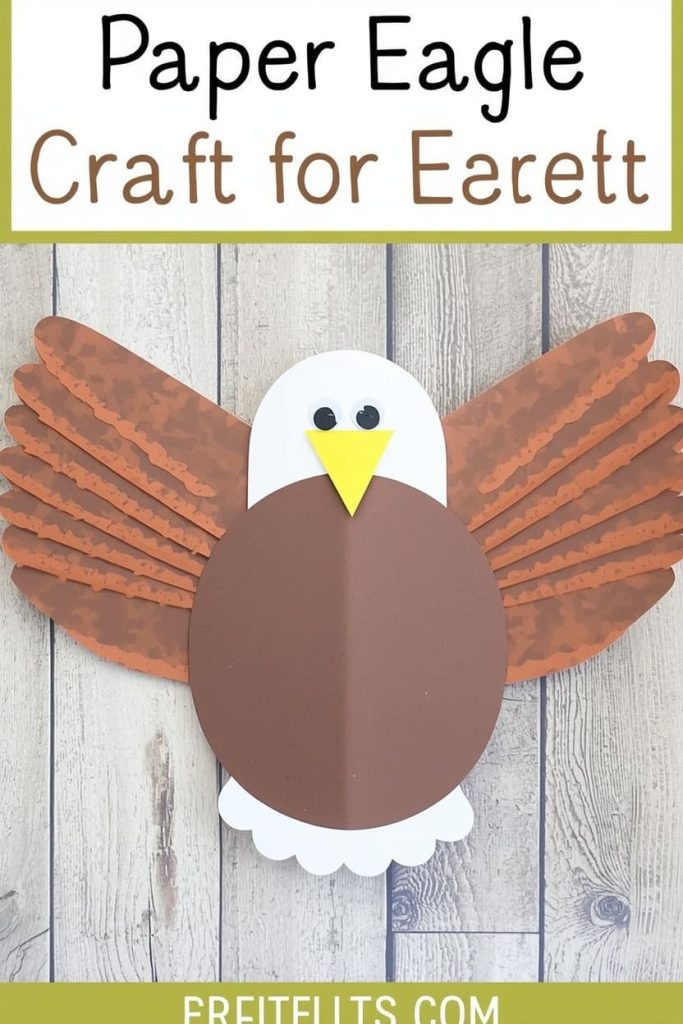
This is a slightly more detailed craft, so it suits kids who’ve already done a few paper projects. The wings are the most fun part for most kids, since they get to spread them out wide.
Materials Needed
- Brown construction paper (body and wings)
- White paper scrap (head)
- Yellow paper scrap (beak)
- Scissors
- Glue
- Googly eyes
How to Make It
- Cut an oval from brown paper for the eagle’s body
- Cut two large wing shapes from brown paper and glue them to either side of the body, angled slightly outward
- Cut a small white circle for the head and glue it at the top of the body
- Cut a small yellow triangle for the beak and glue it onto the head
- Glue a googly eye above the beak
Tips
- Cut small feather slits along the edge of each wing for extra texture
- Angle the wings upward slightly for a mid-flight look
Paper Engine Craft for Letter E Week
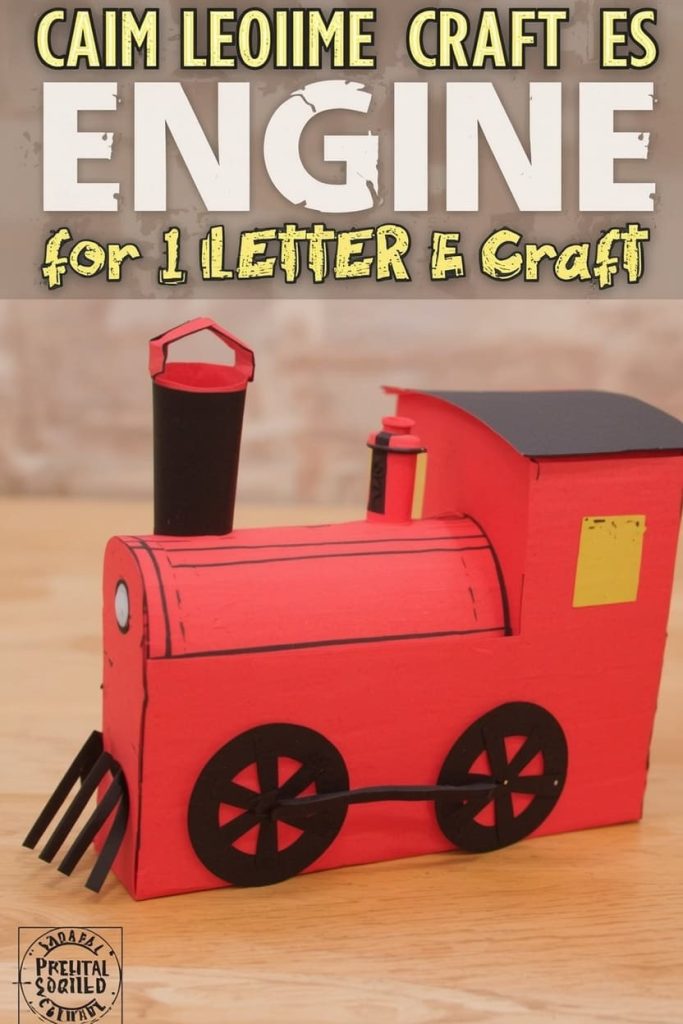
This train engine gives kids a break from animals and works especially well if you want a craft with a bit of building involved. It’s also an easy one to extend into a full train by adding paper cars behind it.
Materials Needed
- Red or black construction paper (engine body)
- Yellow paper scrap (windows and details)
- Black paper scrap (wheels)
- Scissors
- Glue
How to Make It
- Cut a rectangle from red or black paper for the main engine body
- Round off the front top corner slightly for the classic engine shape
- Cut a small square from yellow paper and glue it on as a window
- Cut two or three small black circles for wheels and glue them along the bottom edge
- Add a small chimney shape on top if you want extra detail
Tips
- Trace a bottle cap for evenly sized wheels
- Add extra paper rectangles behind the engine as train cars for a bigger project
Frequently Asked Questions
What is the best letter E craft for a 2-year-old? The paper egg craft works well for toddlers. It only needs simple gluing and decorating, without any detailed cutting.
How do I make letter E crafts without buying new supplies? Stick to construction paper, glue, and scissors, which cover every craft on this list. One basic supply kit gets you through all seven projects.
Are these crafts safe for a classroom of preschoolers? Yes. Every project is paper-only, and the only small pieces are googly eyes, which you can skip or replace with drawn-on eyes if needed.
How long does each craft take to finish? Most take 10–15 minutes. The eagle and elf crafts run a little longer since they have more pieces to cut and place.
Can I turn these into a full letter E lesson? Yes. Talk through E words as your child works — elephant, egg, envelope, eagle — so the letter sound sticks alongside the craft itself.
You made it through E week without the last-minute scramble. Pick a few of these to start with, save the rest for later, and enjoy watching your kid build something they’re proud of.

Sohel Rana is the writer, editor, publisher, and founder of The Tidy Porch. He is the man who is responsible for the craft (my wife created) being converted into a written piece. He also helps her wife (Sumona) by capturing videos of each craft. In short, he brings each craft created by her wife in front of you by transforming it into an article and a video.
