
Last W week, my kitchen table looked like a tiny paper zoo. I had a whale, a watermelon, and a walrus drying side by side, and my daughter kept running back to check on them like they might swim away.
That’s the thing about the letter W. Some letters leave you scrambling for ideas. W hands you a whole pile of them — whale, watermelon, worm, wagon, web, walrus, windmill.
You’re not short on options here. You’re just short on time. So I put together seven complete W crafts, each one paper-only, glue-stick simple, and ready for you to make today.
Top 5 Amazon Products for Letter W Crafts
- Crayola Construction Paper, 240 Count — a huge multicolor stack that covers every craft in this list without you running out mid-project.
- Elmer’s Disappearing Purple School Glue Sticks, 30-Pack — reliable, kid-safe glue sticks that go on purple and dry clear, perfect for small hands.
- Fiskars Blunt-Tip Kids Scissors, 2-Pack — safe, easy-grip scissors sized right for preschool fingers cutting curves and circles.
- Googly Wiggle Eyes, 100-Piece Assorted Sizes — instant character for your whale, worm, and walrus faces without any extra drawing.
- Bins & Things Craft Supply Organizer — a stackable caddy that keeps your paper scraps, googly eyes, and glue sticks sorted between projects.
W For Watermelon Craft
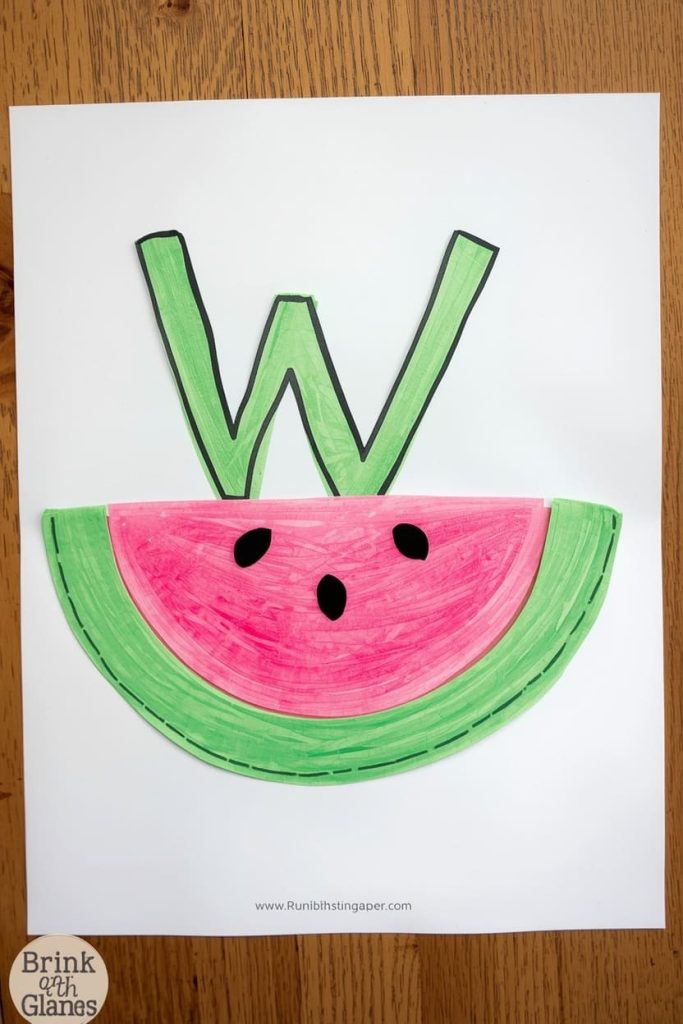
You make it by layering a green paper rind, a pink paper center, and black seed dots into one simple half-circle. It’s the fastest craft on this list, and it’s a strong visual match for the “W” sound.
Materials Needed
- 1 sheet light green construction paper
- 1 sheet pink construction paper
- Small scrap of dark green paper
- Black marker or 6–8 small black paper dots
- Glue stick
- White paper for backing
How To Make
- Cut a 6-inch semicircle from the pink paper.
- Cut a slightly larger 6.5-inch semicircle from the light green paper.
- Cut a thin ¼-inch strip of dark green paper and glue it along the flat edge of the green semicircle, this is the rind.
- Center the pink semicircle on top of the green one and glue it down, leaving a small green border showing.
- Glue the flat edge of the whole watermelon shape onto your white backing paper.
- Add 6 to 8 black seed dots across the pink area with marker or paper dots.
Tips
- For toddlers, pre-cut the semicircles and let them just glue and place seeds.
- Say “watermelon starts with W” out loud as they glue each seed.
- Let it dry flat for 10 minutes before moving it.
W For Whale Craft
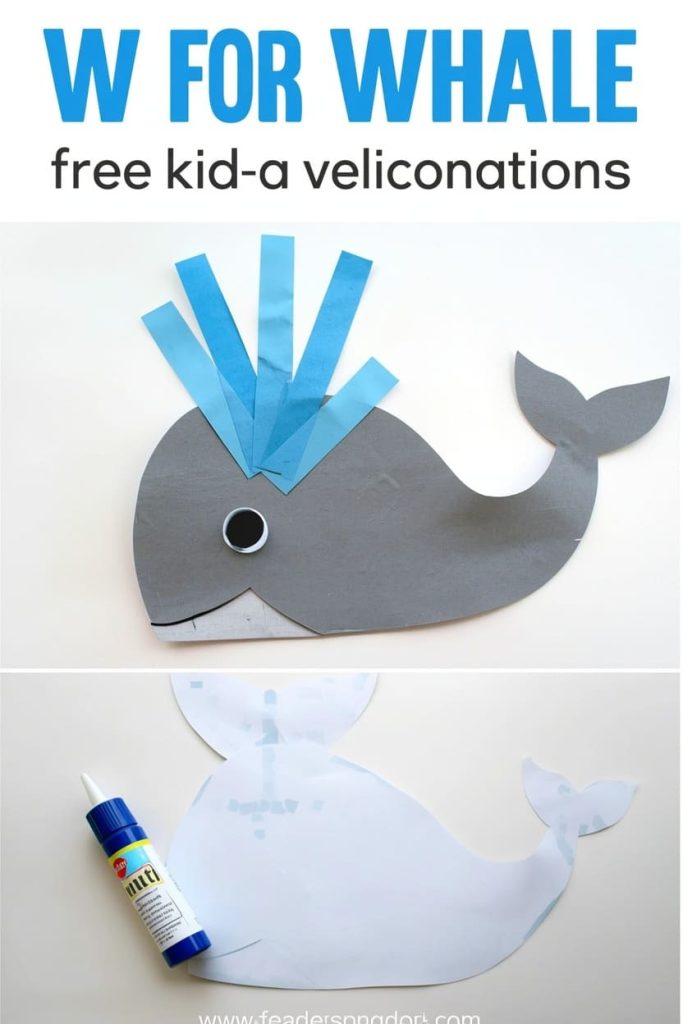
You make it by shaping a gray paper body with a curved tail and adding a blue paper water spout. It’s a favorite because the shape is forgiving, even a slightly wobbly cut still reads as a whale.
Materials Needed
- 1 sheet gray construction paper
- 1 sheet light blue construction paper
- 1 googly eye
- Glue stick
- White paper for backing
How To Make
- Draw and cut a 5-inch oval body from gray paper, then snip a small triangle notch out of one end to form the tail fin.
- Cut a small 2-inch triangle from gray paper for a fin and glue it to the top-middle of the body.
- Glue the whale body onto the white backing paper.
- Cut 3 thin blue strips, each about 2 inches long, and glue them fanning out from the top of the whale’s head to look like a water spout.
- Glue the googly eye near the front of the whale’s head.
Tips
- Younger kids can tear the tail notch instead of cutting it, torn edges still look great.
- Use two shades of blue for the spout strips to add depth.
- Talk through the water spout while gluing, it’s a great moment to repeat the “wh” sound.
W For Worm Craft
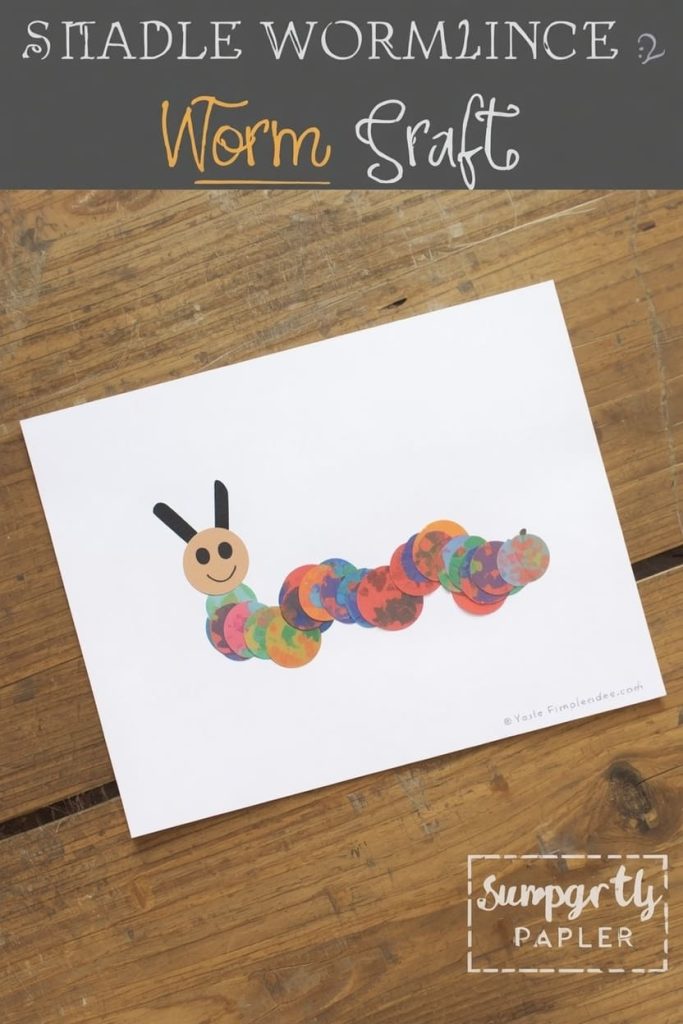
You make it by gluing colored paper circles in a row to form a segmented, wiggly body. It’s the easiest fine-motor craft on this list.
Materials Needed
- 2–3 sheets of assorted colored paper
- Black marker
- Glue stick
- White paper for backing
How To Make
- Cut 6 circles, each 2 inches wide, alternating between two or three colors.
- Arrange the circles in a slightly curved row on the backing paper, overlapping each circle edge by about ¼ inch.
- Glue each circle down one at a time, working left to right.
- Draw a small face with the marker on the first circle.
- Add two thin paper antennae strips above the face if you’d like a friendlier look.
Tips
- Let kids choose their own color pattern, it’s an easy way to practice patterning skills too.
- If circles are hard to cut, use a hole punch on larger paper for mini pom-pom-style segments instead.
- Curve the row instead of a straight line, it makes the worm look like it’s actually moving.
W For Wagon Craft
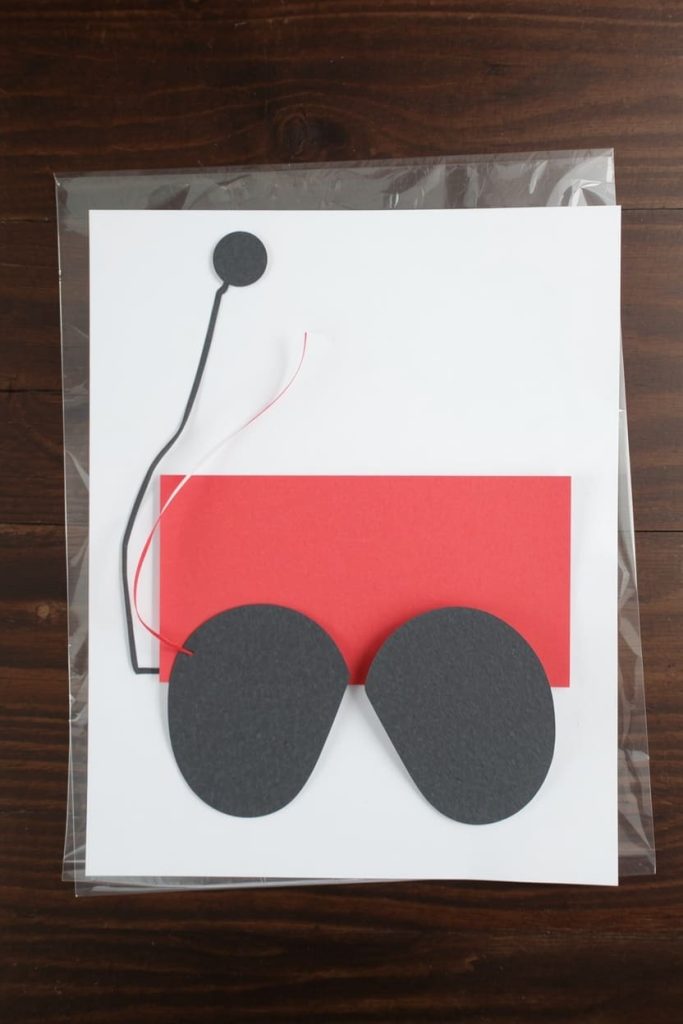
You make it by building a simple rectangle wagon body with two paper circle wheels and a handle strip. It’s a great craft for reinforcing shapes alongside the letter sound.
Materials Needed
- 1 sheet red construction paper
- 1 sheet black or gray paper
- Glue stick
- White paper for backing
How To Make
- Cut a 4×3-inch rectangle from red paper for the wagon body.
- Cut two 1.5-inch circles from black paper for wheels.
- Glue the rectangle onto the backing paper, leaving room below for wheels.
- Glue the two wheel circles along the bottom edge of the rectangle, spaced about 1.5 inches apart.
- Cut a thin 4-inch strip of red paper, curve it slightly, and glue one end to the front corner of the wagon as a handle.
Tips
- Add small paper flowers or fruit shapes inside the wagon for extra detail.
- Keep the handle strip flexible, don’t crease it flat, so it looks like it’s being pulled.
- This one pairs well with a “things that start with W” discussion since wagon is a familiar word for most kids.
W For Paper Spiderweb Craft
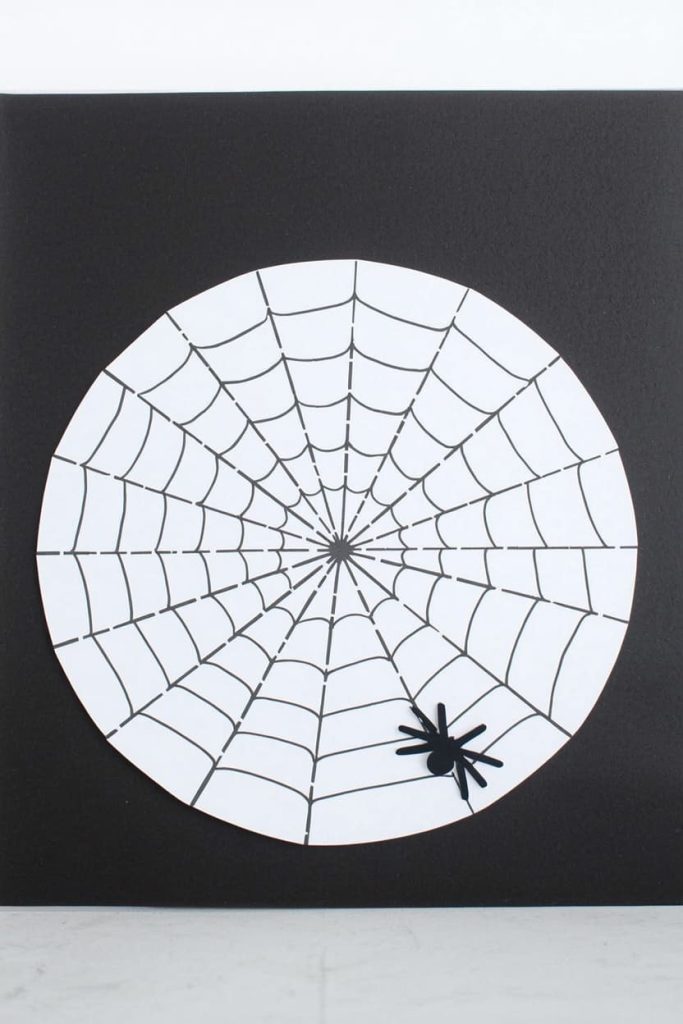
You make it by cutting a folded paper circle into a radiating web pattern. This one is technically for “web,” and it’s a great fine-motor challenge for slightly older preschoolers.
Materials Needed
- 1 white or light gray paper circle, 6 inches wide
- Black marker
- Glue stick
- Dark paper for backing
How To Make
- Fold the paper circle in half, then in half again, then once more into a triangle wedge.
- Cut small notches along both folded edges of the wedge, spacing them about ½ inch apart.
- Unfold the circle carefully to reveal the web pattern.
- Glue the flattened web onto the dark backing paper.
- Trace over a few of the web lines with black marker to make the pattern pop.
Tips
- Younger kids may need help with the folding step, but they can do the cutting themselves with guidance.
- Unfold slowly, it tears easily at this stage.
- Add a small black paper spider in one corner for extra character.
W For Walrus Craft
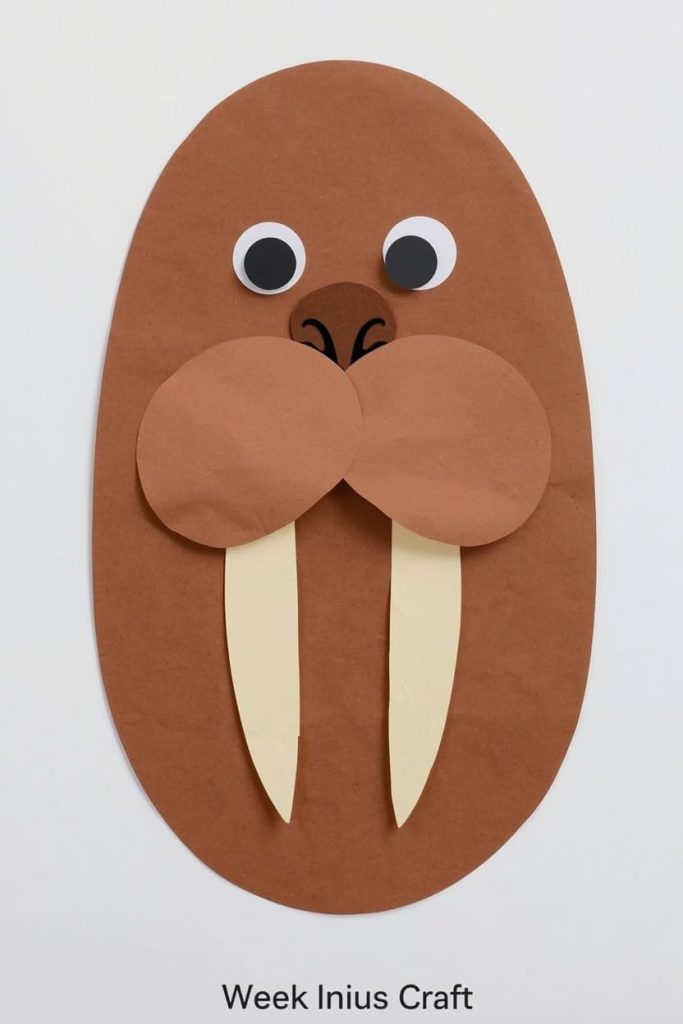
You make it by shaping a brown or gray oval body and adding two curved paper tusks. The tusks are what sell this craft, so take your time on that step.
Materials Needed
- 1 sheet brown or gray construction paper
- 1 sheet white or cream paper
- 1 googly eye
- Glue stick
- White paper for backing
How To Make
- Cut a 5-inch oval body from brown paper.
- Glue the oval onto the backing paper.
- Cut two thin curved tusk shapes, about 2 inches long, from the white paper.
- Glue the tusks pointing downward from the bottom-front of the walrus face.
- Glue the googly eye above the tusks near the top of the head.
Tips
- Curve the tusks by rolling the paper strip gently around a marker before gluing.
- Add small whisker lines with marker for extra personality.
- This craft is a nice one to slow down on since the tusk placement takes a bit more focus.
W For Windmill Craft
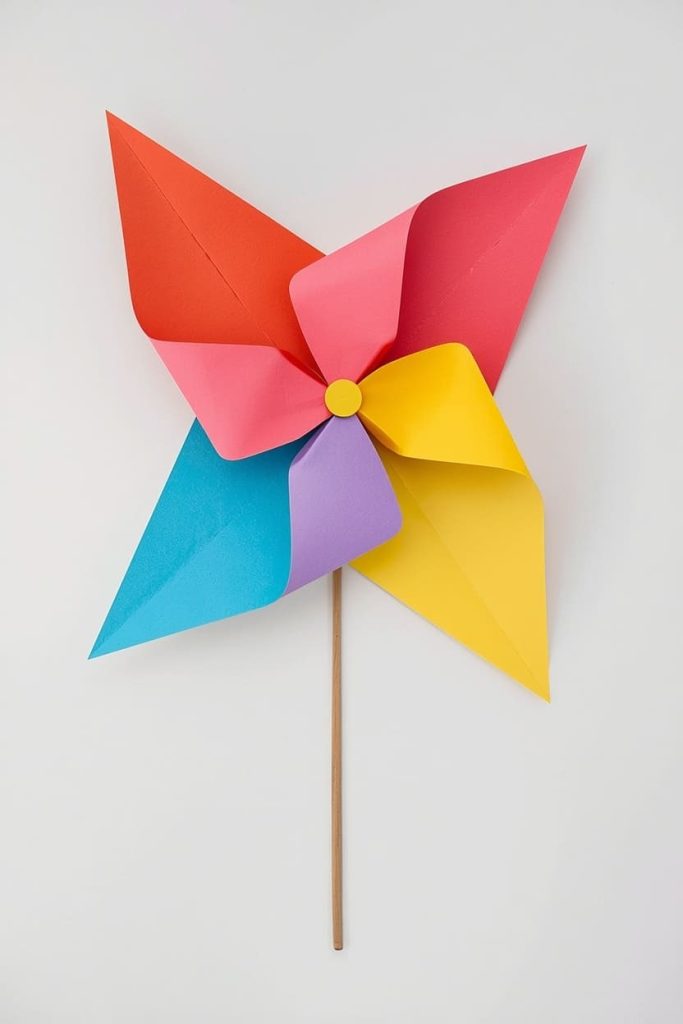
You make it by folding a paper square into a classic pinwheel shape and mounting it on a paper stick. It’s the most visually striking craft in this set.
Materials Needed
- 1 square sheet of colored paper, 6×6 inches
- 1 brad or paper fastener (or a glued dot for a flat version)
- Thin paper strip for the stick
- Glue stick
How To Make
- Cut the square paper diagonally from each corner toward the center, stopping about 1 inch before the middle.
- Fold every other corner point into the center, alternating which side folds in.
- Glue the folded points down in the center to hold the pinwheel shape.
- Glue a thin paper strip vertically behind the pinwheel as the stick.
- For a flat display version, glue the whole windmill directly onto backing paper instead of using a fastener.
Tips
- This one has more steps, so it works best for older preschoolers or with an adult helping fold.
- Use bright, contrasting paper colors so the fold pattern is easy to see.
- If gluing flat, press it under a book for a few minutes so the folds stay in place.
Frequently Asked Questions
How do I adapt these letter W crafts for toddlers versus preschoolers? Pre-cut all the shapes ahead of time for toddlers and let them focus only on gluing and placing pieces. Preschoolers can usually handle simple cutting themselves, especially on the watermelon, worm, and wagon crafts.
How long does each craft take to complete? Most of these crafts take 10 to 15 minutes once your shapes are cut. The spiderweb and windmill take a bit longer, closer to 20 minutes, because of the folding steps.
What’s the best way to display finished W crafts? A simple string across a wall or window with mini clothespins works great, and it turns the whole set into a quick letter-of-the-week display. You can also bind them into a paper folder as a keepsake.
How can I connect these crafts to letter W phonics practice? Say the featured word out loud every time you glue a piece, like “whale starts with W” or “wagon starts with W.” Repeating the word during the hands-on step helps it stick better than saying it once at the start.
Do I need any glue besides glue sticks? No. Every craft in this set is designed around glue sticks only, so you don’t need tape, liquid glue, or a glue gun for any of these projects.
Can I do all 7 crafts in one sitting? You can, but it’s easier on little hands to spread them across two or three days. Pairing two crafts per session keeps kids engaged without craft fatigue setting in.

Sohel Rana is the writer, editor, publisher, and founder of The Tidy Porch. He is the man who is responsible for the craft (my wife created) being converted into a written piece. He also helps her wife (Sumona) by capturing videos of each craft. In short, he brings each craft created by her wife in front of you by transforming it into an article and a video.
