
I hit a wall during Y week. I typed “letter Y craft” into Pinterest and got page after page of yellow paper plates with nothing else going on. No yak, no yarn, no yo-yo, just yellow.
My daughter asked why every project was “just a color,” and honestly, I didn’t have a good answer. Y is a hard letter. I get it. But it’s not that thin.
So I sat down and built out seven complete Y crafts that actually connect to the sound, not just the color. Real projects, real steps, ready for you to make today.
Top 5 Amazon Products for Letter Y Crafts
- Crayola Construction Paper, 240 Count — a big multicolor pack so you’re not scrambling mid-project for the right shade of yellow, brown, or blue.
- Elmer’s Disappearing Purple School Glue Sticks, 30-Pack — kid-safe glue sticks that go on purple and dry clear, easy for small hands to control.
- Fiskars Blunt-Tip Kids Scissors, 2-Pack — safe, easy-grip scissors sized for preschoolers cutting curves and small shapes.
- Yarn Multi-Color Craft Bundle — a set of assorted yarn colors that’s perfect for the yarn ball craft and any texture add-ons.
- Googly Wiggle Eyes, 100-Piece Assorted Sizes — instant character for your yak and yo-yo faces without extra drawing.
Y For Paper Yarn Ball Craft
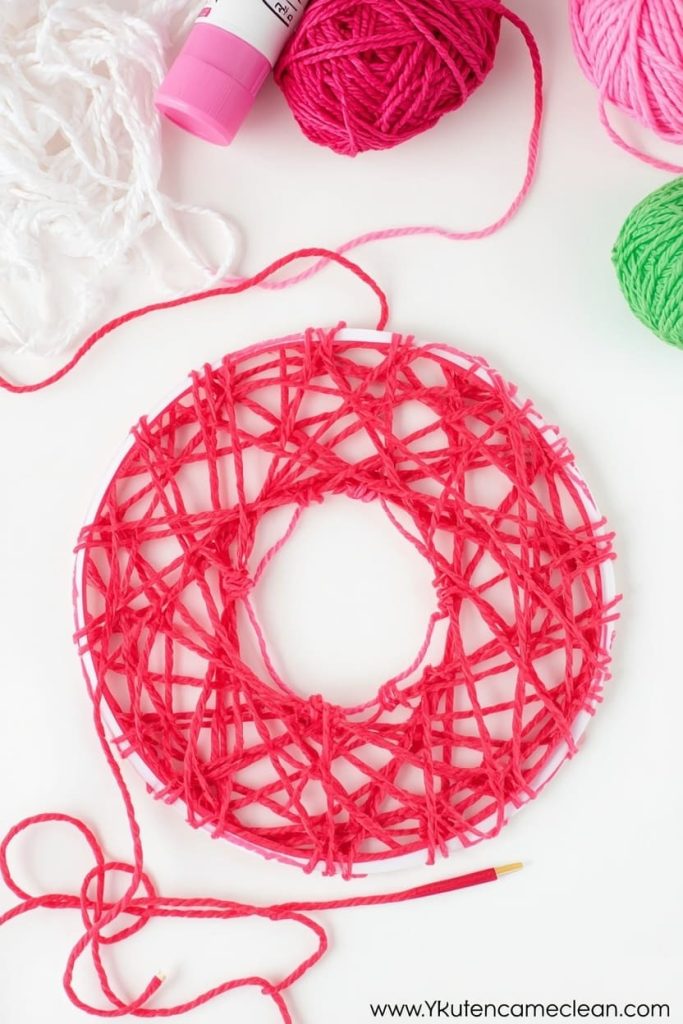
You make it by winding real yarn around a paper circle base until it looks like a tangled ball. It’s the single best craft on this list for reinforcing the Y sound, because the word “yarn” is right there in your hands the whole time.
Materials Needed
- 1 paper circle, 4 inches wide, any color
- 1–2 colors of craft yarn, about 3 feet total
- Glue stick
- White paper for backing
How To Make
- Cut a 4-inch circle from construction paper as your base.
- Run a thin layer of glue stick across the entire circle.
- Starting from the center, press the end of the yarn down and begin winding it in loose, overlapping loops outward toward the edge.
- Keep winding in a slightly random pattern, not neat rings, until the whole circle is covered.
- Trim the yarn end and tuck it under a loop, pressing it flat.
- Glue the finished yarn circle onto your white backing paper.
Tips
- If yarn keeps slipping, let the glue sit for 60 seconds before winding so it’s tacky, not wet.
- Two colors of yarn wound together makes the “ball” look more realistic.
- Say “yarn starts with Y” a few times while winding, the repetition sticks better during a hands-on step.
Y For Paper Yak Craft
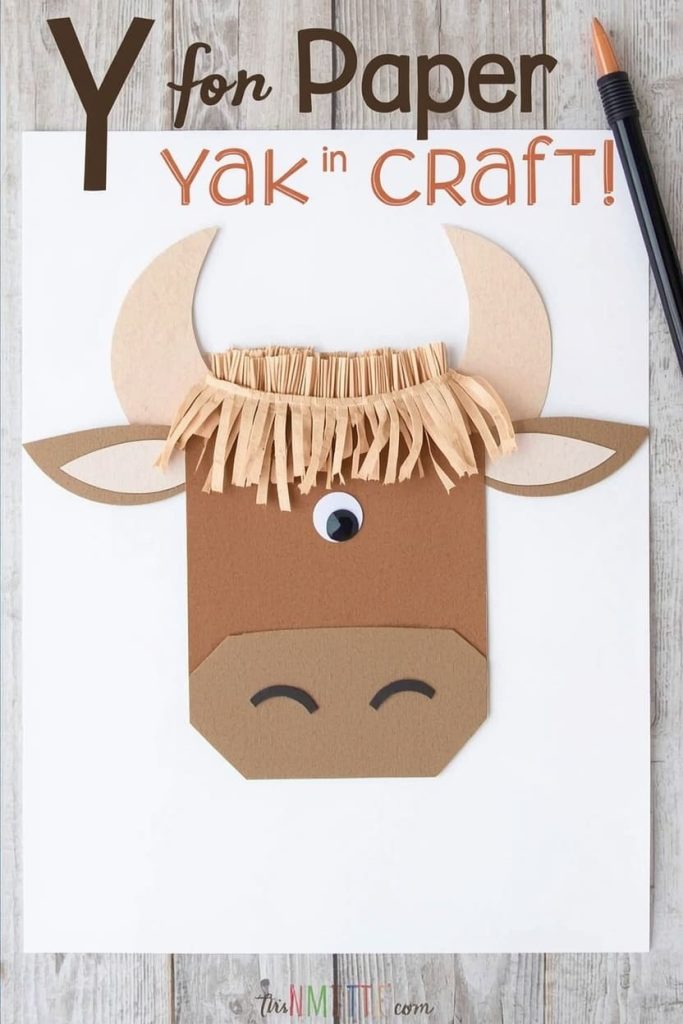
You make it by building a boxy brown paper body, adding shaggy paper fringe for fur, and topping it with two curved horns. It’s a strong pick because “yak” is a clean, obvious Y-sound word that most other letter articles skip entirely.
Materials Needed
- 1 sheet brown construction paper
- 1 sheet tan or cream paper (for horns and fringe)
- 1 googly eye
- Glue stick
- White paper for backing
How To Make
- Cut a 4×3-inch rectangle from brown paper for the yak’s body.
- Cut a smaller 2-inch square from brown paper for the head, and round the bottom two corners slightly.
- Cut a fringe strip from tan paper, about 4 inches long and 1 inch wide, and snip small slits along one edge to create a shaggy texture.
- Glue the body rectangle onto the backing paper, then glue the head above it.
- Glue the fringe strip along the top and sides of the body so the snipped edges hang loose like fur.
- Cut two thin curved horn shapes from tan paper and glue them to the top of the head, curving outward.
- Add the googly eye to the head.
Tips
- Curl the fringe strip slightly around a marker before gluing for a fluffier look.
- Younger kids can tear the fringe slits instead of cutting them, it still reads as texture.
- Talk through what a yak actually is while making this one, most preschoolers haven’t seen one before.
Y For Paper Yo-Yo Craft
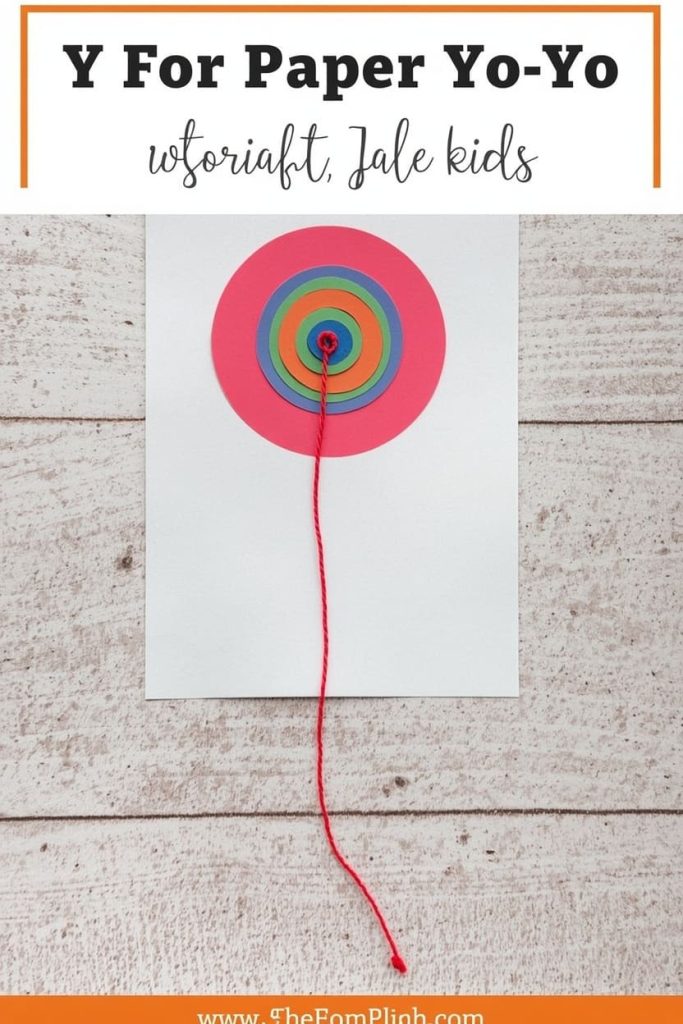
You make it by layering two paper circles with a spiral pattern and a thin string, so it looks like a yo-yo mid-swing. It’s a fast craft and a familiar object for most kids.
Materials Needed
- 2 paper circles, 4 inches wide, in contrasting colors
- Thin string or yarn, about 8 inches
- Glue stick
- White paper for backing
How To Make
- Glue the two circles together, aligned edge to edge, so you have one thick double-layer circle.
- Starting at the center, draw a spiral line out to the edge with marker, alternating colors if you used two different shades.
- Glue one end of the string to the back center of the circle.
- Glue the yo-yo circle onto the backing paper near the top.
- Let the loose end of the string hang down and glue just the very tip of it to the paper lower on the page, leaving the middle of the string slightly raised for a 2D “mid-swing” look.
Tips
- Use a ruler to help draw a clean spiral if your child is younger.
- Bright, contrasting colors make the spiral pattern pop more.
- This is a good craft to pair with an actual yo-yo demonstration if you have one at home.
Y For Paper Yacht Craft
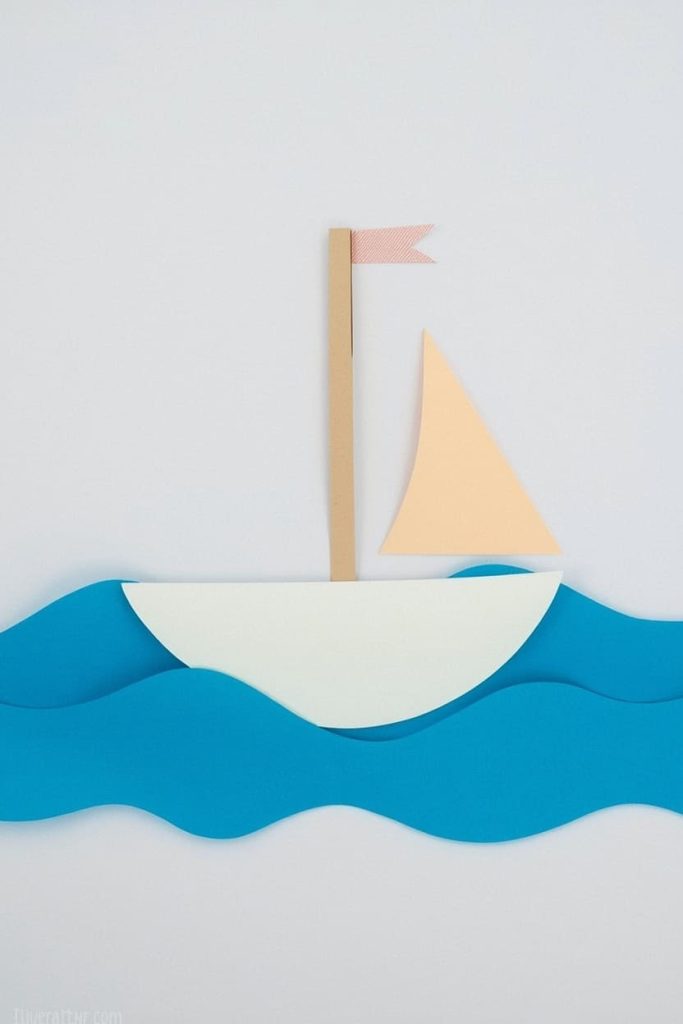
You make it by combining a simple paper hull, a triangle sail, and a mast into one layered scene. It’s a great craft for reinforcing shape recognition alongside the letter sound.
Materials Needed
- 1 sheet blue paper (for water/background)
- 1 sheet white or tan paper (for the hull)
- 1 sheet colored paper (for the sail)
- Glue stick
- White paper for backing
How To Make
- Cut a wavy strip of blue paper, about 2 inches tall, and glue it across the bottom of the backing paper as water.
- Cut a boat hull shape from white or tan paper, about 4 inches wide, with a flat top and curved bottom.
- Glue the hull so it sits just above the wavy water line, slightly overlapping it.
- Cut a thin vertical strip for the mast, about 3 inches long, and glue it standing up from the center of the hull.
- Cut a triangle sail from colored paper and glue it against the mast.
Tips
- Add a tiny paper flag at the top of the mast for extra detail.
- If cutting the wavy water line is tricky, tearing it by hand works just as well and adds texture.
- This one pairs nicely with a short chat about where yachts sail, it’s an easy way to extend the activity into a mini geography moment.
Y For Paper Yolk Craft (Fried Egg)
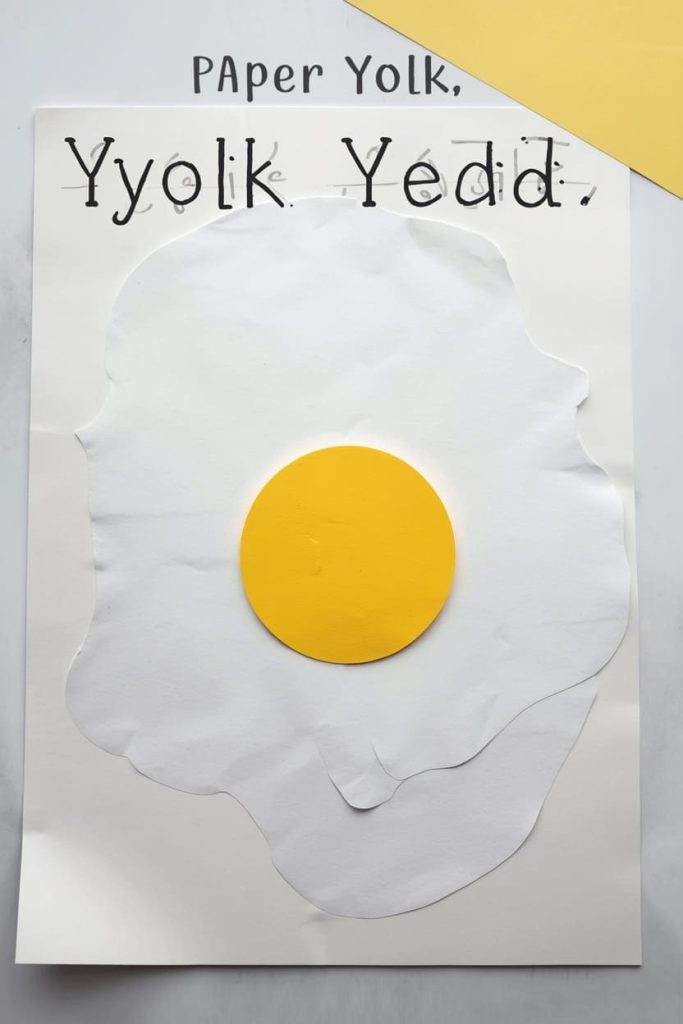
You make it by layering a white paper oval with a yellow paper circle “yolk” in the center. It’s simple, but the word “yolk” is a genuinely strong, underused Y-sound word for preschool crafts.
Materials Needed
- 1 sheet white paper
- Small scrap of yellow paper
- Glue stick
- White or light-colored backing paper
How To Make
- Cut a large, irregular oval from white paper, about 5 inches across, with slightly uneven edges to look like an egg white.
- Cut a small circle from yellow paper, about 2 inches wide, for the yolk.
- Glue the white oval onto the backing paper.
- Glue the yellow circle in the center of the white oval.
- Optional: cut a slightly smaller white circle and glue it under the yolk first for a raised, layered look before adding the yolk on top.
Tips
- Uneven, wavy edges on the white part actually look more realistic than a clean circle.
- This is a great craft to pair with talking about breakfast foods that start with Y, since options are genuinely limited.
- Keep the yolk circle slightly off-center rather than dead-center, it looks more natural.
Y For Paper Yardstick Craft
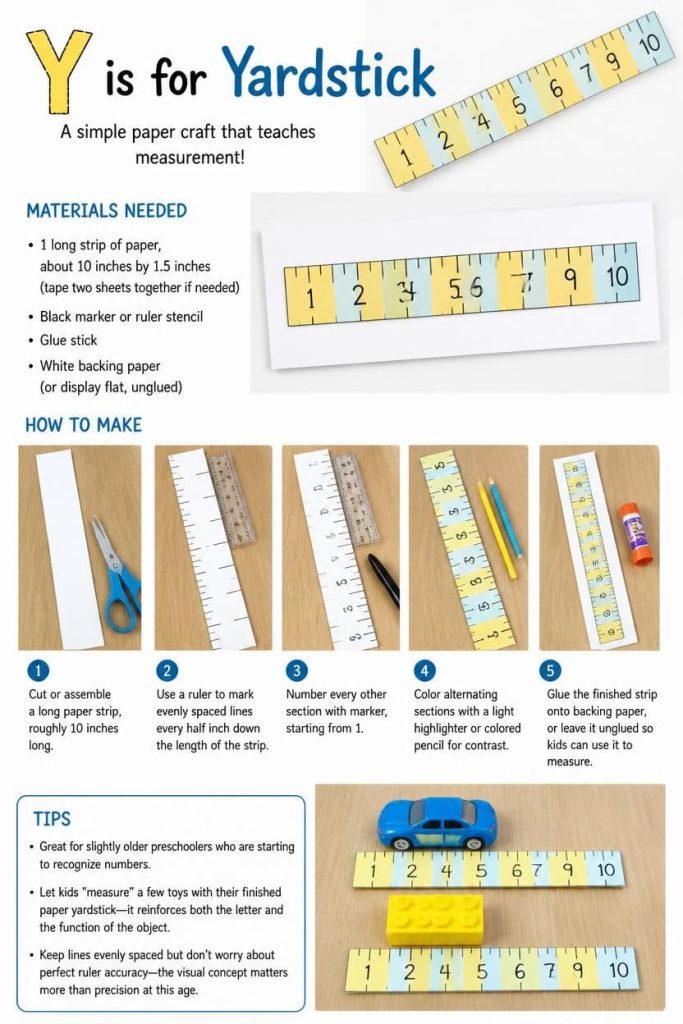
You make it by cutting a long striped paper strip marked with number sections, like a mini ruler. It’s a great craft for reinforcing early measurement concepts alongside the letter sound.
Materials Needed
- 1 long strip of paper, about 10 inches by 1.5 inches (tape two sheets together if needed)
- Black marker or ruler stencil
- Glue stick
- White backing paper (or display flat, unglued)
How To Make
- Cut or assemble a long paper strip, roughly 10 inches long.
- Use a ruler to mark evenly spaced lines every half inch down the length of the strip.
- Number every other section with marker, starting from 1.
- Color alternating sections with a light highlighter or colored pencil for visual contrast.
- Glue the finished strip onto backing paper, or leave it unglued so kids can actually use it to measure small objects.
Tips
- This is a nice pick for slightly older preschoolers who are starting to recognize numbers.
- Let kids “measure” a few toys with their finished paper yardstick after making it, it reinforces both the letter and the function of the object.
- Keep lines evenly spaced but don’t worry about perfect ruler accuracy, the visual concept matters more than precision at this age.
Y For Paper Yawning Face Craft
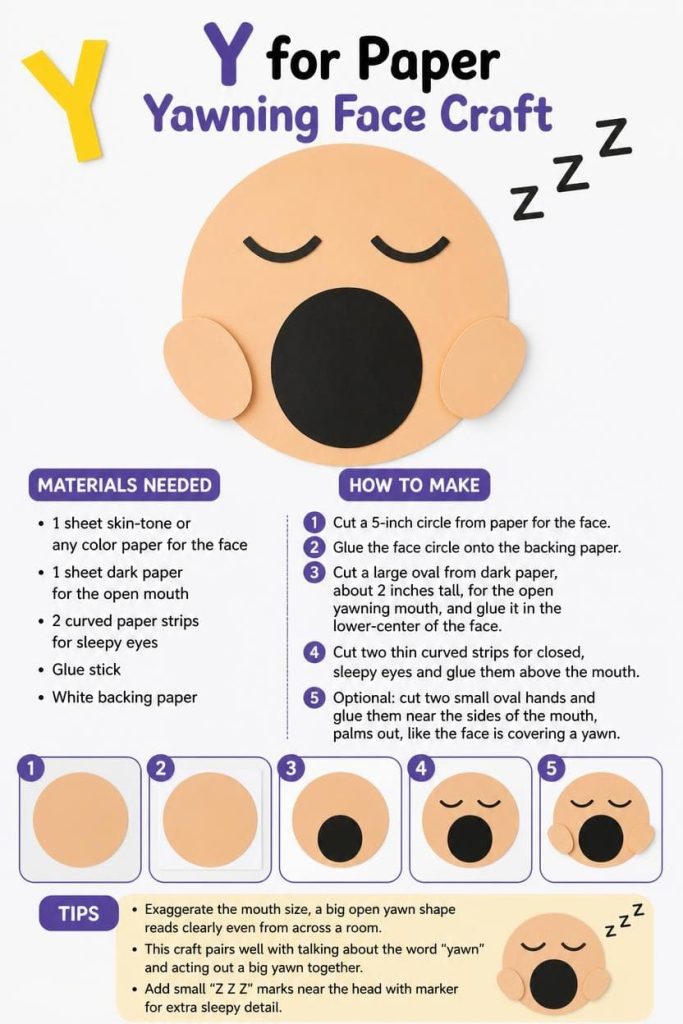
You make it by shaping a round paper face with a large open “yawning” mouth and sleepy eyes. It’s a playful, expressive craft that reinforces the Y sound through the word “yawn.”
Materials Needed
- 1 sheet skin-tone or any color paper for the face
- 1 sheet dark paper for the open mouth
- 2 curved paper strips for sleepy eyes
- Glue stick
- White backing paper
How To Make
- Cut a 5-inch circle from paper for the face.
- Glue the face circle onto the backing paper.
- Cut a large oval from dark paper, about 2 inches tall, for the open yawning mouth, and glue it in the lower-center of the face.
- Cut two thin curved strips for closed, sleepy eyes and glue them above the mouth.
- Optional: cut two small oval hands and glue them near the sides of the mouth, palms out, like the face is covering a yawn.
Tips
- Exaggerate the mouth size, a big open yawn shape reads clearly even from across a room.
- This craft pairs well with talking about the word “yawn” and acting out a big yawn together.
- Add small “Z Z Z” marks near the head with marker for extra sleepy detail.
Frequently Asked Questions
How do I adapt these letter Y crafts for toddlers versus preschoolers? Pre-cut all the shapes ahead of time for toddlers so they can focus purely on gluing and placement. Preschoolers can usually handle the simpler cuts themselves, especially on the yolk, yacht, and yawning face crafts, while the yak and yardstick work better with an adult doing the more detailed cutting.
How long does each craft take to complete? Most of these take 10 to 15 minutes once your shapes are ready. The yarn ball and yak run a little longer, closer to 20 minutes, because of the winding and fringe steps.
What’s the best way to display finished Y crafts? A string across a wall with mini clothespins works well and turns the whole set into an instant letter-of-the-week display. You can also bind the finished pieces into a simple paper folder as a keepsake for the end of the alphabet unit.
How can I connect these crafts to letter Y phonics practice? Say the featured word out loud every time your child glues a piece, like “yarn starts with Y” or “yak starts with Y.” Repeating the word during the hands-on step reinforces it far better than saying it once at the beginning and moving on.
Why do so many letter Y craft ideas online just use the color yellow? Y genuinely has a thinner pool of strong, kid-friendly objects than most letters, so a lot of quick content leans on color as an easy shortcut. The problem is that color alone doesn’t reinforce the actual letter sound, which is why this list sticks mostly to real Y-sound words like yarn, yak, and yacht instead.
Do I need any glue besides glue sticks? No. Every craft here is built around glue sticks only, so you don’t need tape, liquid glue, or a glue gun for any of these seven projects.
Can I do all 7 crafts in one sitting? You can, but it’s easier on little hands to spread them across two or three short sessions. Pairing two or three crafts per sitting keeps kids engaged without hitting craft fatigue, especially since a few of these, like the yak and yardstick, take a bit more focus than the others.

Sohel Rana is the writer, editor, publisher, and founder of The Tidy Porch. He is the man who is responsible for the craft (my wife created) being converted into a written piece. He also helps her wife (Sumona) by capturing videos of each craft. In short, he brings each craft created by her wife in front of you by transforming it into an article and a video.
