
I almost skipped Z week entirely. I searched “letter Z craft” and got the same zebra print handprint over and over, page after page.
My son had already done that exact zebra twice in other people’s Pinterest photos before I even started. Z is the thinnest letter in the whole alphabet for craft ideas, and I get why everyone leans on zebra.
But there’s more than one animal. So I built out seven complete Z crafts that go beyond the recycled zebra, and if you’re finishing your A-Z series like I was, this is a good one to make Z feel like an actual finish line.
Here are all seven, ready for you to make today.
Top 5 Amazon Products for Letter Z Crafts
- Crayola Construction Paper, 240 Count — a large multicolor stack that covers every craft here, including the black and white shades you’ll need most for Z.
- Elmer’s Disappearing Purple School Glue Sticks, 30-Pack — reliable glue sticks that go on purple and dry clear, easy for small hands to control.
- Fiskars Blunt-Tip Kids Scissors, 2-Pack — safe, easy-grip scissors sized for preschoolers cutting stripes, zigzags, and curves.
- Black and White Striped Craft Paper Pack — pre-patterned zebra-stripe paper that saves you from hand-drawing stripes on every project.
- Bins & Things Craft Supply Organizer — a stackable caddy to keep your paper scraps and glue sticks sorted, especially useful if this is your last letter of the series.
Z For Paper Zebra Craft
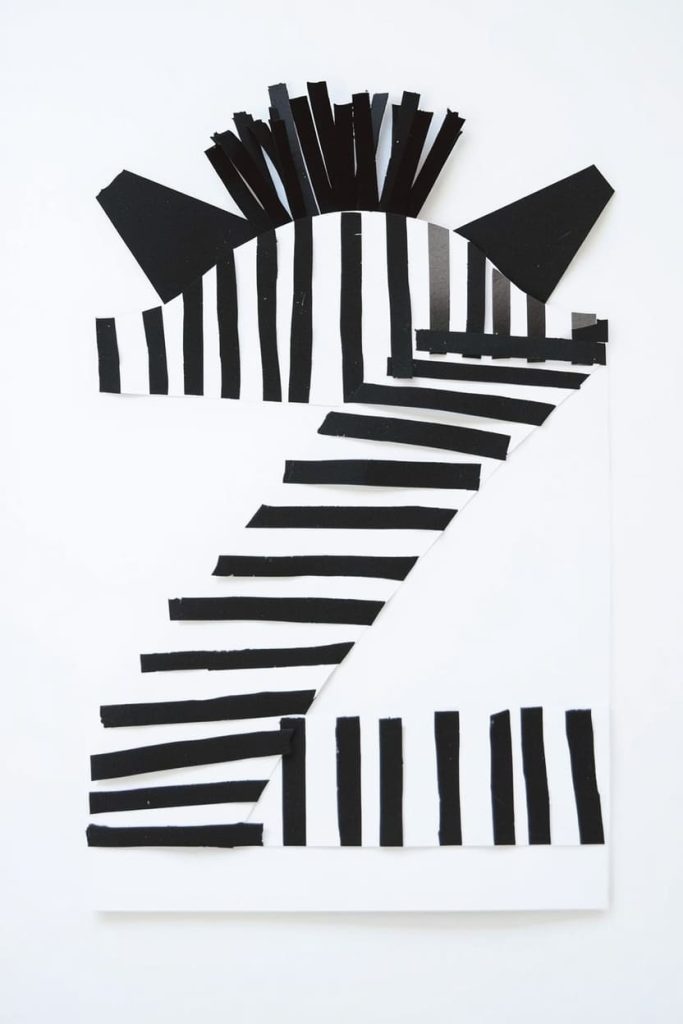
You make it by layering a white paper body with hand-cut black stripes and a simple mane. It’s the most obvious Z craft for a reason, it works, so I wanted to give you a version that actually looks good instead of a rushed handprint.
Materials Needed
- 1 sheet white construction paper
- 1 sheet black construction paper
- Glue stick
- White paper for backing
How To Make
- Cut a 5-inch oval body from white paper.
- Cut a smaller 3-inch oval for the head and glue it overlapping the top of the body.
- Cut 8 to 10 thin black strips, each about 2 inches long and varying slightly in width, for stripes.
- Glue the black strips across the body and head at slight angles, not perfectly straight, real zebra stripes are irregular.
- Cut two small triangle ears from black paper and glue them to the top of the head.
- Cut a thin fringe strip from black paper, about 2 inches long, and glue it along the back of the neck for a mane.
Tips
- Angling the stripes instead of lining them up straight makes a big visual difference.
- Let younger kids tear the stripe strips instead of cutting them, torn edges still read as stripes.
- Say “zebra starts with Z” while gluing each stripe, the repetition helps it stick.
Z For Paper Zipper Craft
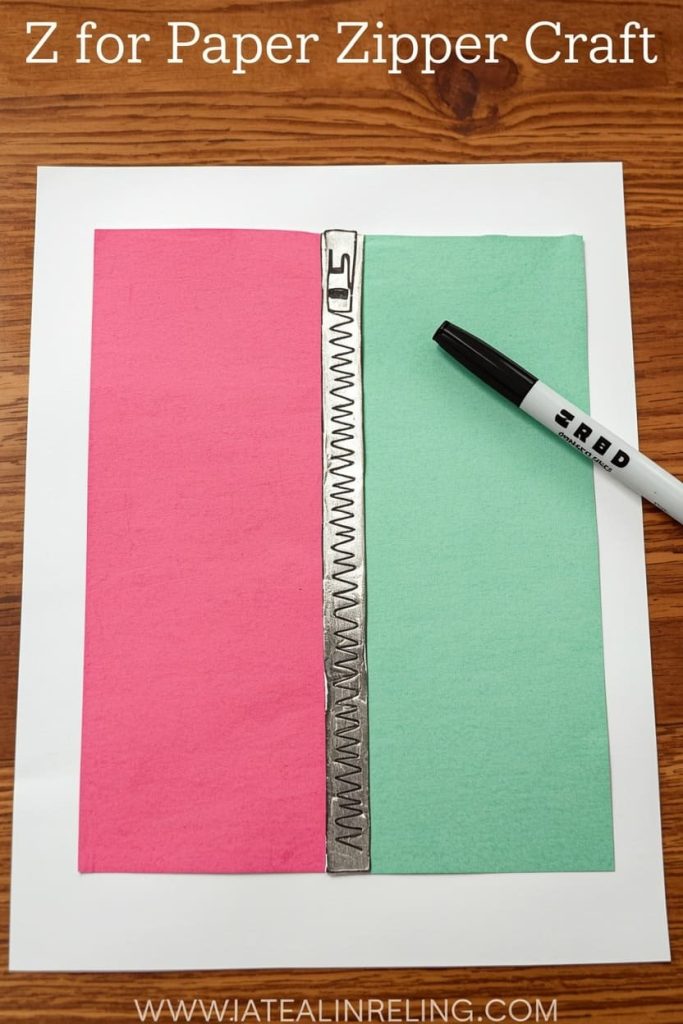
You make it by drawing two paper fabric panels connected by a zigzag zipper line down the middle. It’s an underused Z idea, and it’s a great one for fine motor practice since kids trace or glue along a repeating zigzag.
Materials Needed
- 2 sheets colored paper (for the “fabric” panels)
- 1 strip of silver, gray, or gold paper (for the zipper)
- Glue stick
- White backing paper
How To Make
- Cut both colored sheets into 4×6-inch rectangles to represent two sides of fabric.
- Glue both rectangles onto the backing paper side by side, leaving a half-inch gap down the center.
- Cut a long thin strip from the silver or gold paper, about 6 inches, for the zipper track.
- Glue the strip down the center gap between the two fabric panels.
- Draw a zigzag line down the strip with marker to represent the teeth.
- Cut a small triangle or rectangle tab shape for the zipper pull and glue it at the top of the strip.
Tips
- Let kids draw the zigzag teeth themselves, it’s good fine motor practice even if it’s a little wobbly.
- Use a metallic marker if you have one, it makes the zipper pop visually.
- This is a good craft to connect to real life, point out the zipper on their jacket while making it.
Z For Zigzag Pattern Art Craft
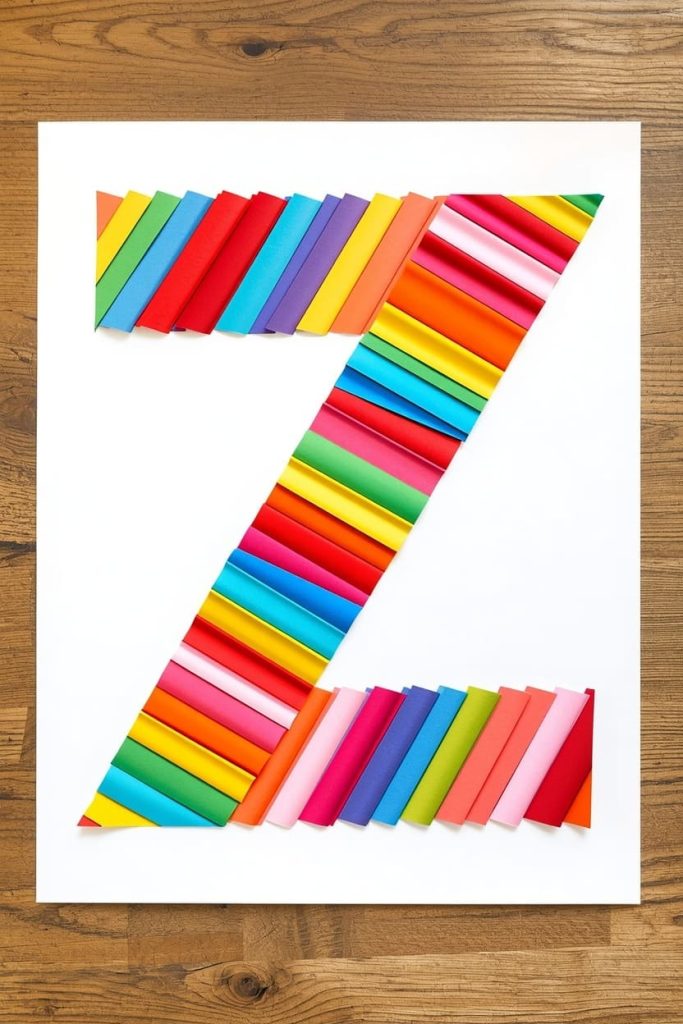
You make it by cutting and arranging colorful zigzag paper strips into a repeating pattern piece. It’s a simple, flexible craft that leans into the actual shape of the letter Z.
Materials Needed
- 3–4 sheets of different colored paper
- Glue stick
- White backing paper
How To Make
- Cut each colored sheet into long strips, about 1 inch wide and 8 inches long.
- Fold each strip accordion-style into a zigzag shape, about 1-inch folds.
- Glue the folded zigzag strips onto the backing paper in a row, alternating colors.
- Once dry, you can flatten the strips slightly or leave them raised for a textured, dimensional look while staying paper-only and flat-mounted.
- Add a large letter “Z” cut from paper in the center or corner to tie the pattern back to the letter shape.
Tips
- This craft directly mirrors the shape of the letter Z, which makes it a strong visual teaching tool.
- Let kids choose their own color order, it doubles as a patterning activity.
- Keep folds loose rather than creased flat, tight creases can tear thinner paper.
Z For Paper Zero Craft
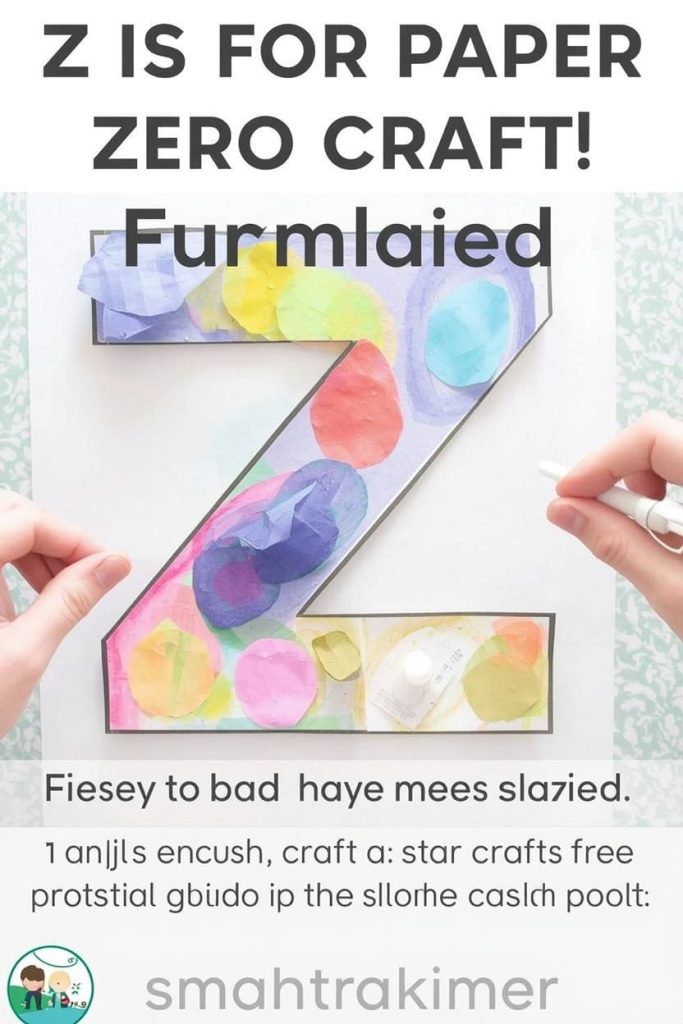
You make it by shaping a large paper zero and decorating it with ten small counted items glued around or inside it. It’s a nice pairing of letter recognition and early number sense.
Materials Needed
- 1 sheet colored paper (for the zero shape)
- Small paper circles or stickers, at least 10, for counting
- Glue stick
- White backing paper
How To Make
- Cut a large zero shape from colored paper, about 6 inches tall, using a bowl or circle template for the outer edge and a smaller one for the inner hole.
- Glue the zero shape onto the backing paper.
- Cut 10 small paper circles, roughly 1 inch each, in a mix of colors.
- Glue all 10 small circles around the outside edge of the zero, spacing them evenly.
- Count each circle out loud as it’s glued down.
Tips
- Counting out loud while gluing turns this into a combined letter and number activity.
- If cutting a clean zero shape is tricky, use a paper plate as a tracing guide.
- This craft works well right alongside a broader “Z is for zero” phonics discussion, since zero is an easy, familiar word.
Z For Paper Zoo Scene Craft
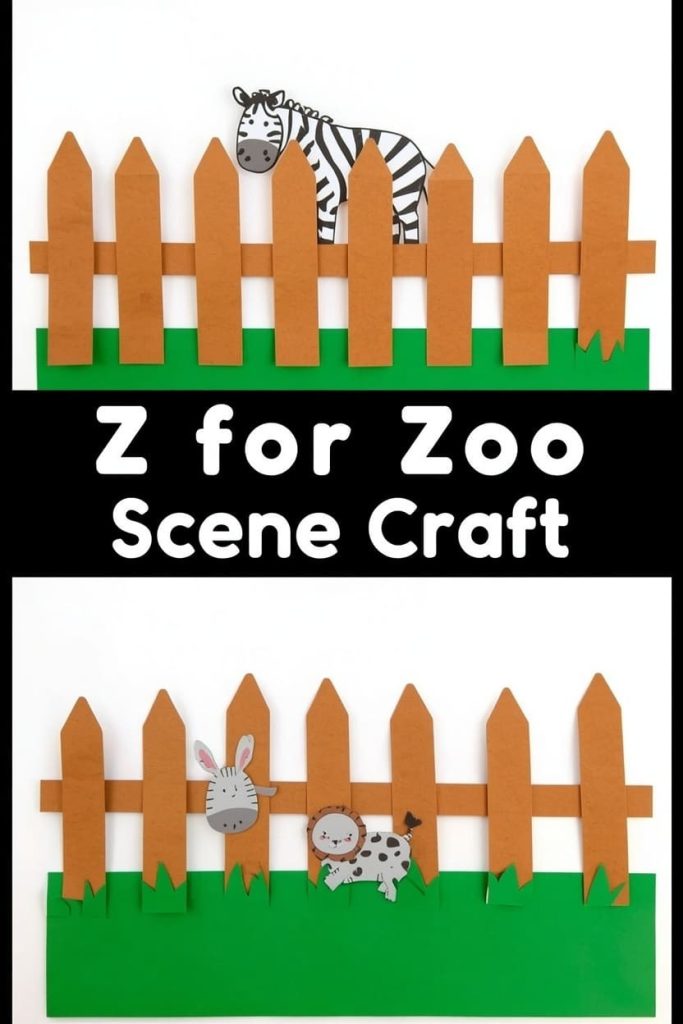
You make it by building a simple fence backdrop and placing a few paper animal shapes inside it, creating a mini zoo scene. It’s a great wrap-up craft since it can include your zebra from earlier in the list.
Materials Needed
- 1 sheet brown or tan paper (for fence posts)
- 1 sheet green paper (for grass)
- Small paper animal shapes (zebra, lion, or elephant, simple shapes)
- Glue stick
- White backing paper
How To Make
- Cut a strip of green paper, about 2 inches tall, and glue it across the bottom of the backing paper as grass.
- Cut 4 to 5 thin vertical strips from brown paper, about 3 inches long, for fence posts.
- Glue the fence posts upright along the grass line, evenly spaced.
- Cut 2 horizontal strips and glue them across the fence posts to connect them, like fence rails.
- Cut simple animal shapes from paper, an oval body with a small head works for most animals, and glue them behind the fence line.
Tips
- Reuse your zebra craft as one of the zoo animals if you made it earlier in this list.
- Keep animal shapes simple, an oval and a circle head is enough for a preschooler to recognize.
- This is a nice craft to talk through “Z is for zoo” while placing each animal.
Z For Paper Zucchini Craft
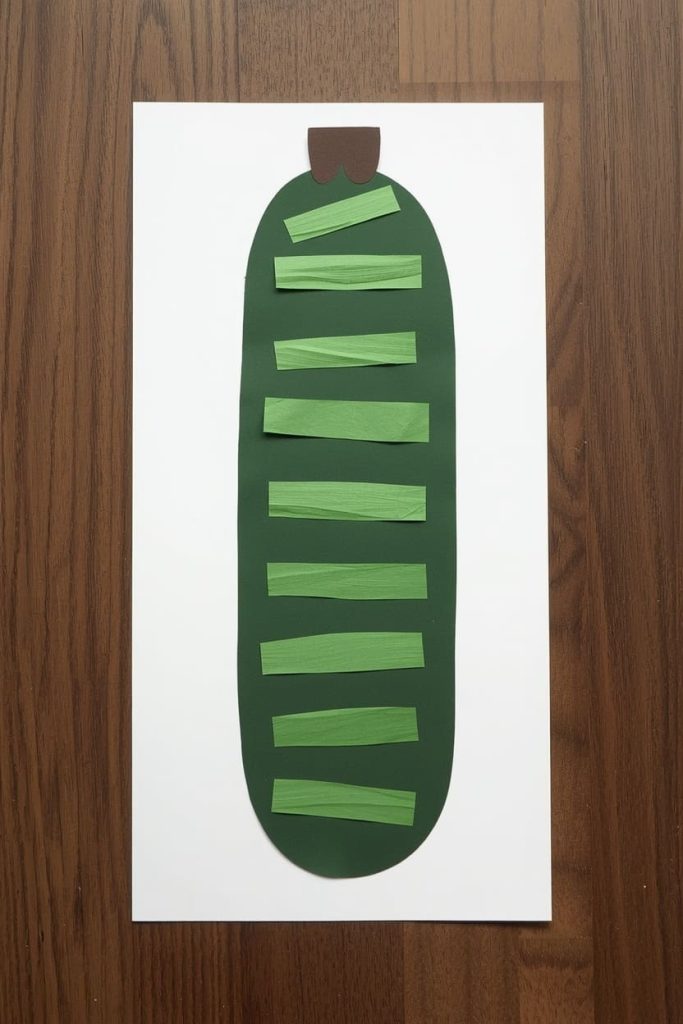
You make it by shaping a long green paper oval with light texture lines to look like a zucchini. It’s a quieter craft on this list, but it’s a legitimate, often-overlooked Z word.
Materials Needed
- 1 sheet dark green paper
- 1 sheet light green paper (optional, for texture strips)
- Glue stick
- White backing paper
How To Make
- Cut a long, narrow oval from dark green paper, about 6 inches long and 2 inches wide, tapering slightly at one end.
- Glue the zucchini shape onto the backing paper.
- Cut a few thin light green strips, about 2 inches long, and glue them diagonally across the zucchini for texture and highlight lines.
- Cut a tiny brown stem shape and glue it to the tapered end.
Tips
- This is one of the quickest crafts on the list, good for filling a short activity slot.
- Pair it with a quick conversation about vegetables that start with Z, since options are genuinely rare.
- Younger kids can skip the texture strips and just focus on gluing the main shape.
Z For Paper Zeppelin Craft
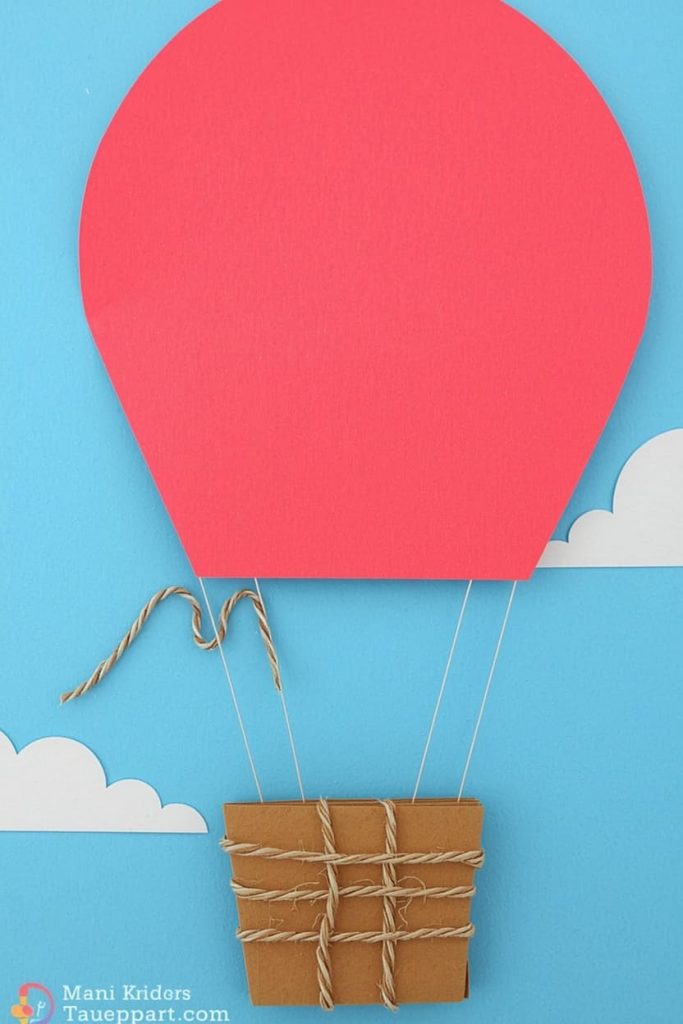
You make it by shaping a long paper oval balloon with a small basket underneath, hanging from thin string lines. It’s a fun, less common Z idea that gives you a strong visual payoff.
Materials Needed
- 1 sheet colored paper (for the balloon)
- Small scrap of brown paper (for the basket)
- Thin string or yarn, two pieces about 2 inches each
- Glue stick
- Blue backing paper (for sky)
How To Make
- Cut a large oval from colored paper, about 6 inches long, for the zeppelin balloon.
- Glue the balloon onto the blue backing paper, positioned in the upper half.
- Cut a small rectangle from brown paper, about 1.5 inches, for the basket.
- Glue the basket below the balloon, leaving a small gap between them.
- Glue the two string pieces connecting the bottom of the balloon to the top of the basket.
Tips
- Add a few small cloud shapes from white paper scraps for extra scene detail.
- This craft is a fun surprise pick since most kids haven’t made one before, it stands out from the usual Z crafts.
- Keep the string pieces short and taut so they don’t sag or tangle while drying.
Frequently Asked Questions
How do I adapt these letter Z crafts for toddlers versus preschoolers? Pre-cut all the shapes ahead of time for toddlers so they can focus purely on gluing and placement. Preschoolers can usually manage simpler cuts themselves, especially on the zucchini, zero, and zigzag crafts, while the zebra and zoo scene work better with an adult handling the smaller detail cuts.
How long does each craft take to complete? Most of these take 10 to 15 minutes once your shapes are ready. The zoo scene and zeppelin run a bit longer, closer to 20 minutes, since they involve more layered pieces.
What’s the best way to display finished Z crafts? A string across a wall with mini clothespins works well, and it’s a nice way to cap off a full alphabet display if you’ve been doing this letter by letter. You can also bind all the finished Z pieces into a paper folder as a keepsake for the end of the series.
How can I connect these crafts to letter Z phonics practice? Say the featured word out loud every time your child glues a piece, like “zebra starts with Z” or “zipper starts with Z.” Repeating the word during the hands-on step reinforces it more than saying it once at the start and moving on.
Why does letter Z feel so much harder to find crafts for than other letters? Z genuinely has the smallest pool of strong, kid-friendly objects in the entire alphabet, which is why so many searches turn up the same one or two zebra ideas. This list intentionally goes past zebra into zipper, zigzag, zero, zoo, zucchini, and zeppelin so you have real variety instead of one recycled option.
Do I need any glue besides glue sticks? No. Every craft here uses glue sticks only, so you don’t need tape, liquid glue, or a glue gun for any of these seven projects.
We just finished the whole alphabet, what’s a good way to wrap up the series? Consider laying out all 26 letter crafts together for a full A-Z display, either on a wall timeline or bound into one keepsake book. It’s a simple way to mark the milestone and gives kids a chance to see the whole alphabet they just built, letter by letter.

Sohel Rana is the writer, editor, publisher, and founder of The Tidy Porch. He is the man who is responsible for the craft (my wife created) being converted into a written piece. He also helps her wife (Sumona) by capturing videos of each craft. In short, he brings each craft created by her wife in front of you by transforming it into an article and a video.
