
I still remember my first paper flower. It was lopsided. The petals looked like they’d been through a storm. I almost gave up right there at my kitchen table.
But I kept going. A few rolls of crepe paper later, something clicked. My flowers stopped looking like art projects and started looking like something you’d buy in a boutique.
That’s the thing about paper flowers. The learning curve is short. The payoff is huge.
If you’ve been searching for crafts that don’t feel childish, you’re in the right place. I’m sharing seven ideas below. Each one is complete. Follow along, and you’ll have a finished project by the end.
The 5 Supplies I Reach for Every Time
You don’t need a craft room full of gear to start. These five items cover almost every project on this list.
- Crepe paper rolls (Italian or heavyweight) — This paper stretches and shapes like real petals, which is why it’s the gold standard for realistic flowers.
- 22-gauge floral stem wire — Sturdy enough to hold a flower’s shape, thin enough to bend by hand.
- Green floral tape — Wraps around wire stems to hide them and give your flowers a finished, professional base.
- A hot glue gun with mini glue sticks — Speeds up assembly and holds petal layers together without messy drying time.
- Lia Griffith’s Crepe Paper Flowers guide — A beginner-friendly book packed with templates and step-by-step photos for dozens of flower types.
Giant Crepe Paper Peonies for a Statement Wall
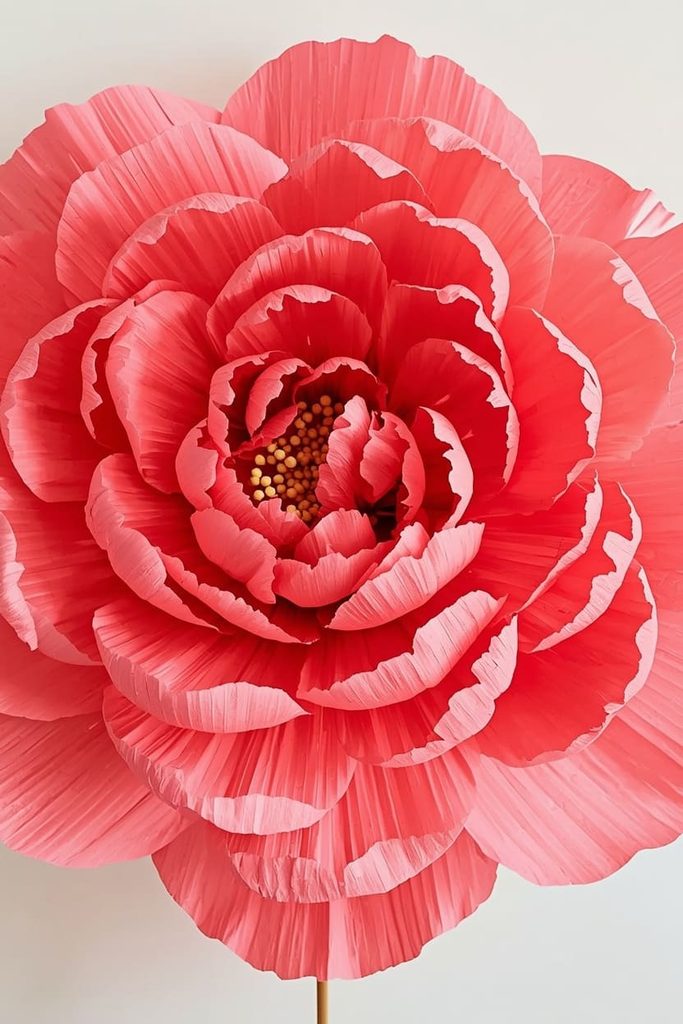
A giant peony turns any blank wall into a photo backdrop. It’s the project people ask about first.
What you’ll need: Heavyweight crepe paper in blush or coral, floral wire, scissors, hot glue, a pencil, and a large circular object for tracing petal templates (a dinner plate works).
How to make it: Trace and cut about 20 petals in three graduating sizes. Cup each petal by gently stretching the center with your thumbs. Curl the edges back using a pencil to roll them. Starting with the smallest petals, glue them around a wire stem, layering outward as they grow larger. Fluff and shape the finished bloom by hand.
Difficulty: Moderate. Time: 45–60 minutes per flower.
Styling tip: Mount three or four on a wooden dowel frame for an entryway installation that guests will photograph.
Delicate Crepe Paper Ranunculus for a Bouquet
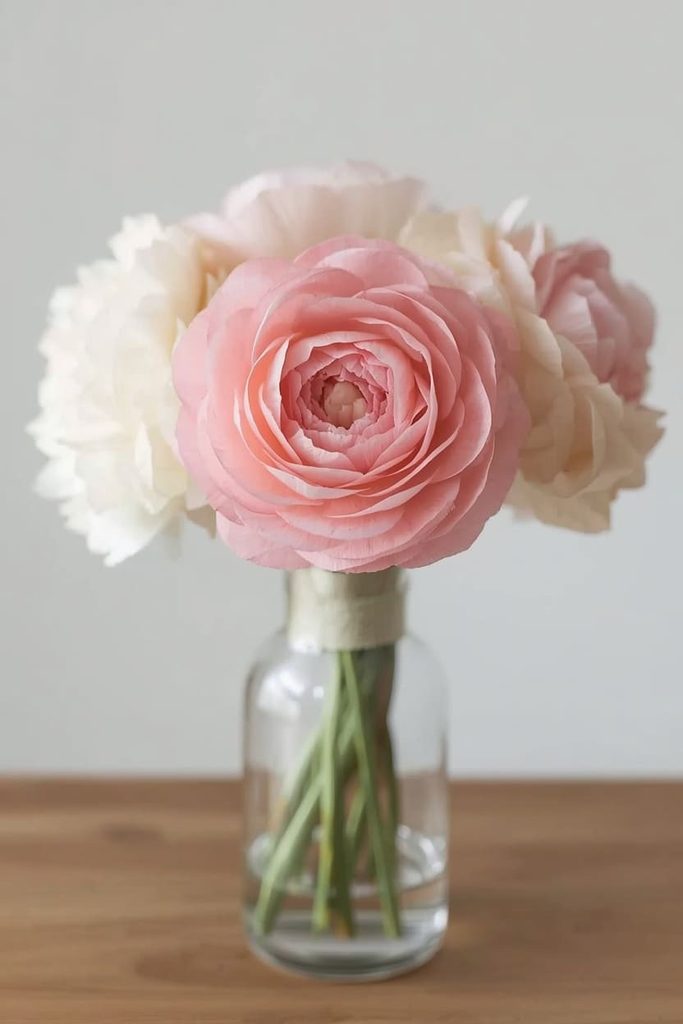
Ranunculus have dozens of tightly packed petals, which makes them look complicated. They’re not. The technique is just repetitive.
What you’ll need: Light-to-mid-weight crepe paper, floral wire, floral tape, and small scissors.
How to make it: Cut small, rounded petal shapes — you’ll need around 40 per flower. Cup each one slightly. Roll a small ball of crepe paper for the center bud, then glue petals around it one at a time, working from tightly wrapped inner layers to looser outer ones. Wrap the base with floral tape to secure everything to the stem.
Difficulty: Moderate, but repetitive rather than technical. Time: About 1 hour.
Styling tip: Group five or six stems in a glass vase for a kitchen table centerpiece that lasts forever.
A Paper Peony Wreath for Your Front Door
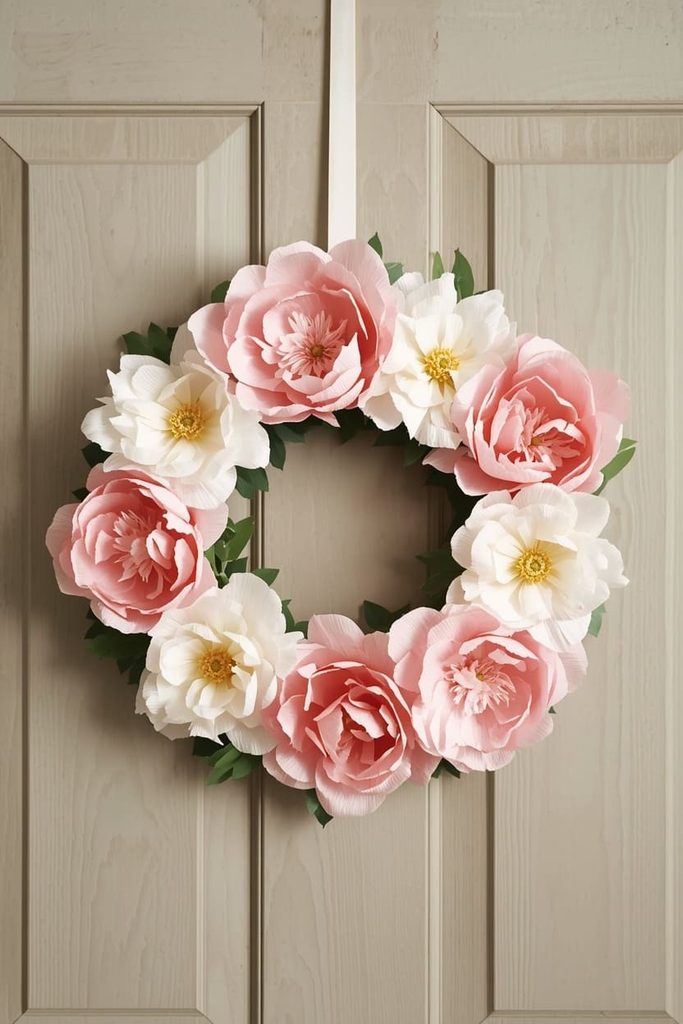
Wreaths never go out of style, and a paper version means you’re not replacing dried flowers every season.
What you’ll need: A foam or wire wreath base, 8–10 crepe paper peonies (see the recipe above), greenery stems, hot glue, and ribbon.
How to make it: Make your peonies in advance using smaller petal counts to save time. Arrange them around the wreath base, alternating flower sizes for visual rhythm. Glue each bloom directly onto the base. Fill gaps with faux greenery. Finish with a ribbon loop for hanging.
Difficulty: Easy once flowers are made. Time: 90 minutes total, including flower-making.
Styling tip: Choose weatherproof crepe paper if it’ll hang outdoors, or keep it indoors for longer life.
Paper Anemones for a Minimalist Centerpiece
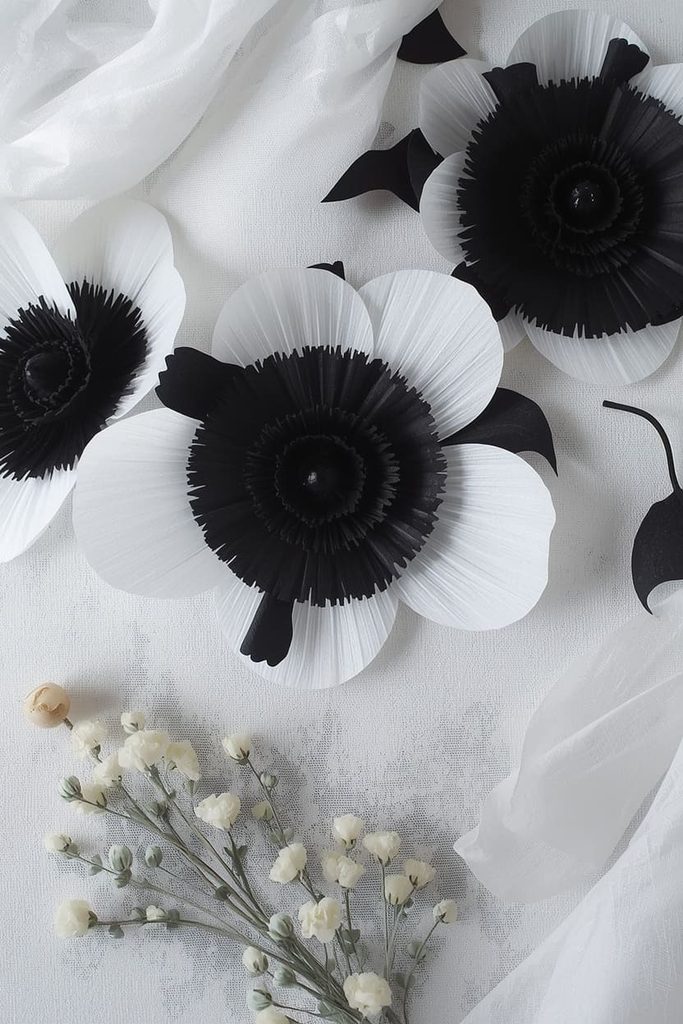
Anemones have a striking black center that contrasts against soft white or ivory petals. They’re simple to make and look far more expensive than they are.
What you’ll need: White or cream crepe paper, black cardstock, a small wooden bead or button, floral wire, and glue.
How to make it: Cut six to eight oval petals and cup them gently. Cut a fringed circle from black cardstock for the center’s dark ring, then glue a small black bead in the middle for the stamen cluster. Attach petals around the center piece, then secure to a wired stem.
Difficulty: Easy. Time: 30 minutes.
Styling tip: Display in a low bud vase along a dinner table runner — the graphic black-and-white look pairs well with modern decor.
Paper Flower Napkin Rings for Dinner Parties
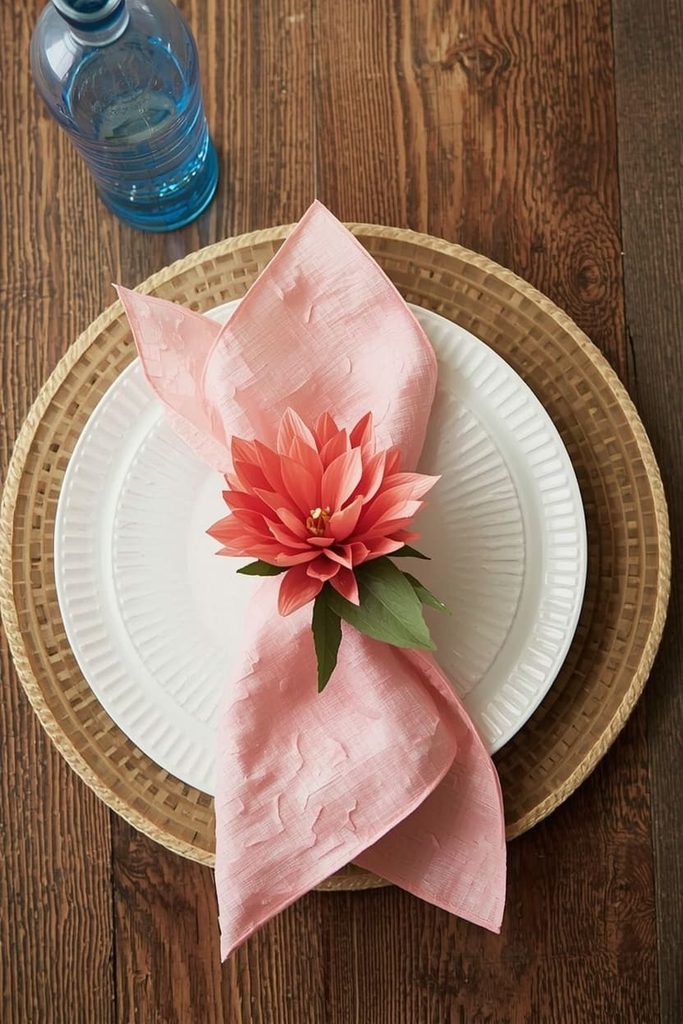
This one surprises people. It takes leftover petals from bigger projects and turns them into something functional.
What you’ll need: Small crepe paper flowers (2–3 inches wide), plain napkin ring bases or cardstock strips, and glue.
How to make it: Make miniature versions of any flower from this list using smaller petal templates. Glue each flower onto a napkin ring base, or wrap a cardstock strip into a ring and glue the flower over the seam. Let dry flat for 20 minutes before use.
Difficulty: Easy. Time: 15 minutes per ring.
Styling tip: Match the flower color to your table’s season — blush for spring, deep red for winter holidays.
A Paper Flower Garland for Photo Backdrops
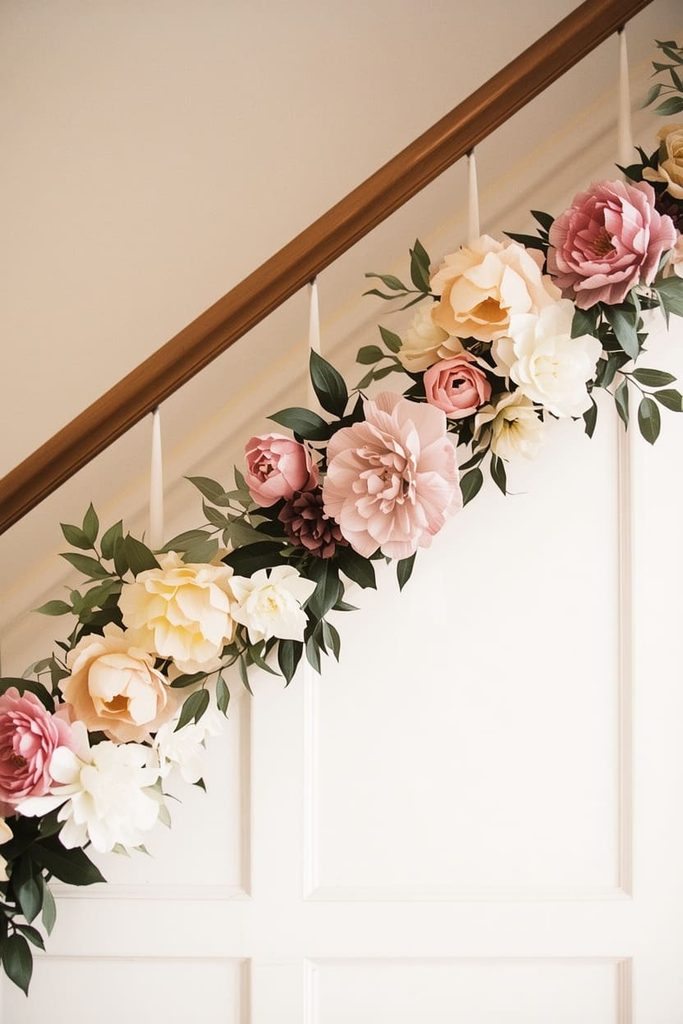
Garlands do the heavy lifting at events. One long strand can transform an entire wall or staircase.
What you’ll need: 10–15 small to medium paper flowers, twine or ribbon, faux leaves, and glue.
How to make it: Lay your twine flat across a table. Arrange flowers and leaves along its length, alternating sizes so it doesn’t look uniform. Glue each piece directly to the twine, letting stems and leaves overlap slightly to hide gaps. Hang once fully dry.
Difficulty: Easy to moderate. Time: 2 hours for a 6-foot garland.
Styling tip: Drape along a staircase railing for weddings, or hang horizontally behind a dessert table.
Paper Flower Gift Toppers for Wrapped Presents
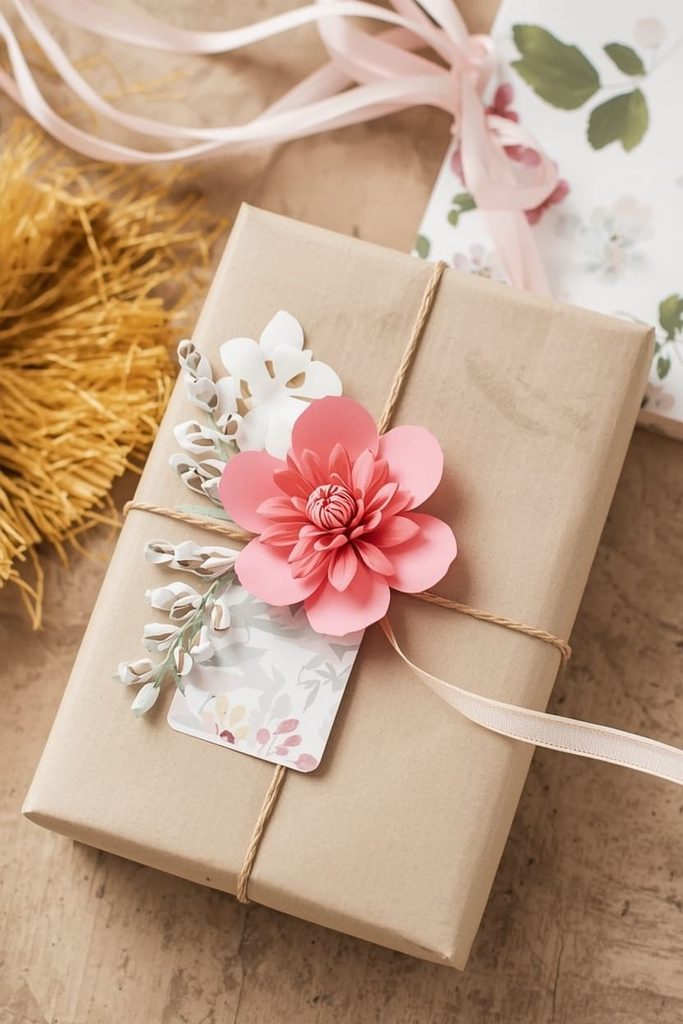
This is my favorite when I want to give a handmade touch without a huge time investment. It also works beautifully as a standalone card decoration.
What you’ll need: One or two small paper flowers, a length of twine or ribbon, and double-sided tape.
How to make it: Choose a simple flower style, like the anemone or a small rolled rose. Attach it to the top of a wrapped gift using double-sided tape, then tie ribbon underneath for extra hold. For cards, glue the flower flat onto the front.
Difficulty: Easy. Time: 10 minutes.
Styling tip: Add a small tag with the flower’s meaning — it turns a simple topper into a thoughtful detail.
FAQs About Paper Flower Crafts for Adults
What’s the best paper for realistic-looking flowers? Crepe paper is your best option. It stretches and holds a curl the way real petals do, unlike cardstock or tissue paper, which stay flat and stiff.
Do I need a cutting machine to make these? No. Every project here can be made with scissors and printed or hand-drawn templates. A cutting machine speeds things up, but it’s not required to get clean results.
How long do paper flowers last? Indoors and out of direct sunlight, crepe paper flowers can last for years. They won’t wilt, and they don’t need water, which makes them a practical alternative to fresh arrangements.
What size paper flowers should I make for a bouquet versus a wall display? Bouquets look best with flowers 3–5 inches wide, so they feel proportional in a vase. Wall displays and photo backdrops call for larger blooms, often 10 inches or more, so they read clearly from a distance.
Can I use these flowers outdoors, like on a porch or at an outdoor wedding? Yes, but choose heavier crepe paper or seal your finished flowers with a light matte spray sealant. This helps them hold up against humidity and light rain better than untreated paper.
Is this hobby expensive to start? Not really. A basic starter kit — paper, wire, tape, and glue — usually costs less than a bouquet of fresh flowers, and it covers enough material for several projects.

Sohel Rana is the writer, editor, publisher, and founder of The Tidy Porch. He is the man who is responsible for the craft (my wife created) being converted into a written piece. He also helps her wife (Sumona) by capturing videos of each craft. In short, he brings each craft created by her wife in front of you by transforming it into an article and a video.
