
Looking for a simple and colorful paper craft to make at home or in the classroom?
This paper flower pot craft turns two paper cups and a few basic supplies into a cheerful handmade decoration.
The project features a bright paper flower with a button center, a green stem, and simple leaves placed in a painted cup pot.
It is easy enough for beginners and children with adult supervision. Follow the steps below to create your own colorful paper flower pot.
Materials Needed
- Colored paper – Use colors for the flower petals, leaves, and optional decorations.
- Glue – For attaching the paper pieces, button, and stem.
- 2 paper cups – Nested together to create a stronger flower pot.
- Bamboo skewer – Used as the flower stem.
- Paint and paintbrush – For coloring the outside of the flower pot.
- Scissors – For cutting the petals, leaves, and paper strips.
- A button – Used to decorate the center of the flower.
Step-by-Step Instructions to Make a Paper Flower Pot Craft
Step 1: Prepare the Two Paper Cups
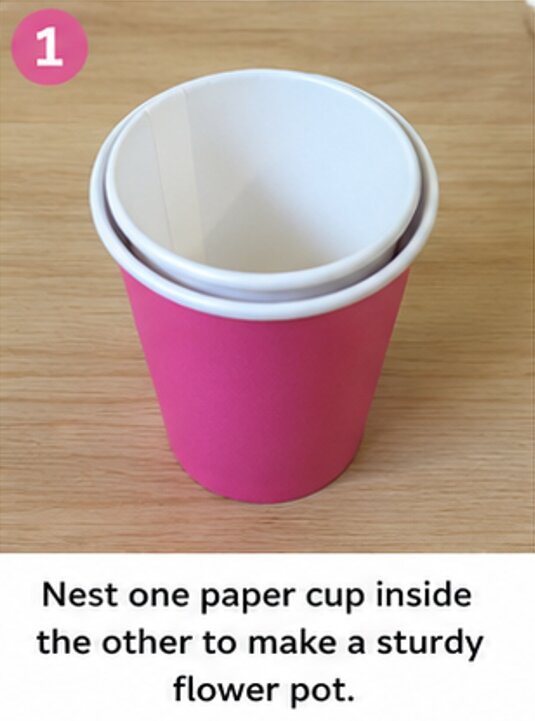
Start with two clean and dry paper cups of the same or similar size. These two cups will be nested together to make the flower pot stronger and more stable.
Place one paper cup inside the other and gently push it down until the cups fit snugly together. The outer cup will be the visible part of the pot, while the inner cup provides additional support.
If the cups feel loose, apply a small amount of glue between them before joining them. Press the cups together gently and allow the glue to dry.
You should now have one sturdy double-layered paper cup with an open top.
Step 2: Paint the Flower Pot
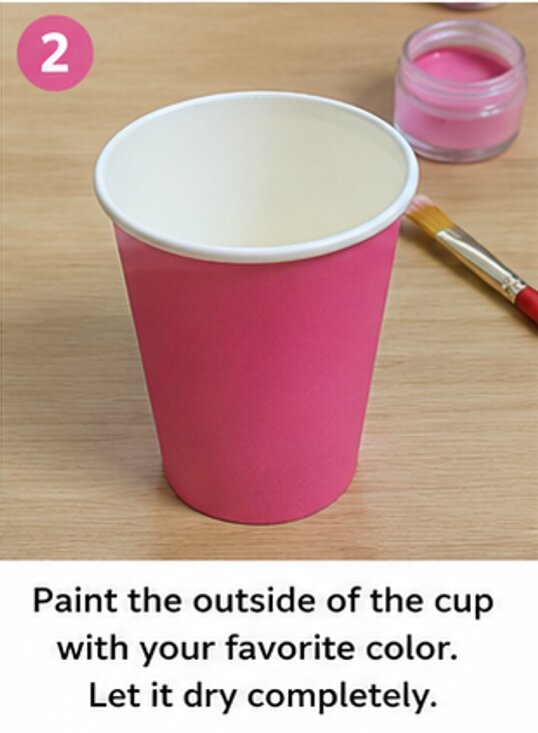
Choose a bright paint color for your pot. Yellow, pink, blue, green, or purple can give the craft a cheerful appearance.
Use a paintbrush to apply paint evenly over the outside of the outer paper cup. Try not to use too much paint at once because excess moisture can soften the paper.
Let the first coat dry completely. Add another coat if you want a brighter or more even finish.
You can also leave the inside of the cup unpainted because most of it will be hidden once the flower stem is placed inside.
Step 3: Cut the Flower Petals
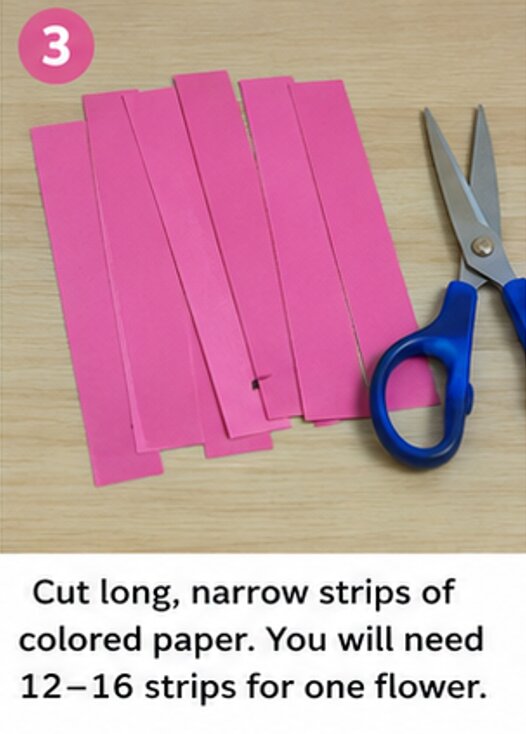
Choose a sheet of colored paper for your flower. You can use one color for all the petals or combine different shades to create a colorful flower.
Cut several long, narrow rectangular strips of paper. The strips should be approximately the same width and length so that the finished flower looks balanced.
Depending on the size of your flower, prepare around 12–16 paper strips. You can make more petals if you want a fuller flower.
For a more playful handmade appearance, the strips do not have to be perfectly identical.
Step 4: Arrange the Petals Into a Flower
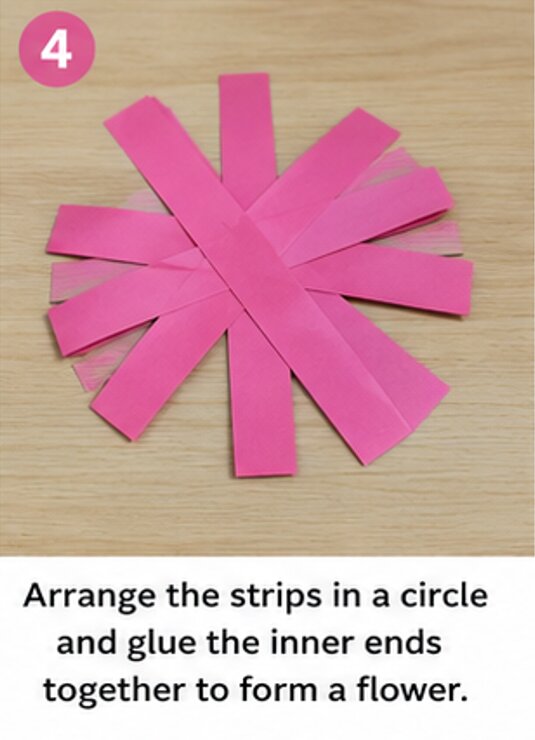
Take the paper strips and arrange them around a central point to create a circular flower shape.
Place one end of each strip toward the center while spreading the opposite ends outward. Continue adding strips around the center until you have a full flower.
Overlap the inner ends slightly where necessary. Once you are happy with the arrangement, use small amounts of glue to secure the inner ends together.
Allow the glue to set before moving the flower.
Step 5: Add the Button Center
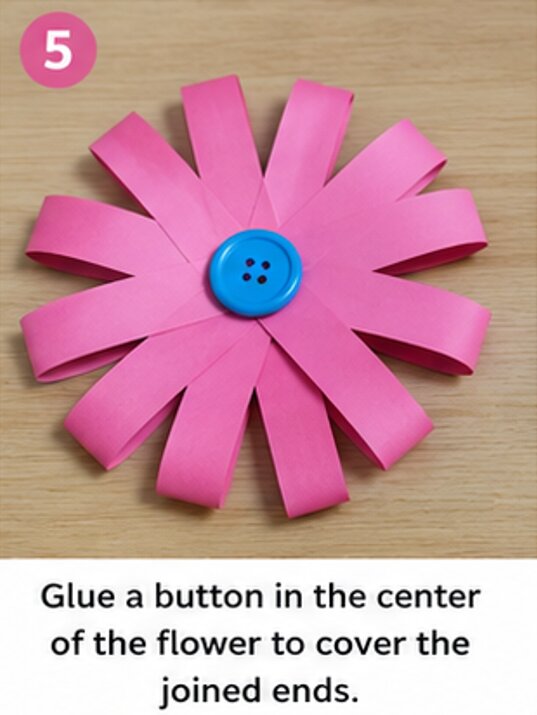
Choose a button that contrasts nicely with your flower. A yellow, blue, pink, or other colorful button can work well.
Place the button directly over the center where all the petals meet. Apply a small amount of glue to the back of the button and press it gently into place.
The button hides the joined ends of the paper petals while creating a neat, decorative flower center.
Leave the flower flat until the glue has dried securely.
Step 6: Make the Flower Stem
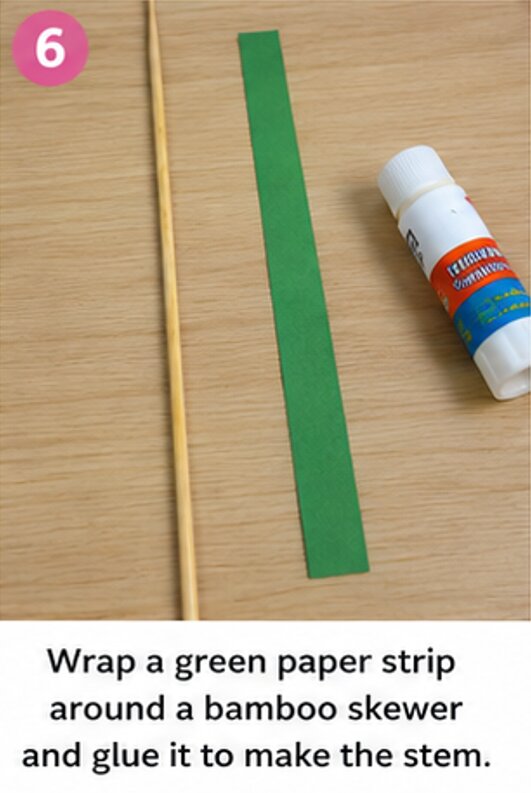
Take the bamboo skewer and use it as the flower stem. The skewer should be long enough for the flower to stand noticeably above the paper pot.
If necessary, carefully cut the skewer to a suitable length. Adult assistance is recommended when cutting or handling a sharp bamboo skewer.
Cover the skewer with a narrow strip of green colored paper. Apply a thin layer of glue to the paper and wrap it around the skewer.
Smooth the paper with your fingers as you wrap so the stem looks neat. Allow it to dry before attaching the flower.
Step 7: Attach the Flower to the Stem
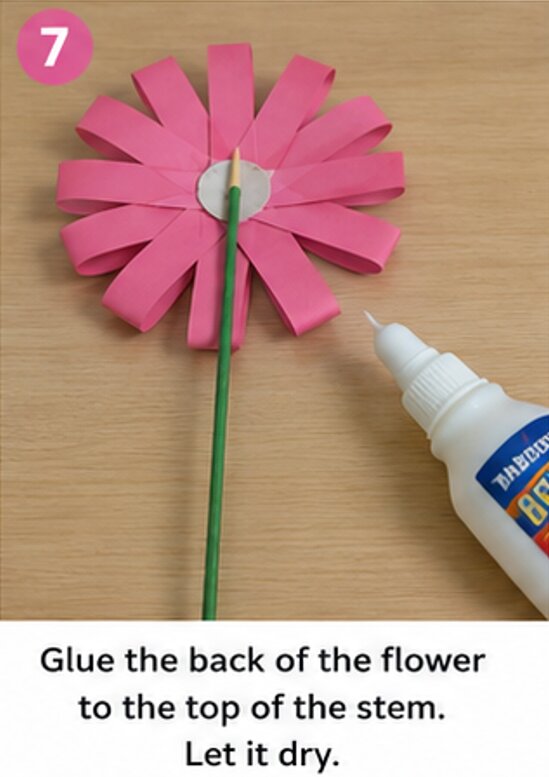
Turn the completed paper flower over carefully.
Place the top end of the bamboo skewer behind the center of the flower. Apply a small amount of glue to the area where the skewer meets the flower.
Press the skewer gently against the back of the flower until it stays in place. Make sure the stem is positioned close to the center so the flower does not lean too much.
Let the glue dry completely before standing the flower upright.
Step 8: Make the Paper Leaves
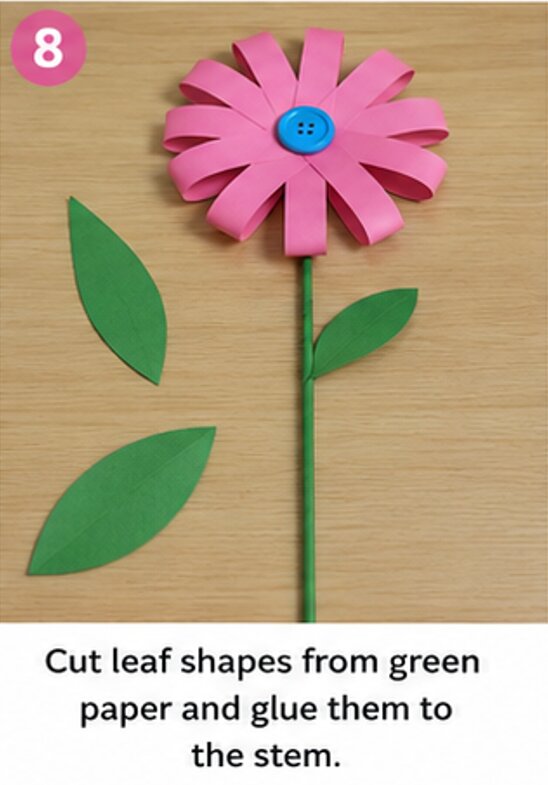
To make the flower look more natural, create simple leaves from green colored paper.
Cut one or two long, narrow leaf shapes. They can be slightly curved or pointed at the ends.
Apply a small amount of glue to one end of each leaf and attach it to the green stem. Position the leaves at different heights to give the flower a more natural appearance.
You can gently curve the paper leaves outward once the glue has started to set.
Step 9: Place the Flower Into the Pot
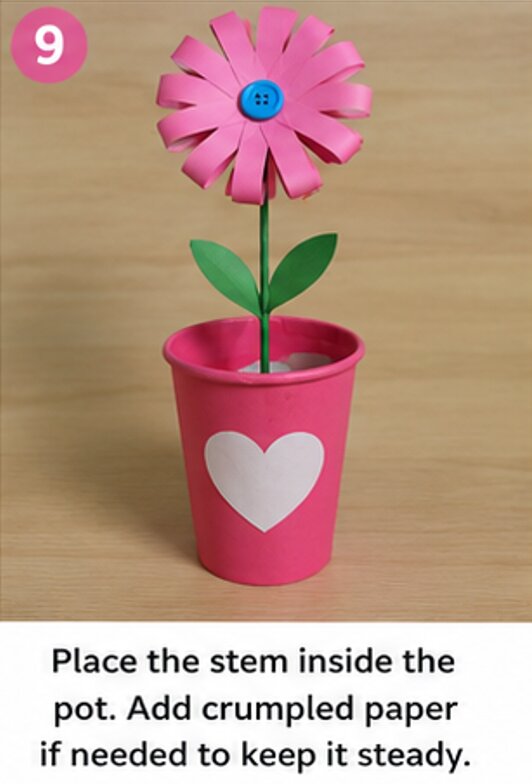
Once the flower, stem, and painted pot are completely dry, it is time to assemble the craft.
Make a small opening in the center of the bottom of the nested paper cups if needed. Carefully insert the lower end of the bamboo skewer through the opening and into the cup.
Push the stem down far enough that the flower stands upright, but avoid forcing the skewer through the cup.
The double-layered cups help provide a sturdier base for the flower stem.
If the stem moves around too much, add a small amount of crumpled paper inside the cup around the skewer to help hold it upright.
Step 10: Decorate the Flower Pot
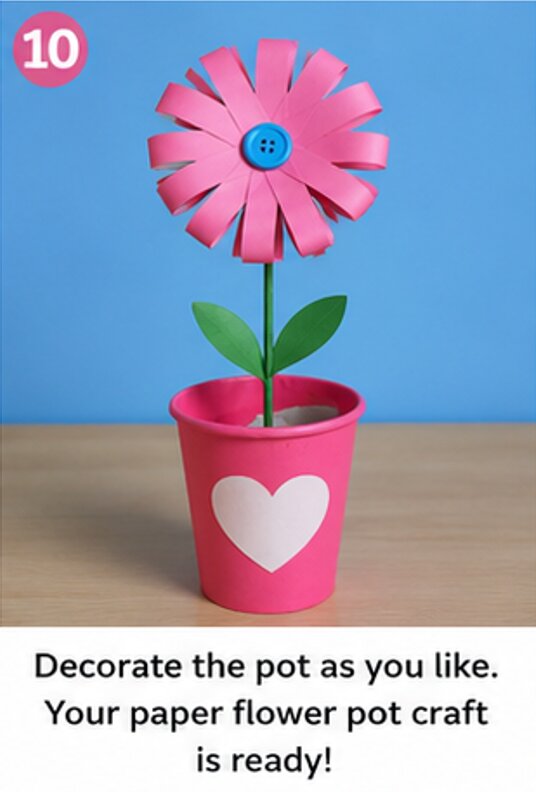
Now give your paper flower pot some personal touches.
You can cut simple shapes from colored paper and glue them onto the outside of the pot. Hearts, circles, stars, dots, or small flowers are easy choices.
For a look similar to the example, cut out a simple heart shape from white or contrasting colored paper and glue it onto the front of the painted pot.
You can also make several flower pots using different paint and paper colors. Arrange them together to create a bright handmade flower display.
Before moving the craft, check that the petals, button, leaves, stem, and decorations are firmly attached. Let everything dry completely.
Give It A Try
This paper flower pot craft is a fun way to transform simple paper cups and colored paper into a bright handmade decoration.
The nested cups create a sturdy pot, while the colorful paper petals, button center, green stem, and leaves bring the flower to life.
Try experimenting with different petal colors, buttons, pot decorations, and flower sizes to create your own designs.
Gather your basic supplies, follow the steps, and give this cheerful paper flower pot craft a try!

Sohel Rana is the writer, editor, publisher, and founder of The Tidy Porch. He is the man who is responsible for the craft (my wife created) being converted into a written piece. He also helps her wife (Sumona) by capturing videos of each craft. In short, he brings each craft created by her wife in front of you by transforming it into an article and a video.
