
B is for Bus Craft is a fun hands-on project that helps preschoolers learn the letter B while making a colorful school bus.
I use simple craft supplies such as construction paper, glue, and a marker, so this activity is easy to prepare at home or in the classroom.
As children cut, arrange, and glue each paper piece, they can practice recognizing the uppercase B and learn that B is for Bus.
This simple alphabet craft also gives little learners a chance to be creative while working on their fine motor skills.
Materials Needed
Construction paper in yellow, black, white, blue, and any other colors you like
- A pencil
- Scissors
- Glue
- Black marker
- A ruler
- A sheet of white construction paper for the background
How to Make a B Is for Bus Craft
Step 1: Prepare the Background
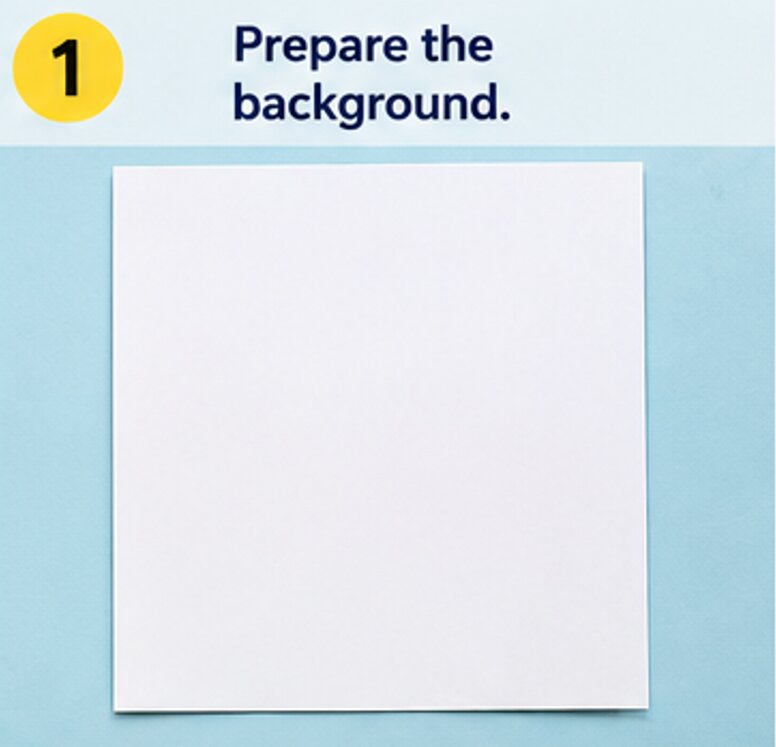
I start by choosing a sheet of white construction paper as the background for my bus craft. You can also use light blue paper if you want the bus to look like it is traveling under a bright sky.
Place the paper flat on your work surface. This gives you enough room to arrange the large letter B and the bus pieces before gluing them down.
Before moving on, make sure the paper is clean and smooth. I like to prepare all my materials first so the craft is easier to assemble.
Step 2: Draw and Cut the Uppercase B
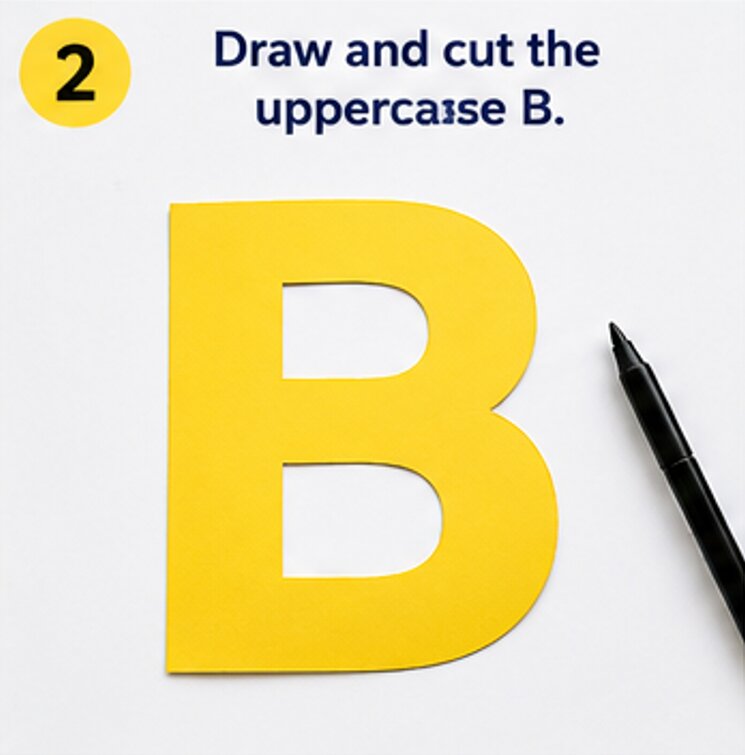
Next, I make the main part of this alphabet craft—the uppercase letter B.
Using a pencil, I draw a large uppercase B on a piece of construction paper. Make the letter large enough to stand out on the page. You can use yellow paper for the letter or choose another bright color.
Once the letter looks right, I carefully cut it out with scissors.
The large B will become the base of the bus. This is what makes this activity a little different from a regular school bus craft. Instead of simply drawing a bus, we use the shape of the uppercase B as part of the design.
Step 3: Create the Bus Body
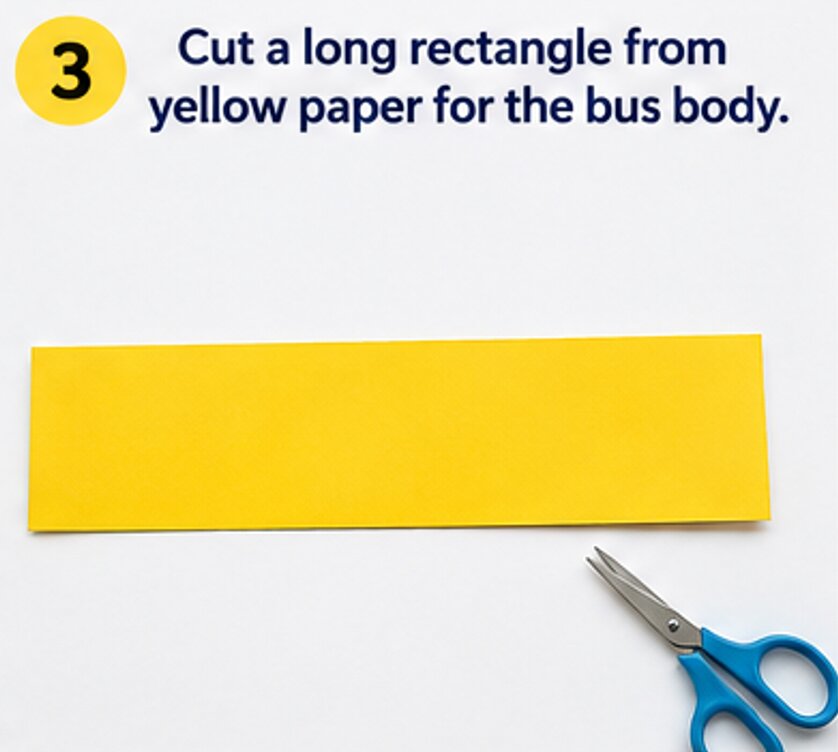
Now I prepare the pieces that will turn the letter B into a school bus.
I use yellow construction paper for the main bus body because yellow is a familiar color for a school bus. I cut out a long rectangular piece that will cover the middle section of the letter B.
I don’t need to make the rectangle too large. It should fit across the center of the B while still allowing parts of the letter to remain visible.
I place the yellow rectangle over the B without gluing it yet. This helps me check its size and position before I attach it.
Step 4: Make the Bus Windows
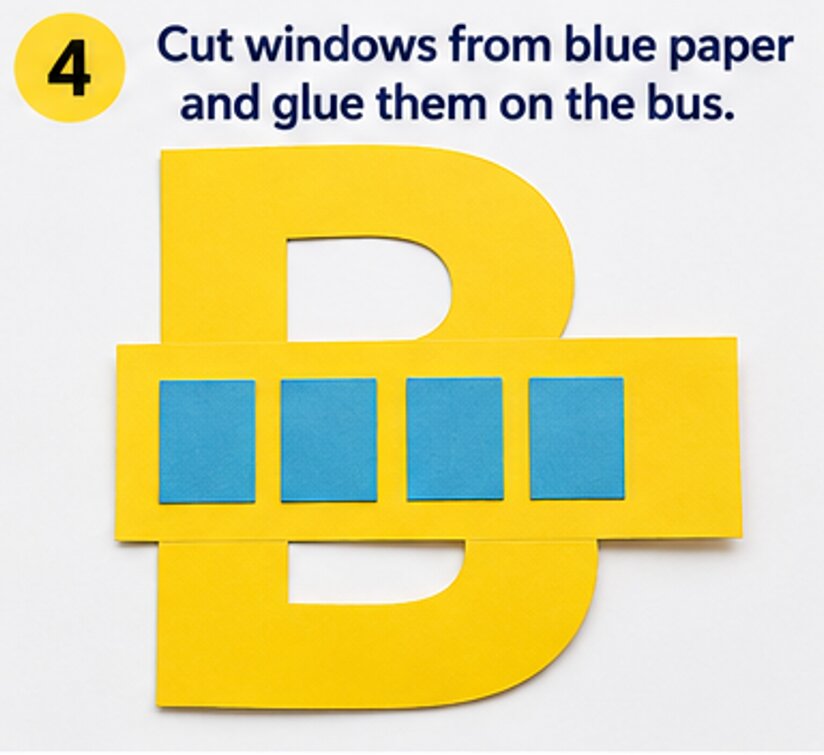
For the windows, I cut several small rectangles from blue or light-colored construction paper.
I make the windows similar in size so the bus looks neat. Depending on the size of my craft, I usually make three or four windows.
I arrange the paper windows across the upper part of the yellow bus body. I leave a little space between each window so they are easy to see.
Once I am happy with the arrangement, I use a small amount of glue to attach each window.
Step 5: Add the Bus Door
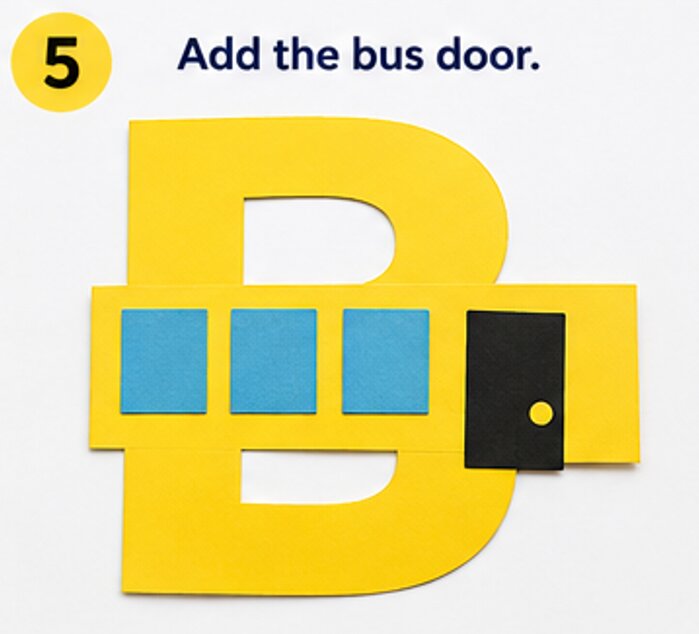
Next, I make a simple door for the school bus.
I cut a small rectangle from construction paper. I use a darker color so the door stands out against the yellow bus.
I place the door toward one end of the bus body, leaving enough space for the other details.
After checking its position, I glue the door onto the bus. I make sure the edges are pressed down firmly so the paper does not lift.
Step 6: Cut Out the Wheels
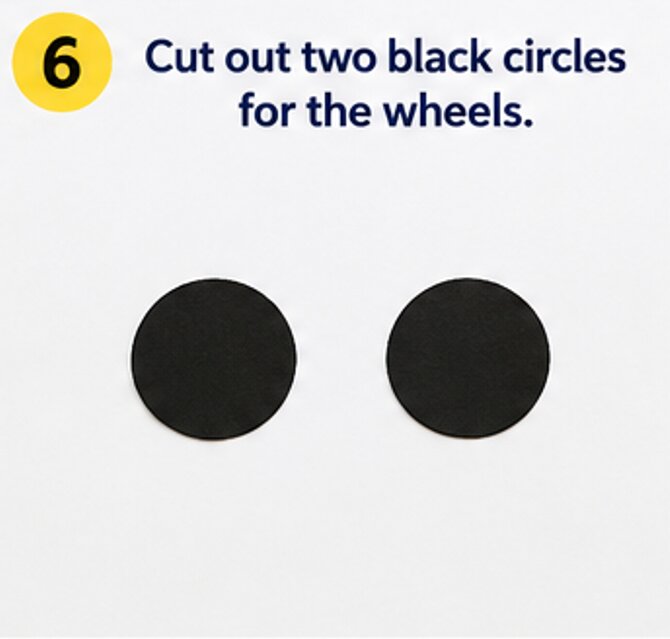
A school bus needs wheels, so now I add two round wheels.
I use black construction paper and cut out two circles. If drawing circles freehand is difficult, I can trace around a small round object, such as a bottle cap, to make the shapes more even.
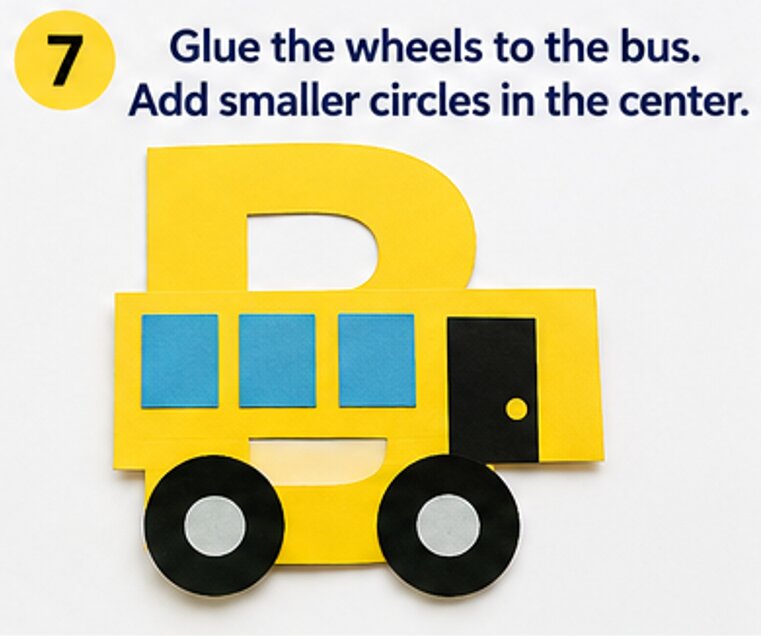
I place one wheel near the front and one near the back of the bus.
The wheels should overlap the lower edge of the yellow bus body slightly. Once they are positioned correctly, I glue them down.
For extra detail, I can cut two smaller circles from gray or white paper and place them in the center of the black wheels.
Step 7: Add the Bus Details
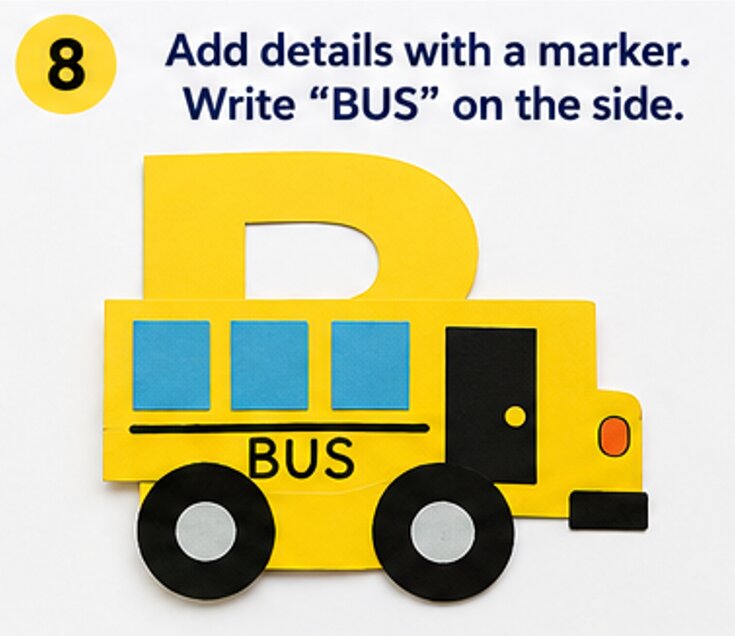
Now it is time to give my paper bus a few small details.
I use a black marker to draw lines around the windows and door. I can also draw a small handle on the door and simple lines along the bus body.
Then I write BUS on the side of the yellow bus. This helps connect the finished craft with the word children are learning.
I can also draw headlights, a bumper, or a small stop sign if I want to add more details. I keep the shapes simple so the craft remains easy for preschoolers to understand and make.
Step 8: Attach the Bus to the Letter B
Once all the individual pieces are ready, I bring the craft together.
I place the yellow bus body over the large uppercase B. I check that the letter B is still easy to recognize and that the bus details are positioned neatly.
When everything looks right, I apply glue to the back of the pieces and press them firmly onto the background.
I let the glue dry for a few minutes before moving the craft.
Step 9: Outline the Letter B
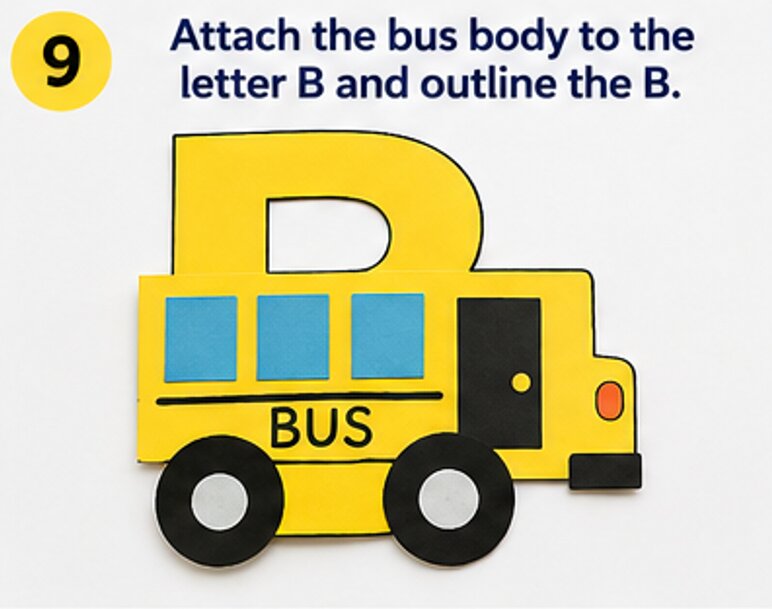
To make the uppercase B easier to see, I use a black marker to trace around any visible edges of the letter.
I take my time while outlining so the lines stay neat. I can also add a few small decorative marks around the bus without covering the main design.
As I work, I encourage children to say the letter and word aloud: “B is for Bus!”
This simple repetition makes the craft a fun way to practice letter recognition.
Step 10: Let the Craft Dry
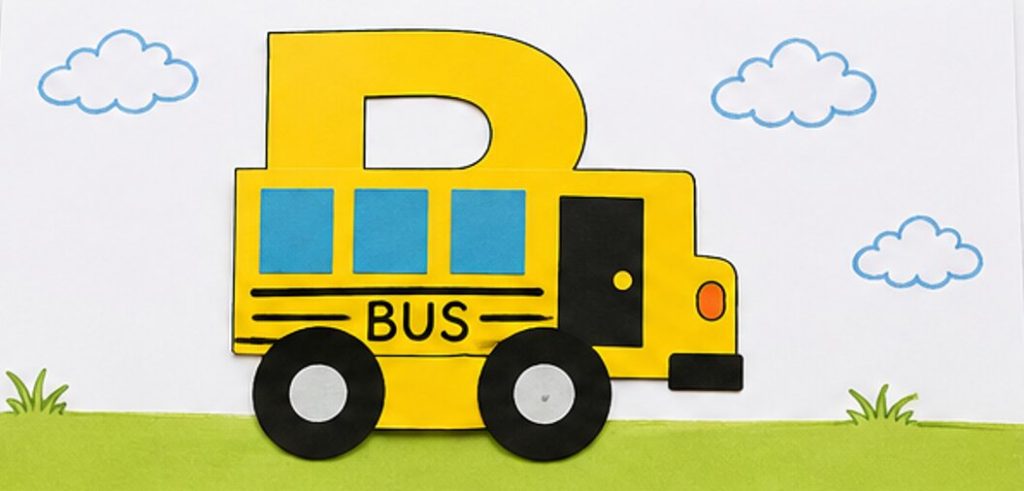
The final step is to let the finished B for Bus Craft dry completely.
I place the craft on a flat surface and avoid moving it until the glue has dried. Once it is ready, I can display it on a classroom wall, refrigerator, bulletin board, or child’s craft area.
The finished project shows a large uppercase B transformed into a fun school bus. It is a simple paper craft, but it also gives children an opportunity to practice cutting, gluing, arranging shapes, and recognizing the letter B.
Give It A Try
B Is for Bus Craft is an easy alphabet activity that turns letter learning into a hands-on project.
With construction paper, glue, scissors, and a marker, I can create a cheerful bus while helping preschoolers practice the uppercase letter B.
Children can cut paper shapes, arrange the bus parts, and repeat “B is for Bus” as they work. The finished craft can also be displayed as a reminder of the letter they learned.
Gather your supplies, make a big B, and give this simple bus craft a try!

Sohel Rana is the writer, editor, publisher, and founder of The Tidy Porch. He is the man who is responsible for the craft (my wife created) being converted into a written piece. He also helps her wife (Sumona) by capturing videos of each craft. In short, he brings each craft created by her wife in front of you by transforming it into an article and a video.
