
It was a gray Tuesday in January, and I was out of ideas for winter crafts. The snow had turned to slush. My kids were bouncing off the couch.
I opened a cupboard and found paper plates, cotton balls, and old coffee filters. Forty minutes later, we had a fuzzy snowman and a quiet house. That day changed how I plan. Great winter crafts don’t need a big shopping trip. They need one small kit.
Here are 15 ideas that all use the same eight supplies. Pick one, grab your kit, and turn a gray afternoon into a good one.
What You Need for All 15 Winter Crafts
You need eight supplies in all. Every craft below uses only these, plus scissors, a pencil, and tape. Buy them once, keep them in one box, and you are set for the whole season.
- Blue, white, and black cardstock: The school supply aisle or a dollar store pack is usually cheapest. Construction paper works too.
- Paper plates: Grab plain white ones at the grocery store.
- Cotton balls: A big bag from the pharmacy or dollar store lasts for weeks.
- Coffee filters: Basic white store brand ones are fine.
- Washable white paint: A small bottle from a craft store is plenty.
- Washable glue: Check dollar stores and back-to-school sales.
- Washable markers or crayons: Check your drawers first. You may already have some.
- Googly eyes: One bag from a craft store covers every craft here.
Store everything in a shoebox or a bin with a lid. Label it “winter kit.” When a gray day hits, you won’t hunt for anything. Use kid-safe scissors for ages 3 and up. Younger kids should leave the cutting to you.
Keep the mess small with three habits. Cover your table with newspaper or a wipeable cloth. Use a paper plate as a paint dish. Keep wet wipes close, and clean hands before your child touches anything else.
Easy Winter Crafts for Toddlers (Ages 2-3)
Toddlers do best with crafts that are short and sticky. Pick any of these five, and expect to do the cutting yourself.
Cotton Ball Snowman Collage
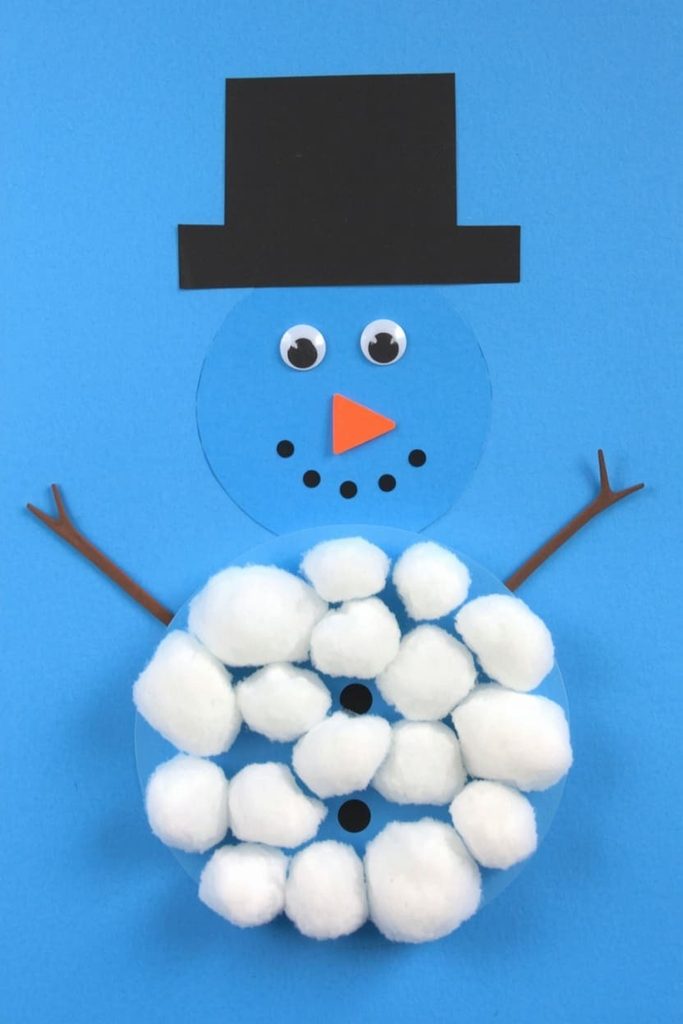
Cotton balls turn into a soft snowman here. It suits ages 2-3, takes about 10 minutes, and makes very little mess.
You need: blue cardstock, cotton balls, washable glue, black cardstock, googly eyes, and a marker.
Steps:
- Draw a big circle and a smaller circle above it on the blue cardstock.
- Spread glue inside both circles with your finger.
- Let your child press cotton balls onto the glue until the shapes are full.
- Cut a small hat from black cardstock and glue it on top.
- Add two googly eyes, then draw a nose and buttons.
Pressing cotton balls builds the pinch grip little hands need for crayons later. If one won’t stay, add a dab of glue under it.
Coffee Filter Snowflakes
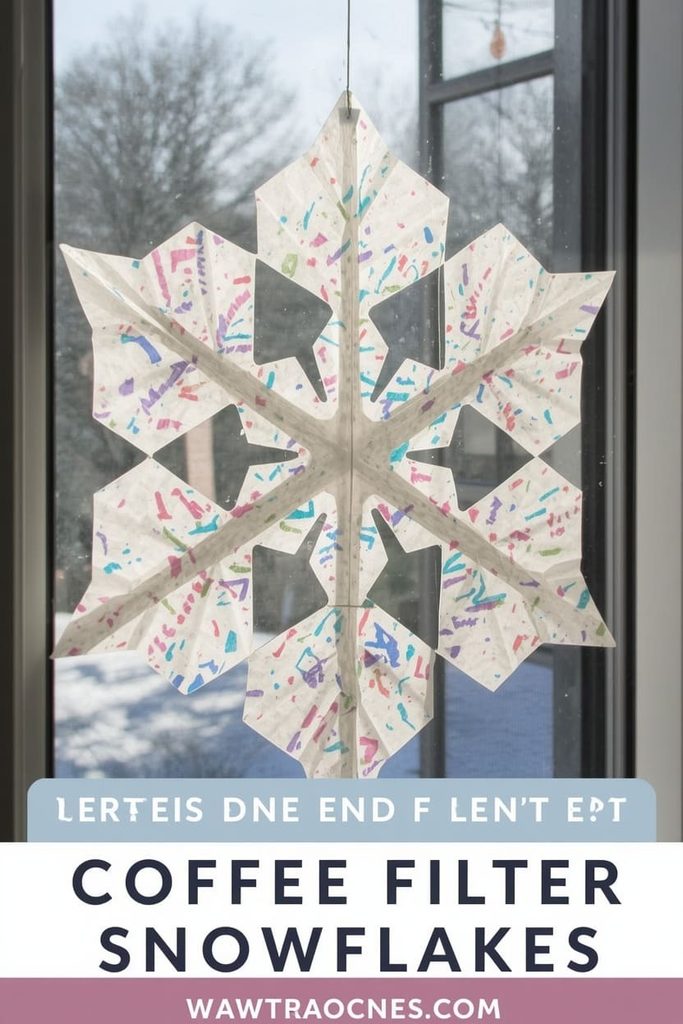
One coffee filter makes one lacy snowflake. It suits ages 2-3, takes about 10 minutes, and needs no paint or glue.
You need: coffee filters, washable markers, scissors, and tape.
Steps:
- Let your child scribble on a flat filter with markers.
- Fold the filter in half, then in half again, then into a triangle.
- Snip small notches along every edge, and cut off the tip.
- Unfold it slowly and press it flat under a heavy book for 10 minutes.
- Tape the snowflake to a window.
Coffee filters are thin, so even small scissors cut them with ease. Skip water at this age, since wet filters tear fast.
Paper Plate Polar Bear
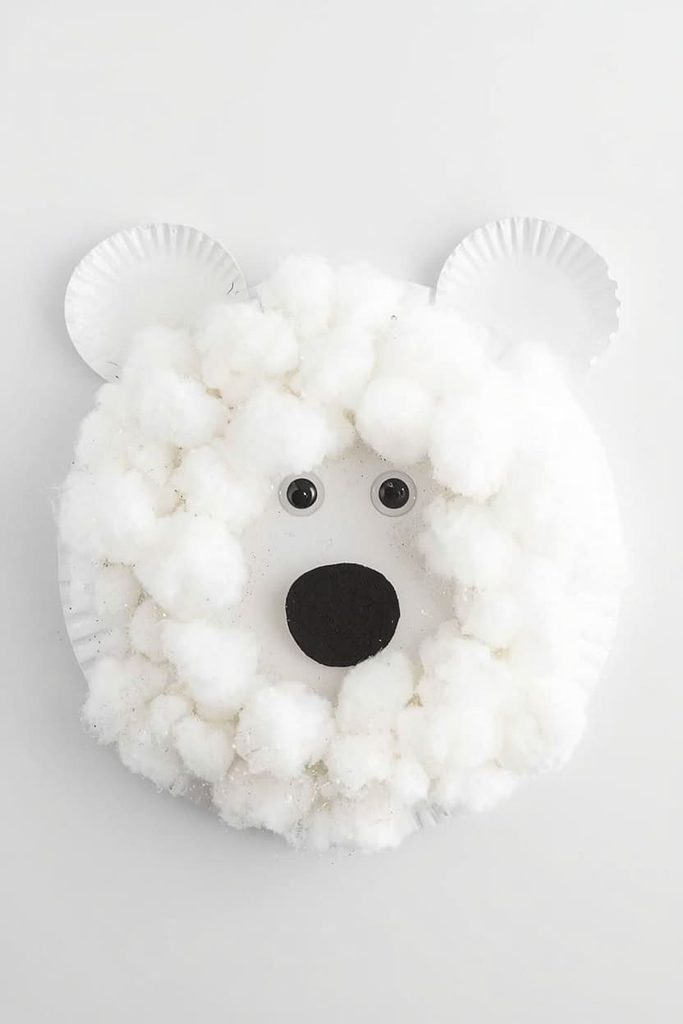
A paper plate becomes a round, fluffy bear. It suits ages 2-3, takes about 15 minutes, and stays low on mess.
You need: a paper plate, cotton balls, glue, white and black cardstock, and googly eyes.
Steps:
- Squeeze glue over the plate and spread it thin with a finger.
- Press cotton balls onto the glue until the plate is covered.
- Cut two small circles from white cardstock for ears and glue them to the top edge.
- Glue on two googly eyes near the middle.
- Cut a black oval for the nose and glue it below the eyes.
A thin layer of glue holds cotton better than a thick puddle. Thick glue soaks through and takes much longer to dry.
Handprint Snowman Card
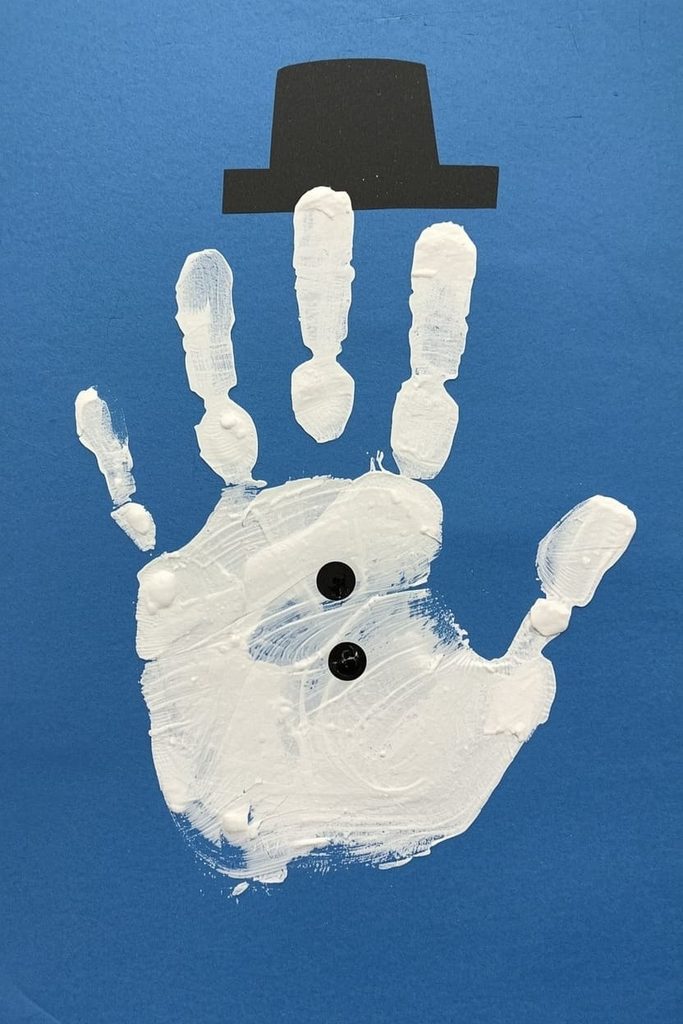
A palm print becomes the snowman’s body on this card. It suits ages 2-3, takes about 15 minutes plus drying, and is medium mess.
You need: blue cardstock, white paint, a paper plate, black cardstock, googly eyes, glue, and a marker.
Steps:
- Fold blue cardstock in half like a card.
- Put a blob of paint on the plate and spread it over your child’s palm.
- Press the palm, fingers curled under, on the card. Press a thumb above it for the head.
- Wipe hands, then let the paint dry for 15 minutes.
- Glue on a black cardstock hat and googly eyes. Draw buttons and a nose.
A thin paint layer gives a clear print, while a thick one makes a blob.
Snowy Pine Tree Collage
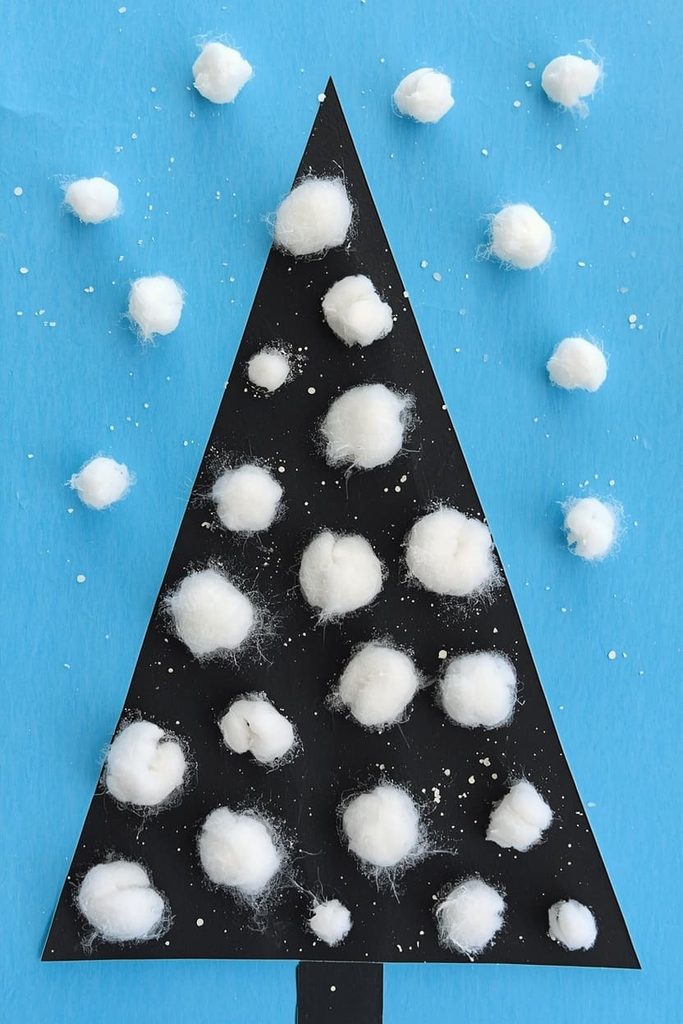
A black pine tree gets a coat of cotton snow. It suits ages 2-3, takes about 10 minutes, and keeps the mess low.
You need: blue cardstock, black cardstock, cotton balls, glue, and scissors.
Steps:
- Cut a tall triangle from black cardstock, about 6 inches high.
- Glue it onto the middle of the blue cardstock.
- Dot glue along the tree’s edges.
- Pull cotton balls into wisps and press them onto the dots.
- Add a few wisps in the sky for falling snow.
Pulling cotton into wisps works the small muscles in little fingers. Dark paper also makes white pop, so a messy tree still looks good.
Winter Crafts for Preschoolers (Ages 3-5)
Preschoolers can handle simple cutting and longer steps. These five give them room to build and decorate.
Paper Plate Penguin
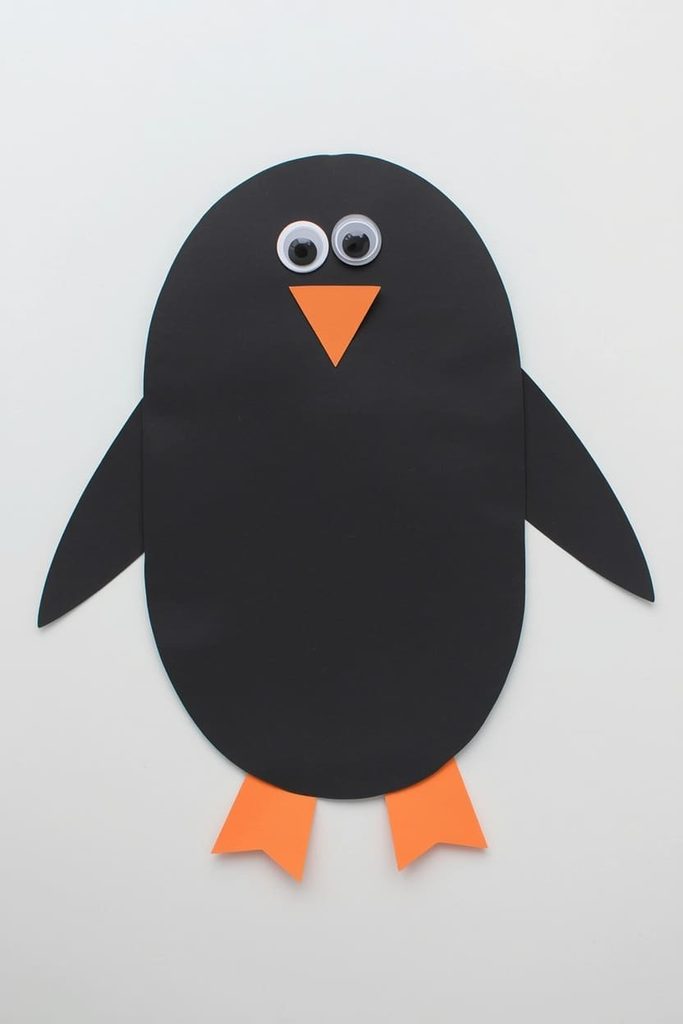
A black oval and a plate belly make this penguin. It suits ages 3-5, takes about 20 minutes, and stays low on mess.
You need: a paper plate, black and white cardstock, glue, googly eyes, a marker, and scissors.
Steps:
- Cut a big black oval from cardstock, about 9 inches tall.
- Cut a smaller oval from the plate’s flat center and glue it on for the belly.
- Glue two googly eyes near the top.
- Color a small white triangle orange for the beak, cut it out, and glue it on.
- Color and cut two more triangles for the feet.
Cutting curves builds scissor control faster than straight lines do. Draw the oval first so your child has a path to follow.
Paper Mitten Pairs
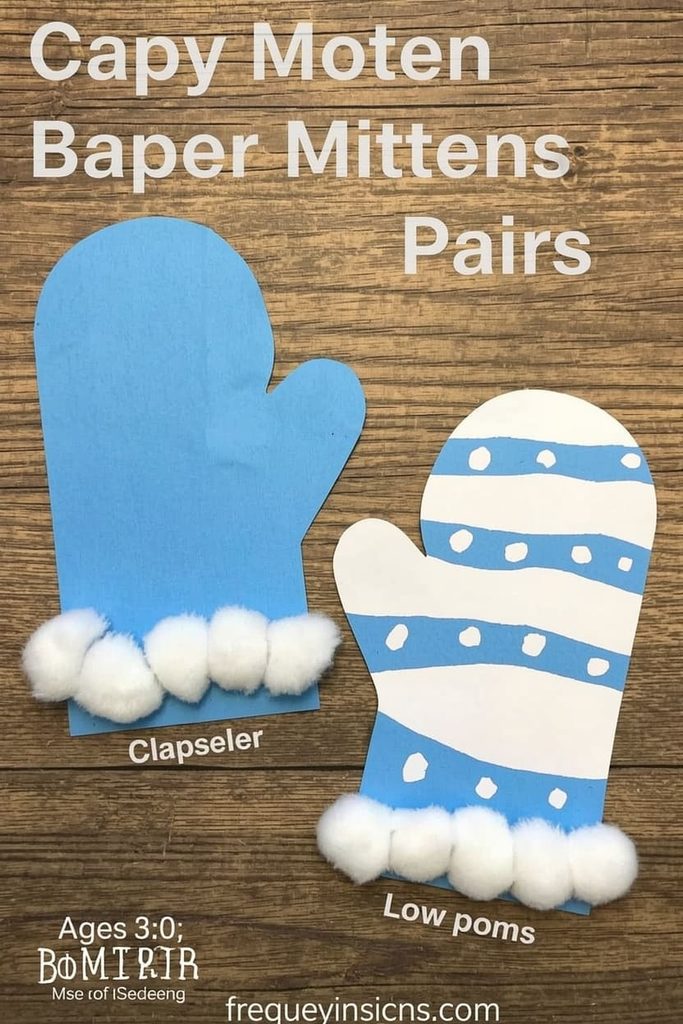
Matching mittens make this craft a game, too. It suits ages 3-5, takes about 20 minutes, and is low mess.
You need: blue and white cardstock, markers, cotton balls, glue, scissors, and a pencil.
Steps:
- Fold a sheet of cardstock in half.
- Trace your child’s hand on it, thumb out and fingers together. Add an inch around the outline.
- Cut it out through both layers to get two matching mittens.
- Decorate one mitten with stripes or dots. Copy the pattern on the other.
- Glue a strip of cotton balls along each cuff.
Copying a pattern trains visual matching. When you finish, mix up several pairs and let your child sort them.
Splatter Paint Snowfall Scene
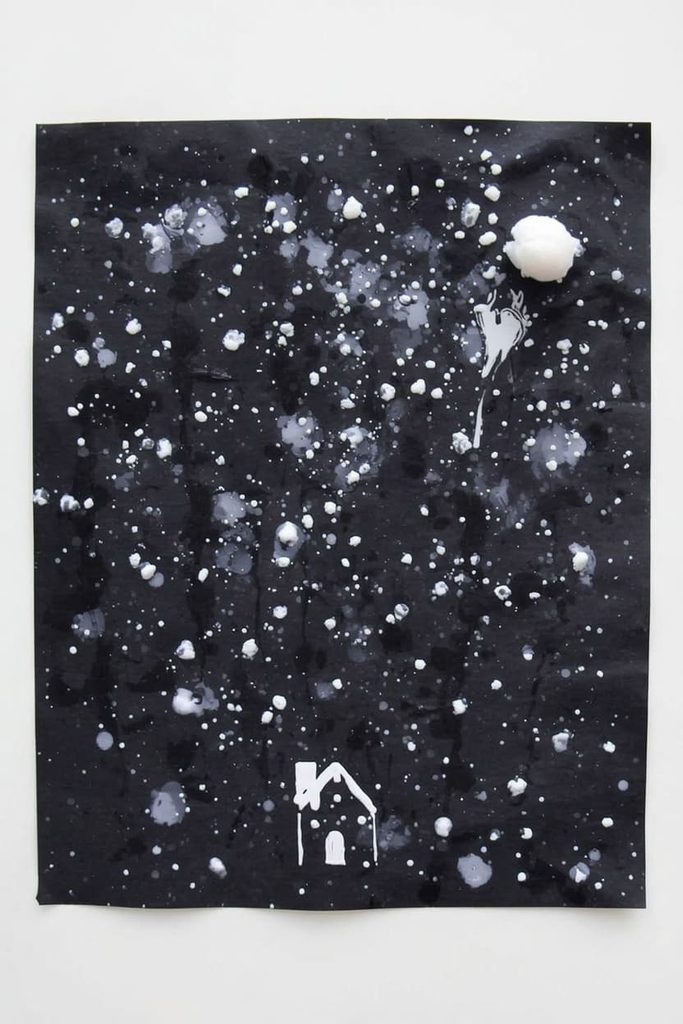
Flicked paint becomes falling snow. It suits ages 3-5, takes about 15 minutes plus drying, and is the messiest craft on this list.
You need: black cardstock, white paint, a paper plate, cotton balls, tape, and a white crayon.
Steps:
- Tape the black cardstock to a table or a cleared floor spot.
- Squeeze a little paint on the plate. Dip your child’s fingertips in it.
- Flick the fingers over the paper so dots fall like snow.
- Dab a few larger flakes with a cotton ball.
- Let it dry for about 30 minutes, then draw a tiny house at the bottom with the crayon.
Flicking works the wrist and fingers, and there is no wrong way to do it. A little paint goes far, so start small.
Coffee Filter Snow Globe
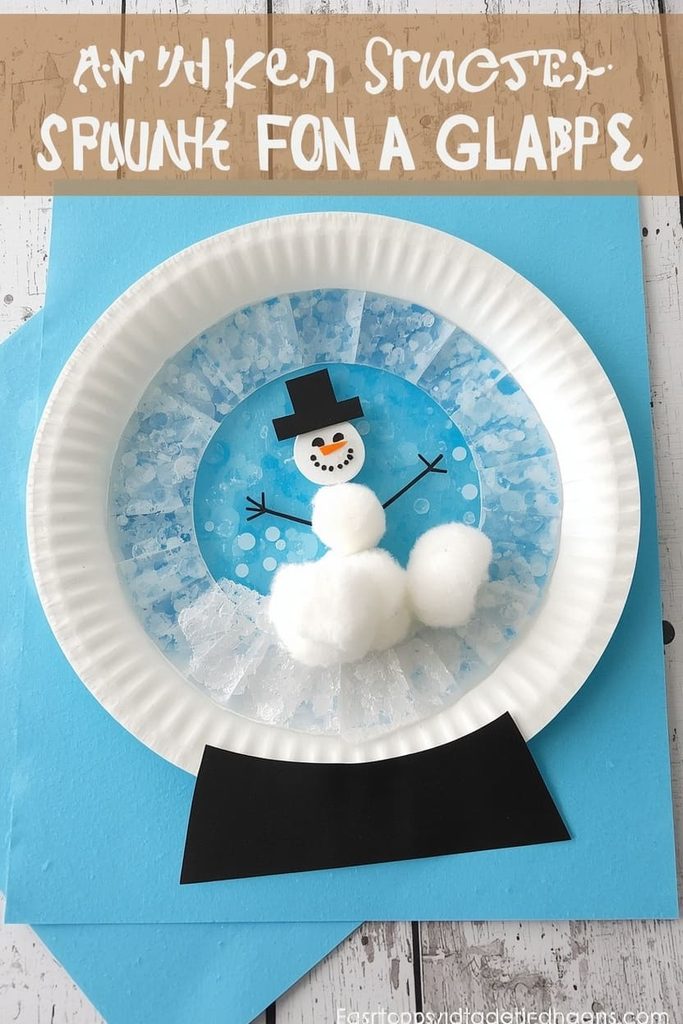
This snow globe is a plate frame with a frosted filter inside. It suits ages 3-5, takes about 20 minutes, and is low mess.
You need: a paper plate, blue and black cardstock, a coffee filter, cotton balls, glue, markers, and scissors.
Steps:
- Cut the center out of the plate, leaving a 1-inch rim.
- Trace the plate on blue cardstock and cut out the circle.
- Glue two cotton balls on it for a snowman and add marker details.
- Press a flat coffee filter over the scene, trim it, and glue the edges.
- Glue the plate rim on top and add a black cardstock base.
The filter softens the picture so it looks like frosted glass. Use tiny glue dots so the filter stays smooth.
Paper Plate Igloo
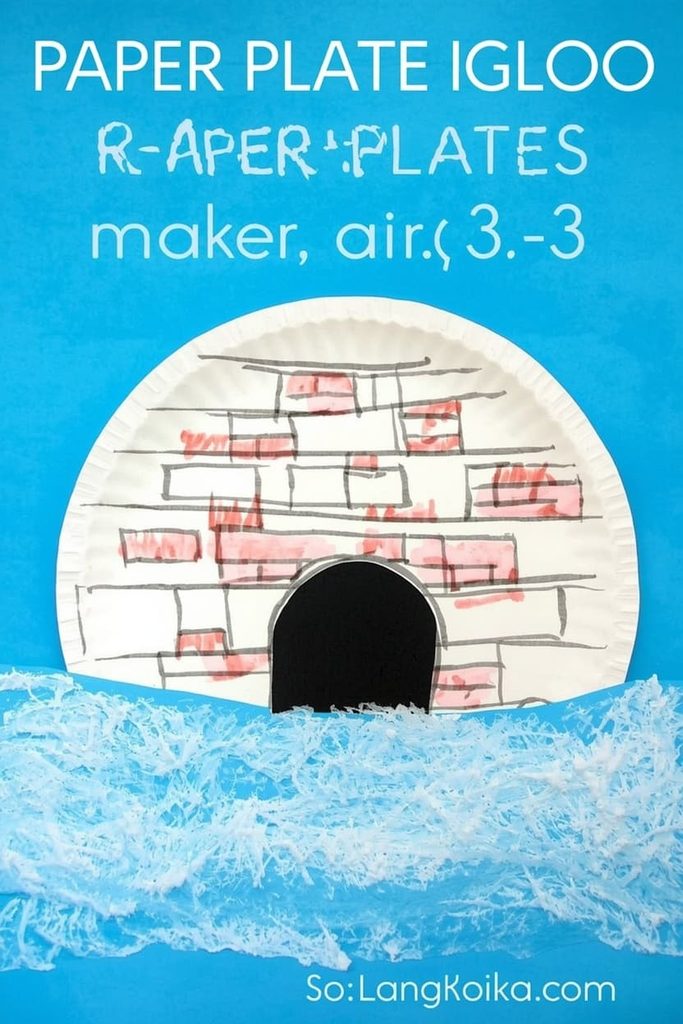
Half a paper plate turns into an igloo. It suits ages 3-5, takes about 20 minutes plus drying, and has a medium mess.
You need: a paper plate, blue and black cardstock, white paint, a marker, glue, and scissors.
Steps:
- Cut the plate in half.
- Glue the half, round side up, near the bottom of the blue cardstock.
- Draw rows of bricks on the dome. Offset each row, like real blocks.
- Cut a black half circle and glue it at the base for the door.
- Dab white paint under the igloo with a fingertip for snowy ground. Let it dry for 20 minutes.
Offset rows give kids a first look at patterns and building. A fingertip makes neat dabs, so skip brushes.
Winter Crafts for Kindergarten to Grade 2 (Ages 5-7)
Older kids can measure, weave, and layer. Expect more steps here, and let them lead.
Woven Paper Scarf Snowman
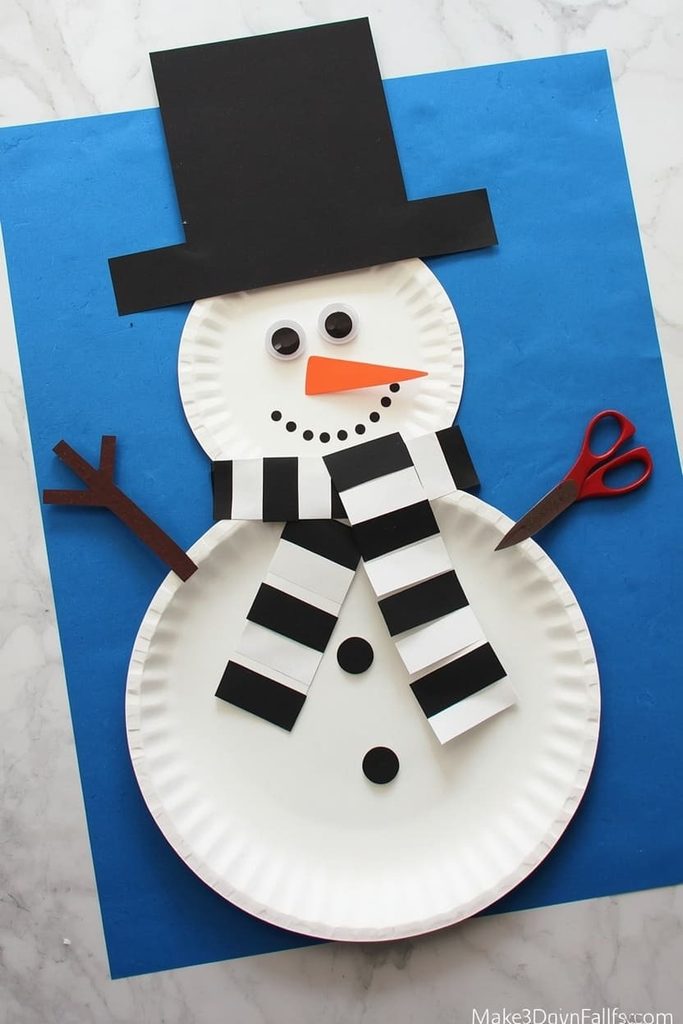
Your child weaves the scarf on this snowman by hand. It suits ages 5-7, takes about 30 minutes, and is low mess.
You need: black, white, and blue cardstock, a paper plate, googly eyes, glue, a marker, and scissors.
Steps:
- Cut a black rectangle, 4 inches tall and 6 inches wide.
- Cut vertical slits every half inch. Stop half an inch from the top and bottom.
- Cut six white strips, half an inch wide and 6 inches long.
- Weave a strip over, under, over, under. Flip the pattern on the next strip.
- Glue the plate onto the blue cardstock. Add googly eyes and a marker nose.
- Glue the woven scarf across the plate’s lower edge.
Weaving builds hand-eye coordination and patience. Push each strip up snug against the last one so the scarf looks tidy.
Paper Plate Arctic Fox
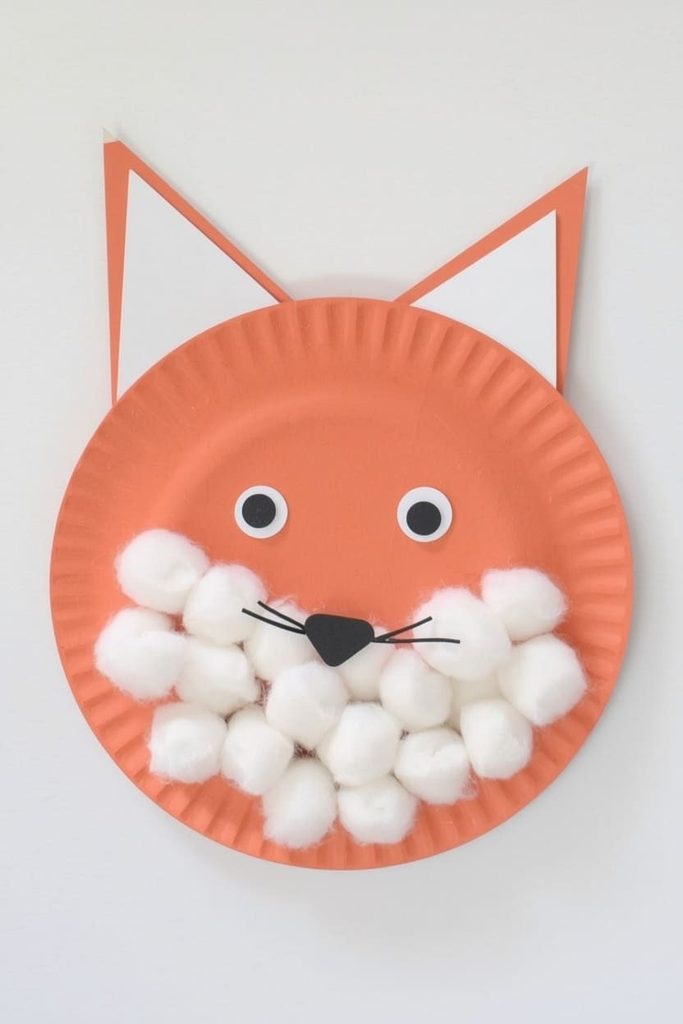
Pointy ears and cotton cheeks make this fox. It suits ages 5-7, takes about 30 minutes, and stays low on mess.
You need: a paper plate, white and black cardstock, cotton balls, googly eyes, glue, a marker, and scissors.
Steps:
- Cut two white triangles, 3 inches tall, for ears.
- Cut two smaller black triangles and glue one inside each ear.
- Glue the ears to the back of the plate’s top edge, tips up.
- Glue a row of cotton balls along each side of the lower half for fluffy cheeks.
- Add googly eyes and a small black oval nose where the cheeks meet.
- Draw whiskers with a marker.
Layering shapes shows kids how small pieces build a face. Gluing the ears behind the plate makes them stand straight.
Paper Strip Snowflake

Paper strips and glue dots build this snowflake. It suits ages 5-7, takes about 25 minutes, and has very little mess.
You need: white cardstock, blue cardstock, glue, scissors, and a pencil.
Steps:
- Cut three white strips, half an inch wide and 8 inches long.
- Glue them together at the centers, like an asterisk.
- Cut six short strips, 2 inches long. Fold each one into a V.
- Glue the point of each V to the tip of an arm.
- Let it dry 15 minutes, then glue it onto blue cardstock or tape it to a window.
Small glue dots hold paper better than big smears, which wrinkle cardstock. Press each joint for 20 seconds.
Layered Winter Village Card
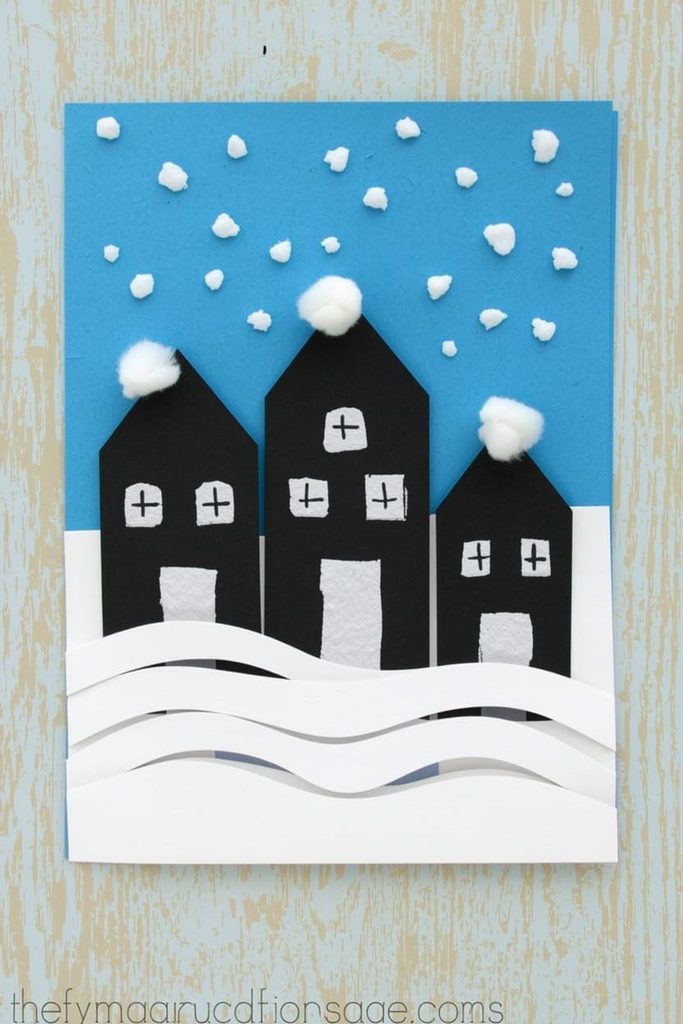
Stacked paper layers build a village on a card. It suits ages 5-7, takes about 40 minutes, and is low on mess.
You need: blue, white, and black cardstock, a white crayon, white paint, cotton balls, glue, and scissors.
Steps:
- Fold blue cardstock in half to make the card.
- Cut three black houses with triangle roofs, in different sizes.
- Glue the houses along the card front, with space between them.
- Cut a wavy white hill and glue it over the bottoms of the houses.
- Draw windows and doors with the white crayon.
- Dab paint dots for snow and glue cotton balls on the roofs.
Gluing the hill over the house bottoms hides messy cuts. Layers add depth, so a simple card looks like a real scene.
Night Sky Winter Owl
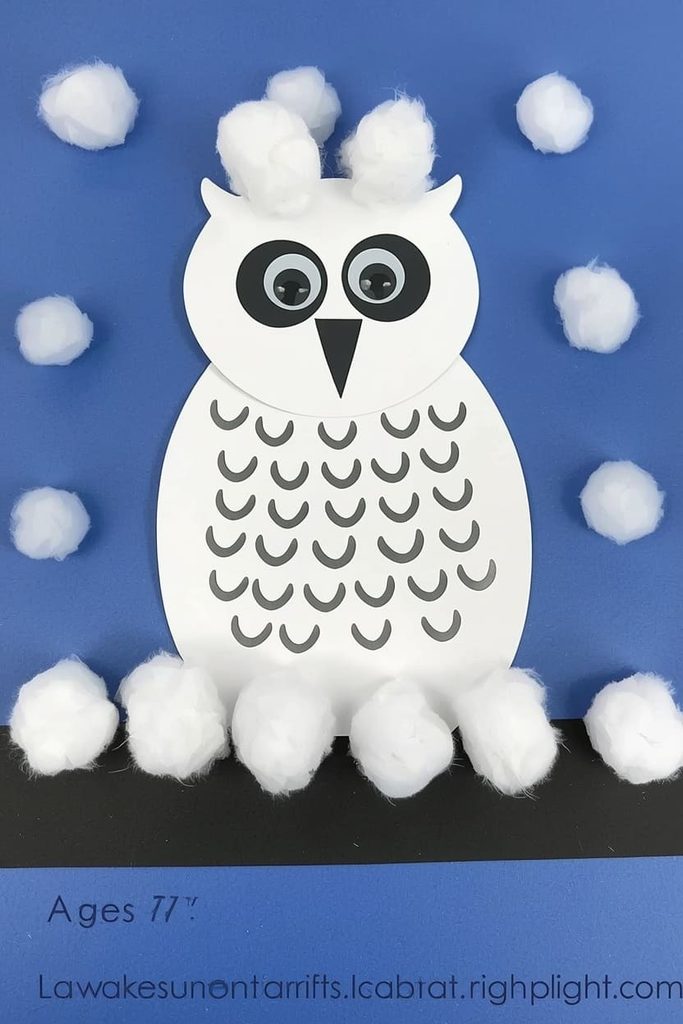
A snowy owl perches on a branch under a blue night sky. It suits ages 5-7, takes about 40 minutes, and is low mess.
You need: white, black, and blue cardstock, cotton balls, googly eyes, glue, a marker, and scissors.
Steps:
- Cut a white oval, about 6 inches tall, for the body.
- Draw rows of small U shapes on it for feathers.
- Cut two black circles, 1.5 inches wide, and glue googly eyes on them. Glue them on the head.
- Cut a small black triangle for the beak and glue it between the eyes.
- Glue a black strip across the bottom of the blue cardstock as a branch.
- Glue the owl over the branch and add cotton ball snow on top.
Layers make the owl pop off the page. Feather marks can be messy, and the owl still looks cozy.
Winter Crafts FAQs
What are the best winter crafts for toddlers?
The shortest ones work best. Try the cotton ball snowman, coffee filter snowflakes, or snowy pine tree. Each takes about 10 minutes and uses only pressing, scribbling, or gluing. Toddlers lose interest fast, so a quick win beats a perfect result.
How do I keep winter crafts less messy?
Cover your table first and keep wet wipes close. Use a paper plate as your paint dish so spills stay in one place. Start with the cotton ball and cardstock crafts, which use glue but no paint. Save paint days for when the kids are in old clothes.
Can I do these winter crafts without a printer?
Yes. None of these crafts need printables or special tools. You trace and cut everything by hand, and the eight-item kit covers every project. If one item is missing, swap it. Crayons can replace markers, and torn white paper can stand in for cotton balls.
How long do these winter crafts take?
Most take 10 to 40 minutes. Toddler crafts run 10 to 15, preschool crafts take 15 to 25, and the older kid crafts take 25 to 40. Paint adds drying time, so plan a snack or a story while you wait.
What if my child loses interest halfway?
Stop and save it for later. Put the project on a shelf and come back after a snack. You can also do the cutting yourself and let your child handle the fun parts, like gluing and decorating. A calm afternoon matters more than a finished craft.
Which Winter Craft to Start With Today
If you only pick one today, start with the cotton ball snowman. It takes ten minutes, and it works for almost any age. Older kids can jump to the paper plate arctic fox or the layered village card.
Keep your kit in one box, and you can pull it out on any gray afternoon. Pin this post to your winter crafts board so you can find it again in January.
Save it for school breaks and snow days too. And if you make one, I would love to hear how it went.

Sohel Rana is the writer, editor, publisher, and founder of The Tidy Porch. He is the man who is responsible for the craft (my wife created) being converted into a written piece. He also helps her wife (Sumona) by capturing videos of each craft. In short, he brings each craft created by her wife in front of you by transforming it into an article and a video.
