
Last fall, I came home with two grocery bags and a toddler on my hip. My foot caught a muddy boot. The bags hit the floor. An egg carton cracked open. I stood there, surrounded by shoes, and wanted to cry.
My rental has a narrow back door and no mudroom. Two kids and one dog create a lot of shoes. Over the next month, I tried five fixes.
Some worked better than others. Each one cost under $50. Below, you get all five, with the tools, costs, and exact steps. Pick one and finish it this weekend.
How to Pick the Right Back Door Shoe Storage Idea
Start with your biggest limit: space, budget, or the no-drilling rule. Then match it below.
- Almost no floor space: Choose the over-the-door organizer or the wall-mounted rack.
- No drilling allowed: Choose the over-the-door organizer, the entry bench, or the crate cubbies.
- Lots of shoes (12+ pairs): Choose the slim cabinet or the crate cubbies.
- Need a place to sit: Choose the entry bench.
- Tightest budget: Choose the over-the-door organizer, which costs about $15.
Before you buy anything, measure your wall width and your door swing. Write both numbers on your phone. You will use them in every project below.
Over-the-Door Shoe Organizer: Zero Drilling, 20 Minutes
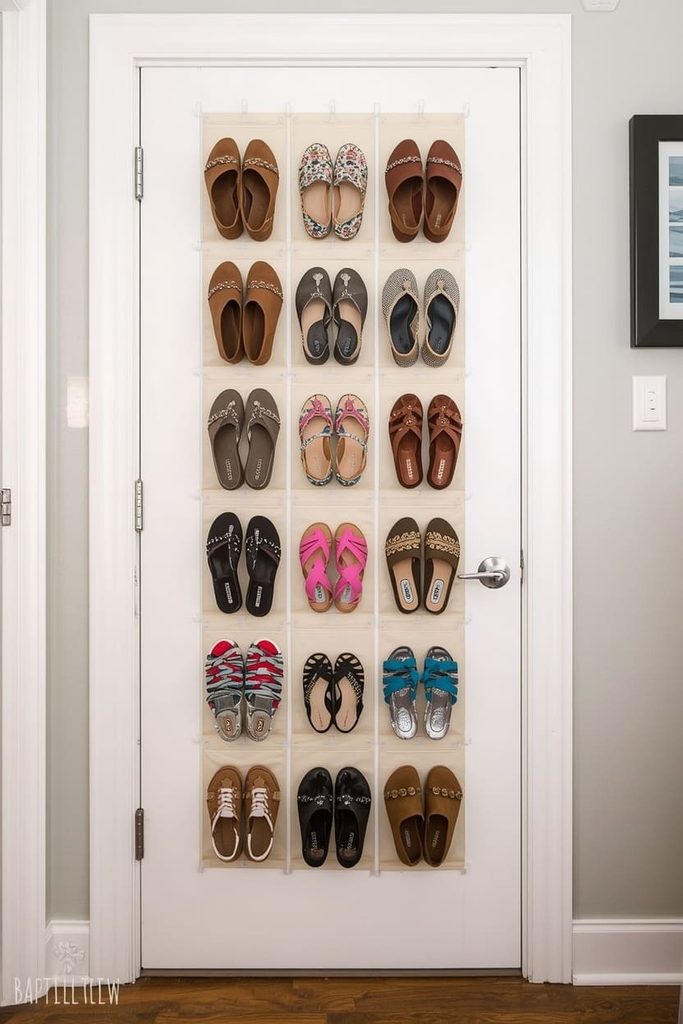
An over-the-door organizer is the fastest fix because it uses space you already have. It hangs on the back of your door and holds 12 to 24 pairs.
What You Need
You need very little for this one.
- 1 over-the-door organizer with 12 or 24 pockets ($15 to $25)
- 1 tape measure
- 4 small foam strips or felt pads ($3)
How Long It Takes and What It Costs
This project takes about 20 minutes and costs $15 to $28. It is the cheapest idea in this article.
Step-by-Step Instructions
Follow these steps in order. Do not skip the measuring.
- Measure your door thickness. Most doors are 1⅜ to 1¾ inches thick.
- Check that the hooks on your organizer fit that width.
- Open the door fully. Make sure the added 3 inches of depth will not hit a wall or a counter.
- Stick foam strips on the door top, where the hooks will sit.
- Hang the hooks over the top edge.
- Fill the pockets with the shoes you wear most.
Pro Tip or Common Mistake to Avoid
The biggest mistake is overloading the pockets. Adult boots can pull the hooks loose or make the door hard to close. I keep kids’ shoes and flats in mine. Heavy boots go elsewhere.
Who This Works Best For
This works best for renters and small spaces. If you have kids’ shoes, flip-flops, or flats, you will love it.
Slim Shoe Cabinet: Hidden Storage for 12 to 18 Pairs
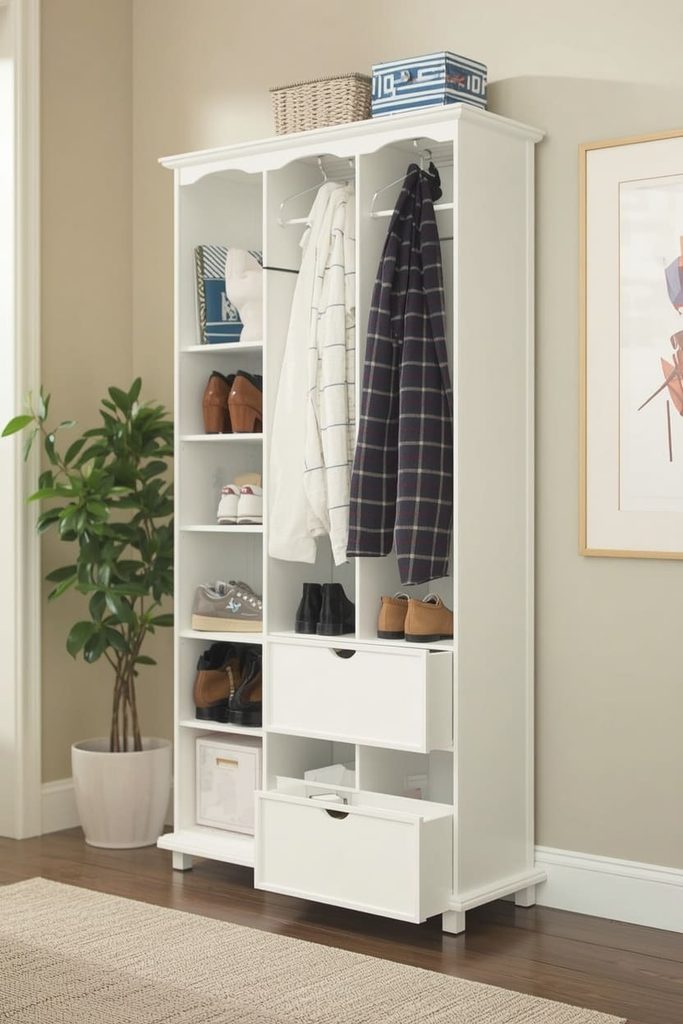
A slim shoe cabinet hides shoes behind closed fronts, so your back door looks tidy. Most models are only 7 to 9 inches deep.
What You Need
Gather these before you start.
- 1 flat-pack slim cabinet, about 31 inches wide and 40 inches tall ($40 to $50)
- 1 screwdriver
- 1 wall anchor strap, often included
- 4 felt floor pads ($3)
How Long It Takes and What It Costs
Plan on 60 to 90 minutes. The cost runs $43 to $55, depending on the model.
Step-by-Step Instructions
Take your time with assembly. A wobbly cabinet is a tipping risk.
- Lay out all the pieces and count the screws.
- Build the frame on a rug so you do not scratch the pieces.
- Attach the flip-down drawers.
- Stick felt pads under each corner.
- Slide the cabinet against the wall, leaving 1 inch of gap from the door swing.
- Attach the anti-tip strap to the wall with one anchor.
Pro Tip or Common Mistake to Avoid
Do not skip the anti-tip strap. Kids love to climb. One small anchor hole is easy to patch later. My dog also leans on the cabinet, and it has never moved.
Who This Works Best For
This suits families with many pairs and a wall at least 32 inches wide. It also works for anyone who dislikes the look of open shoes.
Entry Bench With Shoe Cubbies: Sit, Store, and Save Space
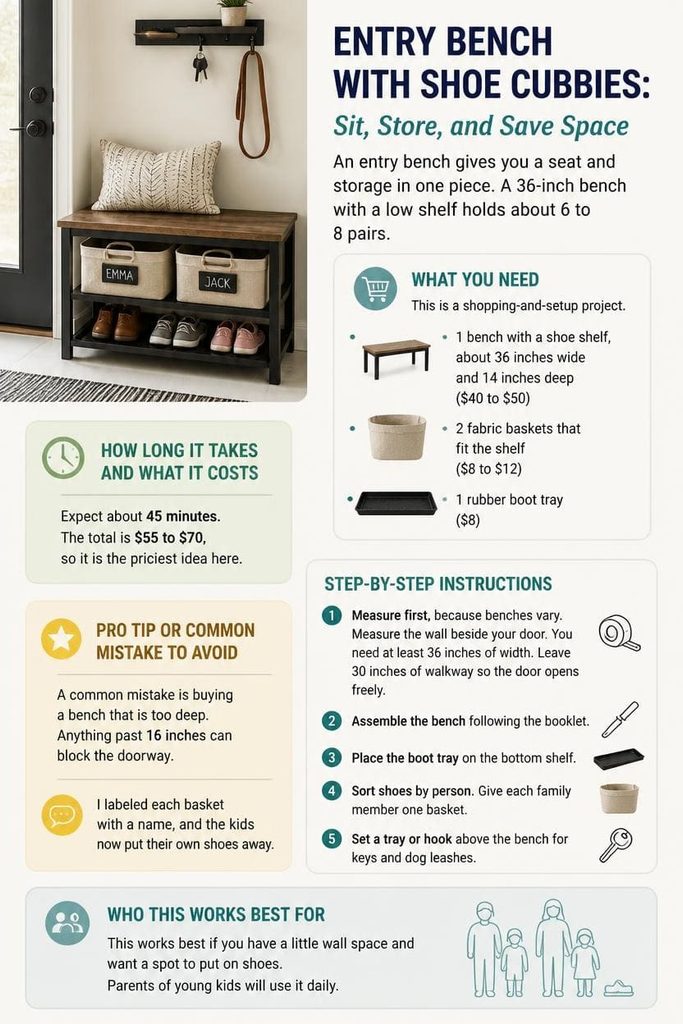
An entry bench gives you a seat and storage in one piece. A 36-inch bench with a low shelf holds about 6 to 8 pairs.
What You Need
This is a shopping-and-setup project.
- 1 bench with a shoe shelf, about 36 inches wide and 14 inches deep ($40 to $50)
- 2 fabric baskets that fit the shelf ($8 to $12)
- 1 rubber boot tray ($8)
How Long It Takes and What It Costs
Expect about 45 minutes. The total is $55 to $70, so it is the priciest idea here.
Step-by-Step Instructions
Measure first, because benches vary.
- Measure the wall beside your door. You need at least 36 inches of width.
- Leave 30 inches of walkway so the door opens freely.
- Assemble the bench following the booklet.
- Place the boot tray on the bottom shelf.
- Sort shoes by person. Give each family member one basket.
- Set a tray or hook above the bench for keys and dog leashes.
Pro Tip or Common Mistake to Avoid
A common mistake is buying a bench that is too deep. Anything past 16 inches can block the doorway. I labeled each basket with a name, and the kids now put their own shoes away.
Who This Works Best For
This works best if you have a little wall space and want a spot to put on shoes. Parents of young kids will use it daily.
Wall-Mounted Shoe Rack: Get Shoes Off the Floor
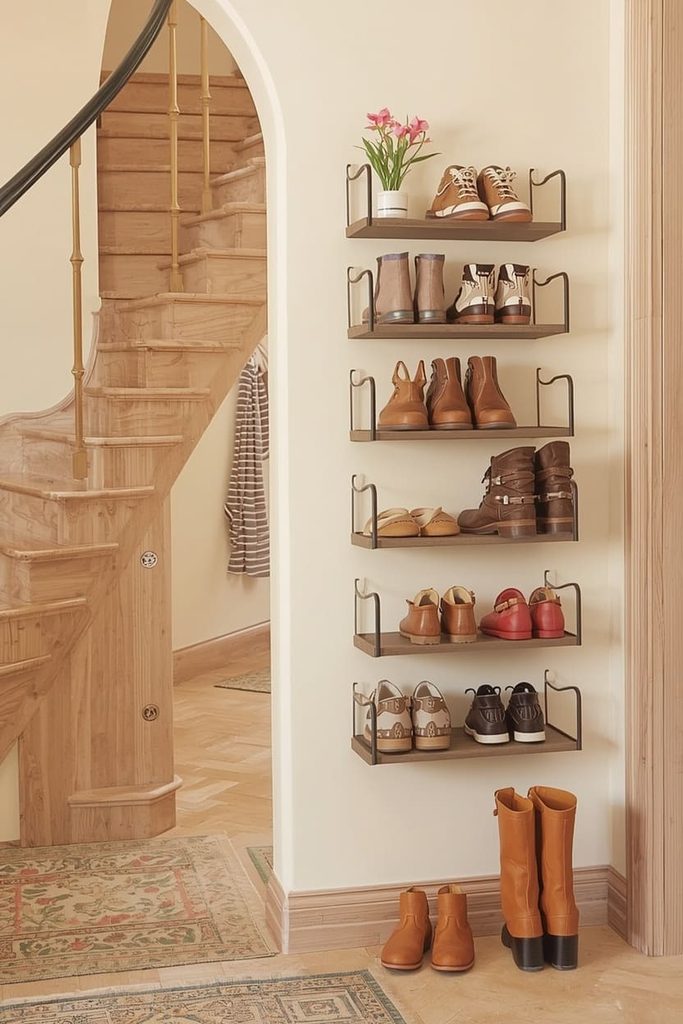
A wall-mounted rack frees your floor completely. A three-tier rack holds about 9 pairs and takes up almost no depth.
What You Need
You will need a drill for this one.
- 1 three-tier wall rack, about 28 inches wide ($25 to $35)
- 1 drill and drill bits
- 4 wall anchors rated for 25 pounds or more ($4)
- 1 level and 1 pencil
- Spackle for patching later ($5)
How Long It Takes and What It Costs
This takes about an hour. Costs run from $30 to $45.
Step-by-Step Instructions
Mark your holes carefully. Level matters for how shoes sit.
- Choose a spot 6 inches above the floor to leave room for a mat.
- Hold the rack against the wall and mark the screw holes.
- Check the marks with a level.
- Drill the holes with the right bit size for your anchors.
- Tap the anchors in flush with the wall.
- Screw the rack onto the anchors and test it with your hand.
Pro Tip or Common Mistake to Avoid
Always use anchors unless you hit a stud. Screws alone can pull out under the weight of boots. Renters can fill the holes with spackle when they move out.
Who This Works Best For
This is ideal for narrow entryways. If floor space is your biggest problem, start here.
Stacked Crate Cubbies: A DIY Budget Hack
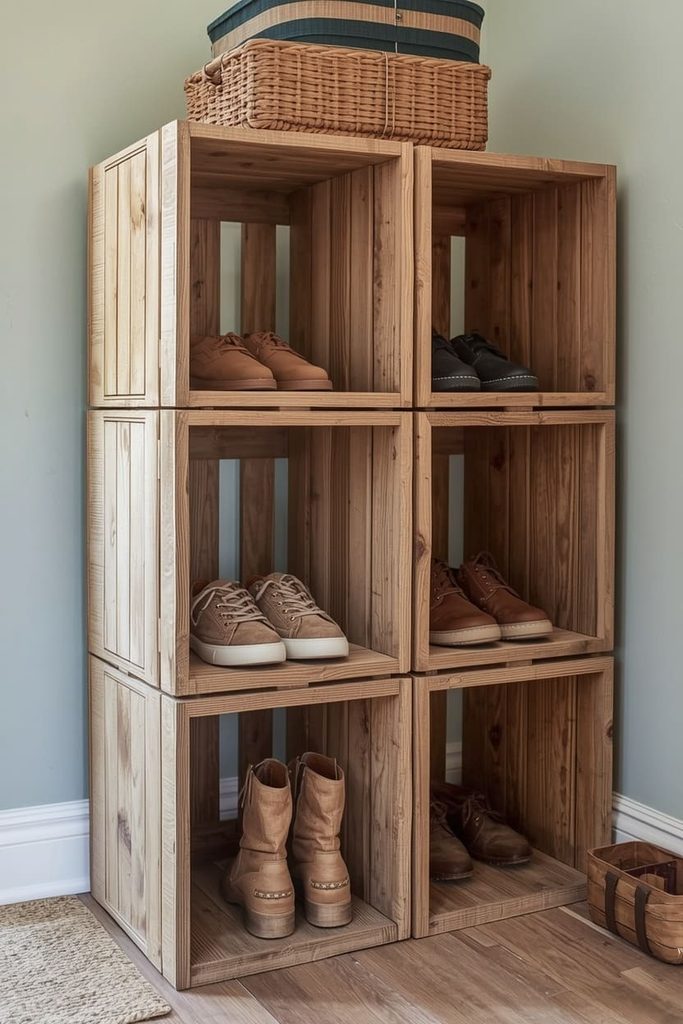
Stacked crates are a cheap, sturdy way to build your own shoe cubbies. Four crates in a 2-by-2 stack hold about 8 pairs.
What You Need
Craft stores sell all of this.
- 4 wooden crates, about 12 by 16 inches ($6 to $8 each)
- Fine sandpaper ($2)
- 8 heavy-duty zip ties ($3)
- 1 boot tray ($8)
- Optional: wood stain and a rag ($7)
How Long It Takes and What It Costs
Set aside 40 minutes, plus drying time if you stain. Costs run from $37 to $50.
Step-by-Step Instructions
Sand every rough edge. Splinters and socks do not mix.
- Sand the corners and edges of all four crates.
- Wipe off the dust with a damp cloth.
- Stain the crates if you want, and let them dry for two hours.
- Stack two crates, with openings facing out.
- Add the second pair on top, and make the sides line up.
- Tie the crates together with two zip ties on each joint.
- Set the boot tray beside the stack.
Pro Tip or Common Mistake to Avoid
Do not stack them higher than two crates. A tall stack tips easily. Trim the zip tie tails with scissors so they do not scratch your legs.
Who This Works Best For
This suits renters on a tight budget who like a rustic look. Anyone with a few spare hours will enjoy building it.
Frequently Asked Questions
How do I store wet shoes by the back door?
Put them on a rubber boot tray. The tray catches water and keeps your floor dry. Let the shoes dry fully before you move them into a closed cabinet.
How can I do this if I rent?
Choose the over-the-door organizer, the bench, or the crate cubbies. None of them need drilling. If you use the wall rack, fill the holes with spackle when you move out.
How many pairs of shoes will each idea hold?
The 24-pocket organizer holds up to 24 pairs of small shoes. The slim cabinet holds 12 to 18. The wall rack and crates hold about 8 or 9 each, and the bench holds 6 to 8.
How do I keep the area from smelling?
Let shoes air out before you store them. Drop a small cedar block or a spoonful of baking soda in a cloth pouch near closed storage. Wash the boot tray once a week.
What should I do first if my space is tiny?
Measure your door swing and wall width. Then pick the over-the-door organizer or the wall rack. Both use almost no floor space.
Pick One and Start This Weekend
You do not need to fix everything at once. Choose one idea that fits your space and budget. Gather the supplies on Friday. Finish the project on Saturday. By Sunday, you can walk through your back door without tripping on a single boot. I did, and it felt great.

Sohel Rana is the writer, editor, publisher, and founder of The Tidy Porch. He is the man who is responsible for the craft (my wife created) being converted into a written piece. He also helps her wife (Sumona) by capturing videos of each craft. In short, he brings each craft created by her wife in front of you by transforming it into an article and a video.
