
Last spring, my kitchen table turned into a flower field. My daughter had a stack of paper plates and nowhere near enough patience for scissors. We started with one plate. Then three.
Then the table disappeared under petals. No glue puddles. No paint on the walls. Just plates, crayons, and a glue stick doing all the work.
That afternoon turned into our go-to rainy-day activity. If you want that same easy win with your own kid, you’re in the right place.
Here are seven paper plate flower crafts that actually work, start to finish, no fuss required.
Top 5 Amazon Picks for Paper Plate Flower Crafts
- Chinet Classic White Paper Plates — sturdy, uncoated plates that hold crayon and marker color without bleeding through.
- Crayola Glue Sticks, 12-Pack — mess-free glue sticks that let toddlers help without soaking the paper.
- Fiskars Blunt-Tip Kids Scissors — safe, easy-grip scissors built for small hands cutting petal shapes.
- Crayola Broad Line Markers, 24-Pack — bold, washable color that makes plate flowers pop without needing paint.
- Construction Paper Pad, 50 Sheets Assorted Colors — a ready supply of petal and stem colors so you’re never mid-craft and out of yellow.
Paper Plate Sunflower Flower Craft for Toddlers
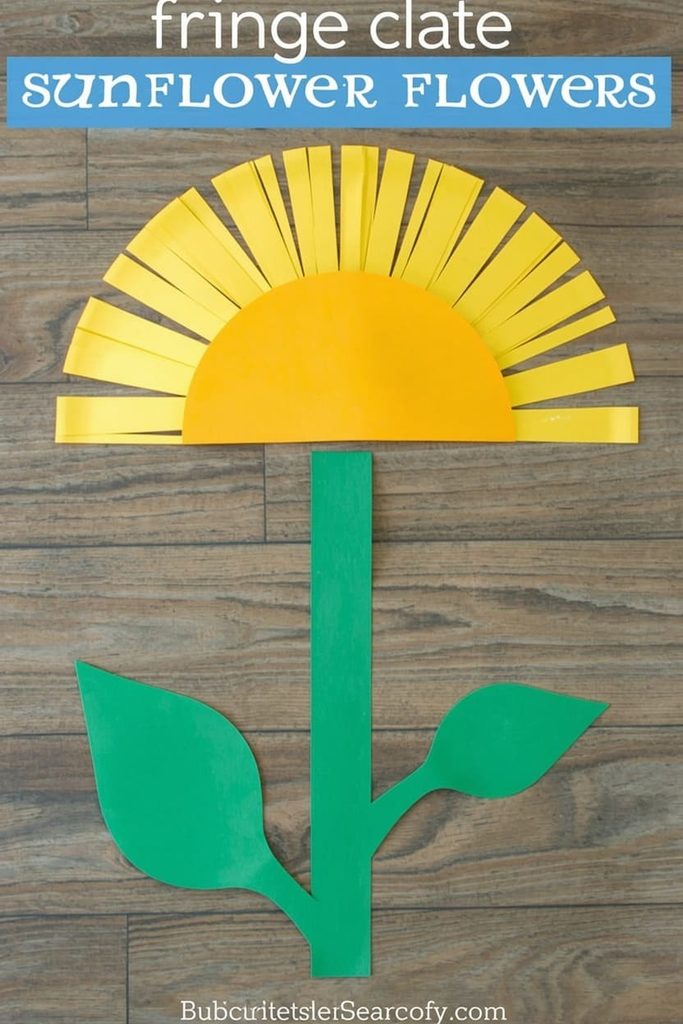
The easiest one is a fringe-cut sunflower, made from a single plate folded and snipped into strips. Toddlers as young as two can help tear or press the fringe once you make the first cuts.
This craft skips fine scissor work almost entirely. You do the initial fringe cuts, and your toddler bends and shapes the strips outward. It takes about 15 minutes and makes almost no mess, which makes it a strong pick for a first craft session with a two- or three-year-old.
How to make it:
- Cut a paper plate in half.
- Snip 1-inch fringe strips around the curved edge, stopping an inch from the center.
- Hand the plate to your toddler and let them bend each strip outward, one at a time.
- Color the center circle yellow or brown with a marker.
- Cut a green paper stem from construction paper.
- Glue the stem to the back of the flower half.
- Add two green leaf shapes along the stem with a glue stick.
- Set aside to dry flat for five minutes.
Layered Paper Plate Flower
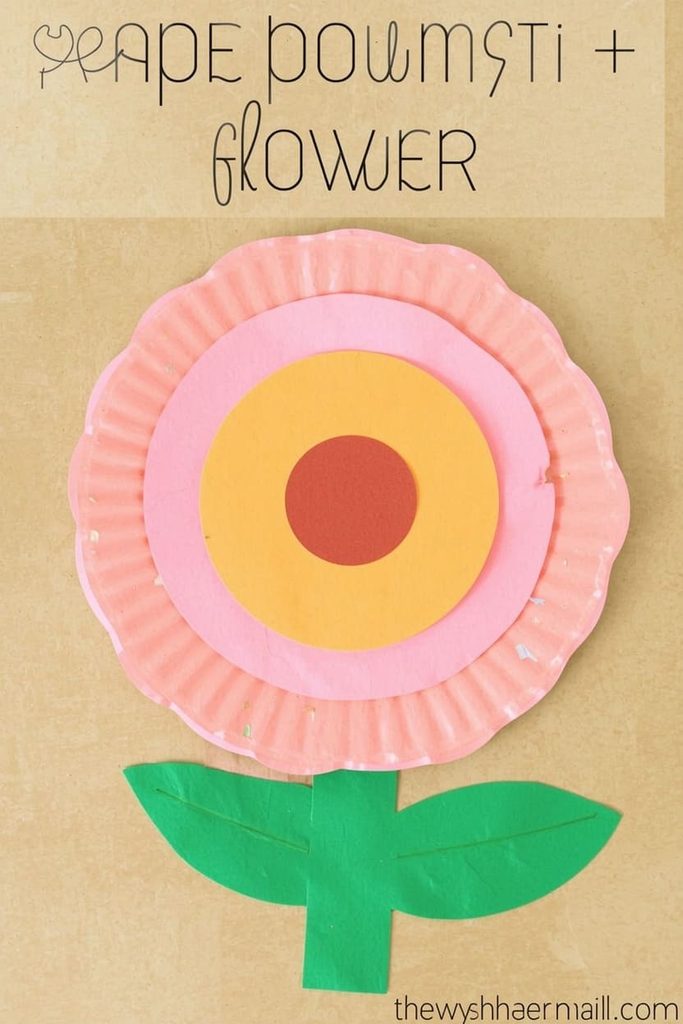
You make a layered flower by stacking two plates of different sizes, cut into separate petal rings, then gluing them center to center.
Layering adds depth without adding mess or glue mistakes, since everything stays flat. It works well for preschoolers around ages 4 to 6 who can handle simple scissor cuts but still need a parent to guide placement. Expect 20 to 25 minutes for this one.
How to make it:
- Trace a large circle on one plate and a smaller circle on a second, smaller plate.
- Cut both plates into rounded petal shapes, six to eight petals each.
- Color the larger petals one shade and the smaller petals a contrasting shade.
- Center the smaller petal ring on top of the larger one.
- Glue the two layers together at the center point only.
- Press down and hold for ten seconds so the glue stick sets.
- Add a paper circle center in a third color.
- Let it sit flat until fully bonded.
Paper Plate Flower Craft for Easter
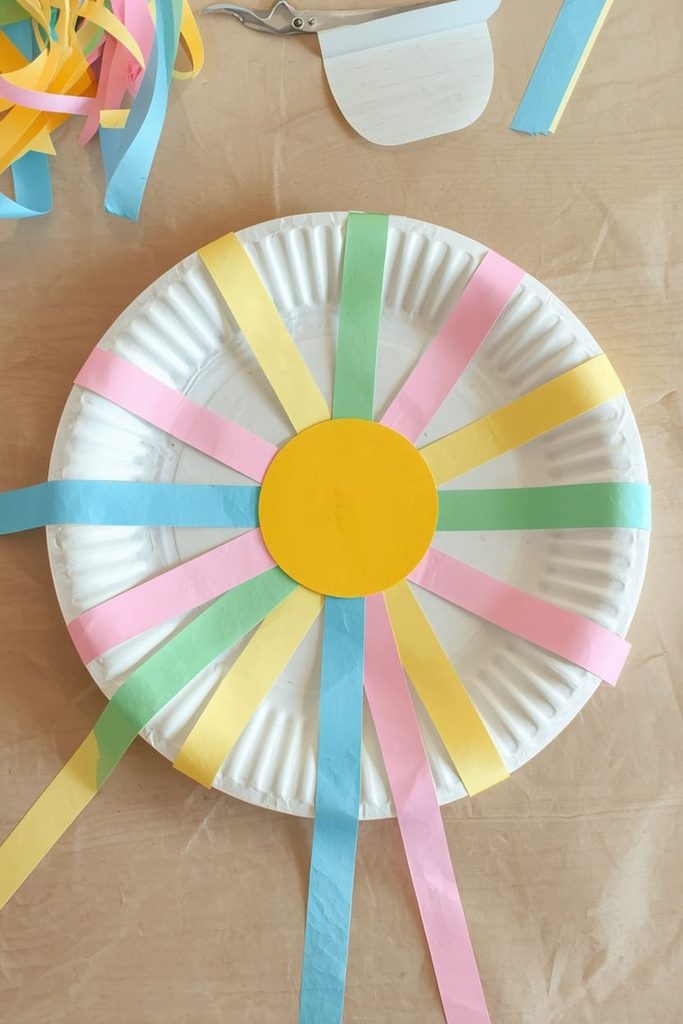
A woven paper plate flower works well for Easter because pastel paper strips woven through plate slits mimic a basket-weave look that fits the holiday.
Weaving builds fine motor skills, since kids thread strips over and under each cut slit. It suits ages 5 to 8 best, and it takes closer to 30 minutes, so plan it for a day when you’re not racing the clock. The finished look is fuller and more textured than a flat flower, which makes it a nice centerpiece craft for an Easter table.
How to make it:
- Cut a plate into a flower silhouette with rounded petals.
- Cut evenly spaced slits from the outer edge toward the center, about eight total.
- Cut pastel construction paper into ½-inch strips.
- Weave one strip under and over the slits, working around the circle.
- Glue the strip end down once it meets its starting point.
- Repeat with a second strip in a different pastel color.
- Trim any strip ends that hang past the plate’s edge.
- Add a yellow paper circle center once weaving is done.
- Let the flower rest flat for a few minutes to set.
Simple Cut-Petal Daisy
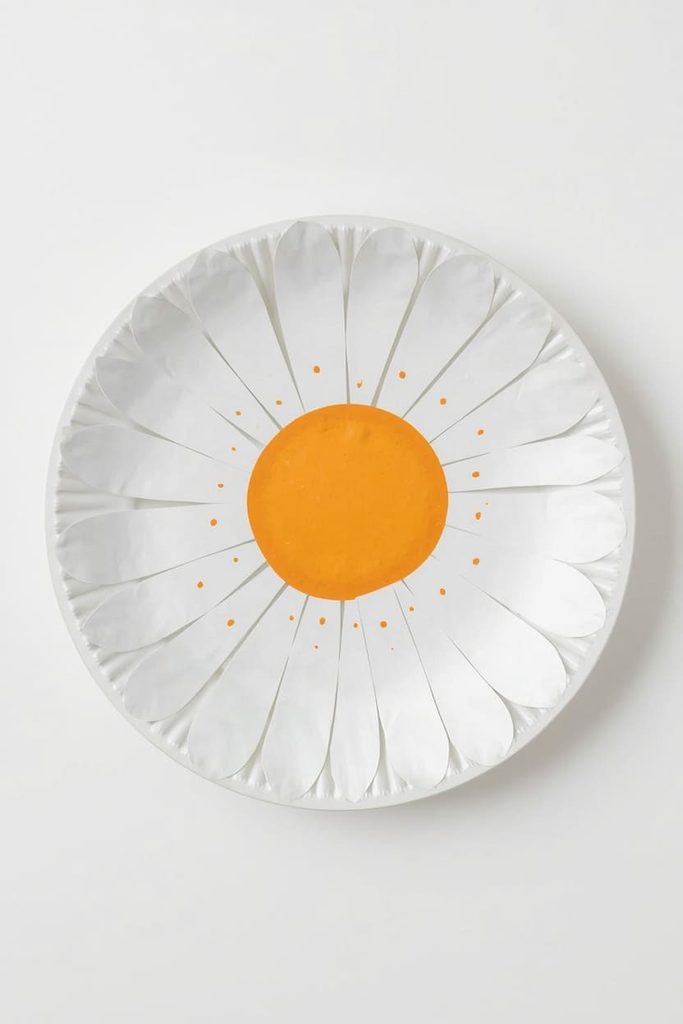
You make a cut-petal daisy by tracing petal outlines on a plate and cutting along the lines from the outer rim inward.
This is one of the most forgiving crafts on this list, since uneven petals still read as a daisy. It’s a solid choice for a preschool classroom, where you’re managing several kids at once and don’t have time for detailed guidance per child. Most kids finish in under 15 minutes.
How to make it:
- Draw six to eight petal outlines around the plate’s rim with pencil.
- Cut along each line toward the center, stopping about an inch short.
- Fold each petal slightly outward for shape.
- Color the petals white or pale yellow.
- Color the center circle bright yellow or orange.
- Add small dot details to the center with a marker if desired.
- Set flat to let any marker ink dry.
Folded Rosette Paper Plate Flower for Older Kids
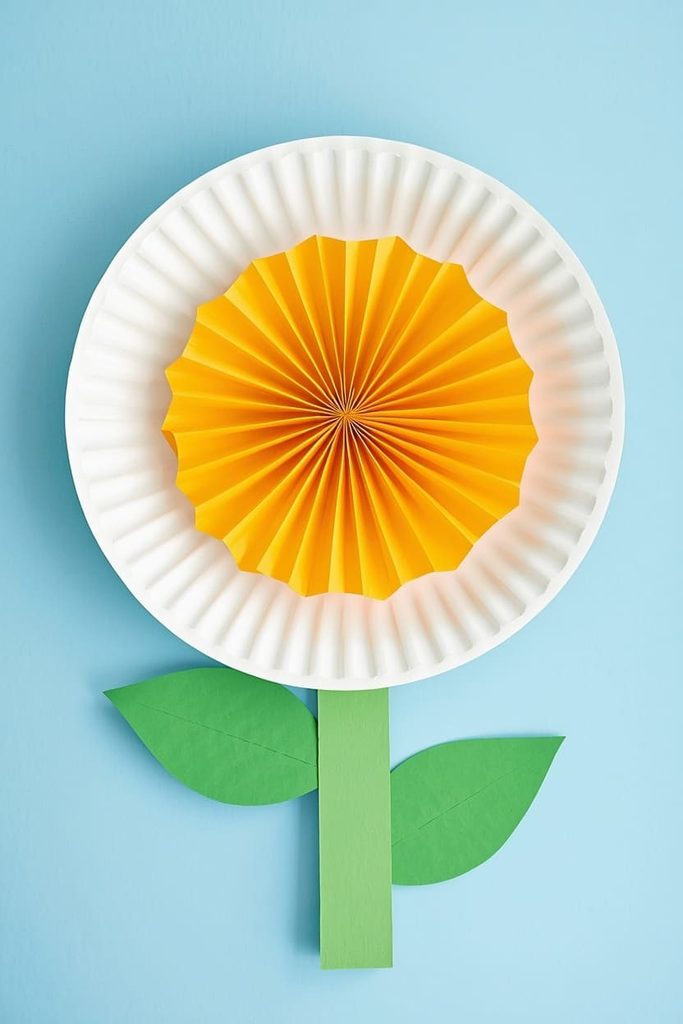
A folded rosette flower works well for older kids because it uses accordion folds instead of scissors, giving them a new technique to practice.
Folding challenges hand coordination in a different way than cutting does, which makes this a good pick for kids 6 and up who’ve already mastered the fringe and layered styles. It takes about 20 minutes and produces a flower with real dimension, even though it stays completely flat once glued down.
How to make it:
- Cut a plate into a large circle shape.
- Accordion-fold the circle into even, narrow pleats.
- Pinch the folded strip in the center and secure with a glue dot.
- Fan the two folded ends outward to form a rosette shape.
- Glue the rosette flat onto a fresh paper plate base.
- Add a paper stem and two leaves beneath it.
- Press the whole piece flat under a book for a few minutes.
Sunflower Craft for Summer or Fall
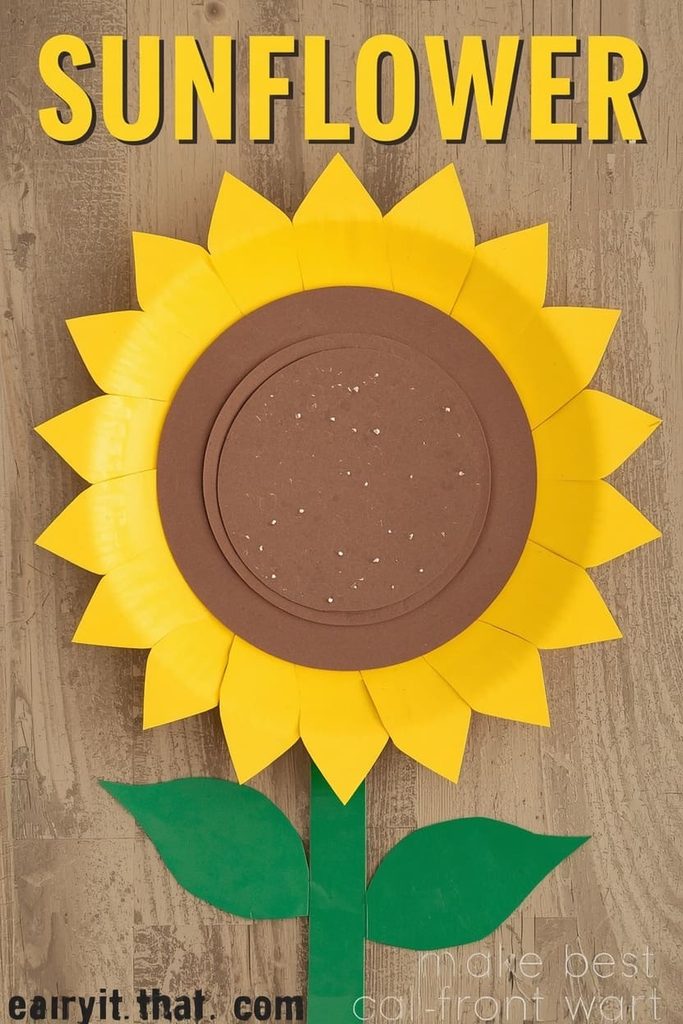
You make a summer or fall sunflower by cutting pointed petal shapes around a plate and filling the center with layered brown paper circles.
Sunflowers extend this whole activity beyond spring, which makes them useful for a summer garden theme or a fall classroom bulletin board. The pointed petals take a bit more scissor precision, so this one suits ages 5 to 8 best, and it runs about 20 minutes.
How to make it:
- Draw pointed, triangular petal shapes around the plate’s edge.
- Cut along each line toward the center.
- Color every petal a bold yellow or gold.
- Cut a smaller brown circle from construction paper.
- Add small dot texture across the brown circle with a marker.
- Glue the brown circle to the plate’s center.
- Attach a green stem and two pointed leaves to the back.
- Let it dry flat before displaying.
Quick Valentine’s-Style Paper Plate Flower
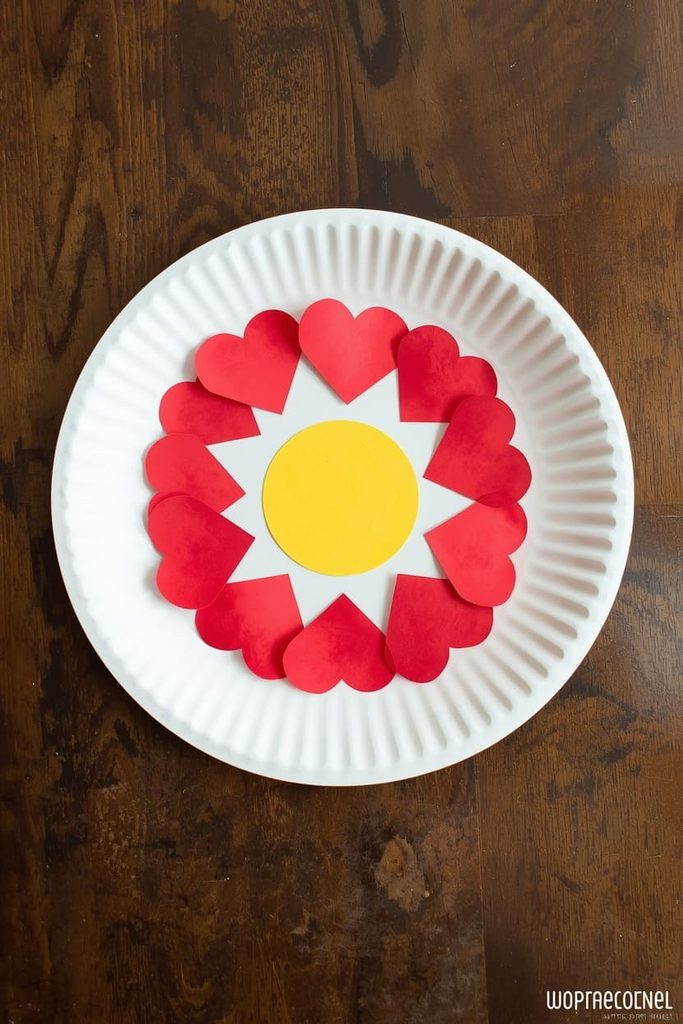
A heart-petal flower works for Valentine’s Day because each petal is a simple heart shape instead of a rounded or pointed one.
Heart petals are easy to cut and instantly recognizable, so this is a fast craft for a classroom party or a quick weeknight activity. It takes about 15 minutes and suits ages 3 and up, since even a slightly wobbly heart still looks like a heart.
How to make it:
- Fold small squares of red or pink paper in half.
- Cut a rounded hump shape along the fold to form a heart when unfolded.
- Repeat until you have six to eight hearts.
- Arrange the hearts around the plate’s edge, points facing inward.
- Glue each heart down one at a time.
- Add a yellow circle center over the meeting point.
- Let dry flat for a few minutes before moving it.
FAQs About Paper Plate Flower Crafts
Is this craft messy? No, it stays mostly mess-free. You’re working with paper plates, glue sticks, and markers, so there’s no paint or liquid glue to clean up.
What age range works best for these crafts? Ages 2 through 8 can all take part, just at different steps. Younger kids do best with fringe and heart-petal styles, while older kids can handle weaving and folding.
How long does each craft take? Most take 15 to 30 minutes from start to finish. Weaving and layering run longer, while fringe and daisy styles go the fastest.
Can I prep these ahead of time for a classroom? Yes, and I’d recommend it for a group setting. Pre-cutting slits or petal outlines ahead of time saves classroom time and keeps younger kids from getting stuck on scissor work.
How do I store the finished flowers? Lay them flat in a folder or large envelope until you’re ready to display them. Stacking them while wet or freshly glued can flatten petals unevenly.
Can I adapt these for a toddler who can’t use scissors yet? Yes, easily. Pre-cut the petals or fringe yourself, then let your toddler handle gluing, coloring, and shaping, which are the safest and most toddler-friendly steps in every craft here.

Sohel Rana is the writer, editor, publisher, and founder of The Tidy Porch. He is the man who is responsible for the craft (my wife created) being converted into a written piece. He also helps her wife (Sumona) by capturing videos of each craft. In short, he brings each craft created by her wife in front of you by transforming it into an article and a video.
